So, here we are back talking about the Pellix. Well, at least I am. If I am boring you, I apologise. You will recall that I was out shooting with my Pellix earlier and I had a problem with the light seals on the back of the camera and I got fogged film. We then replaced the foam light seals and I said I was going to try again with this camera. Well, three rolls of film later, I’m ready to file my report.
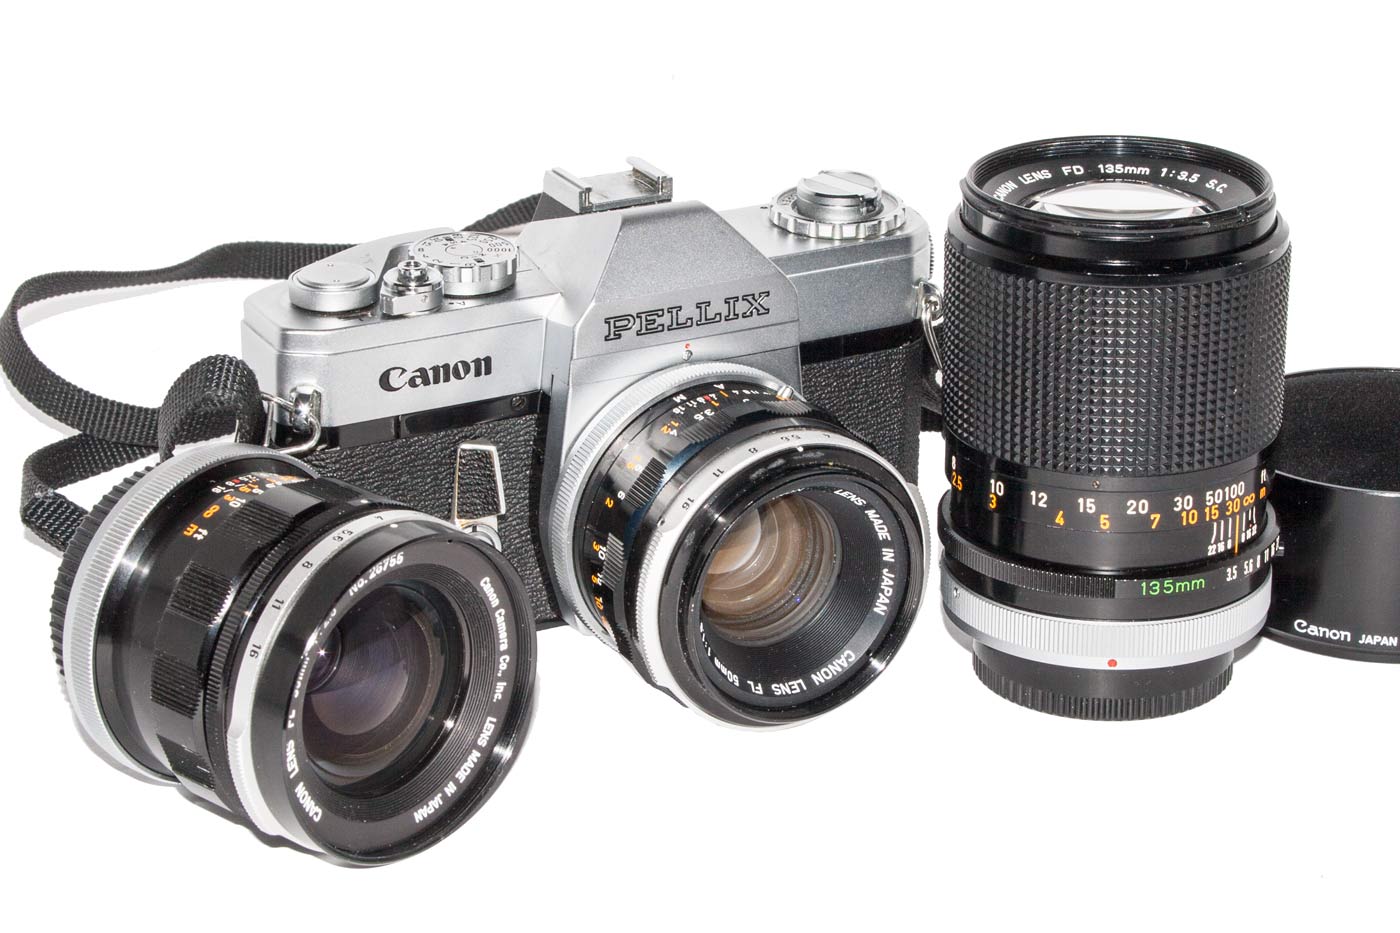
I went out with my Pellix #119051 and three lenses: an FL 35mm f/2.5, an FL 50mm f/1.8 and an FD 135mm f/3.5. This made a nice selection of focal lengths but they took up very little space. All fit in a very small camera bag.
First let me say: three rolls of film hanging to dry and every frame was exposed perfectly! I used the exposure meter in the camera powered a zinc-air 675 battery. Perfect! And no sign of the light leak. Our repair worked and the light seal is again effective.
Secondly, I want to say again that this is a sweet camera to use. It is challenging because by our standards today it is primitive. The photographer has to be on his toes, but, in a good way. Exposure, depth of field, camera shake, are all much more demanding of attention than they are on a camera that allows you to dial in the film speed, that compensates for camera movement, and that sets exposure or brackets exposure automatically.
That said, by fooling around with this old equipment, one must get back to the basics of photography. I think it’s like a musician having to practice scales in private so that he can play his beautiful music in public.
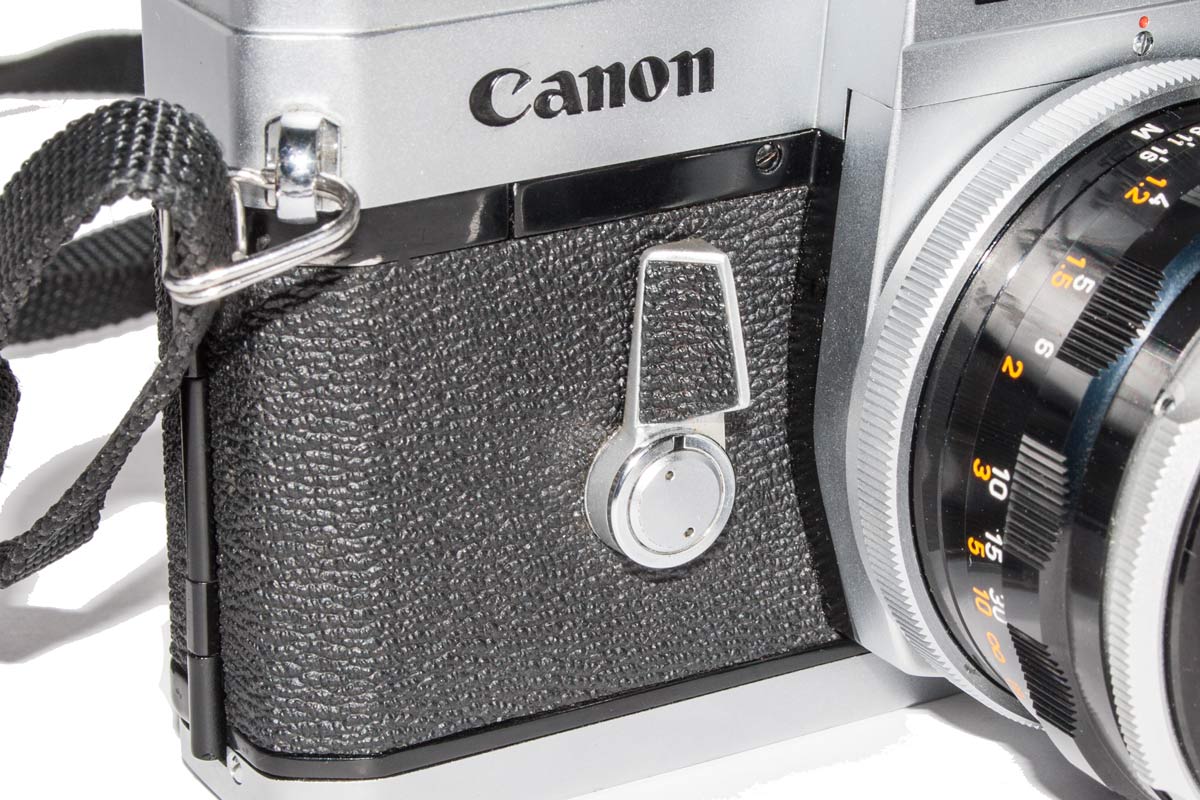
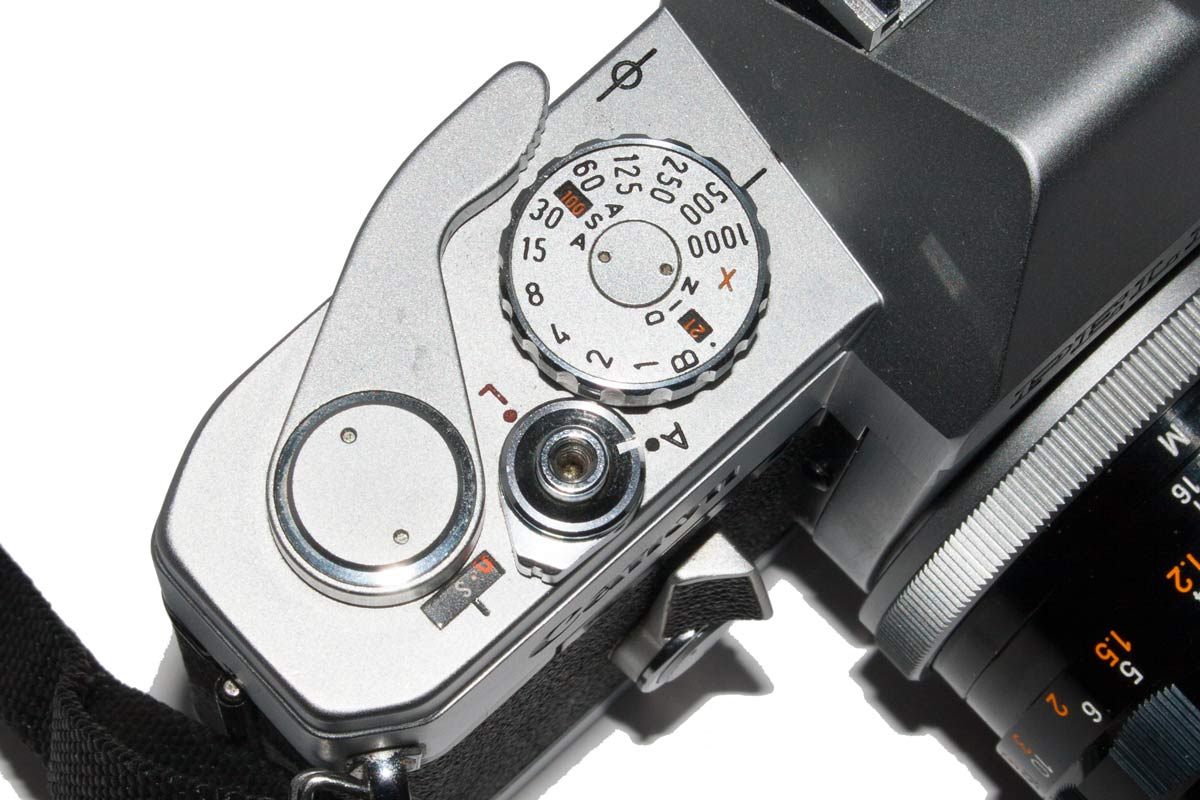
The light meter lever on the front of the Pellix. Push towards the lens and it measures light. Pull away from the lens and it sets the self timer.
The light meter is interesting. On the right side of the camera on the front is a lever. To set your exposure you push this lever towards the lens mount. That stops the lens down and measures the light. You then adjust the aperture or the shutter speed to superimpose two meter indicators in the view finder.
At first this is a pretty awkward arrangement but it does not take long to get used to it. Holding the camera and pushing the lever with one hand while trying to manipulate the shutter speed dial is tough. I found it easier to set the shutter speed and then match the needles using the f-stop ring.
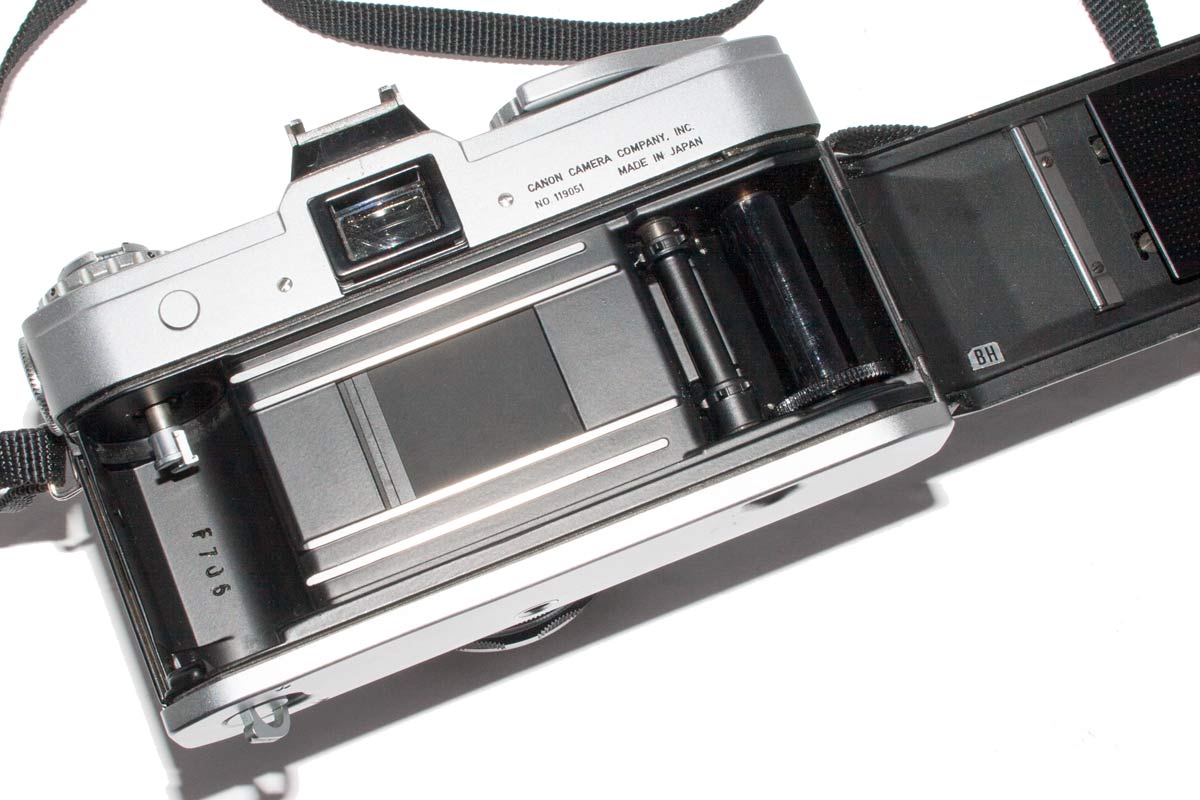
The camera inside is the simple traditional layout that has been used since rangefinder days.
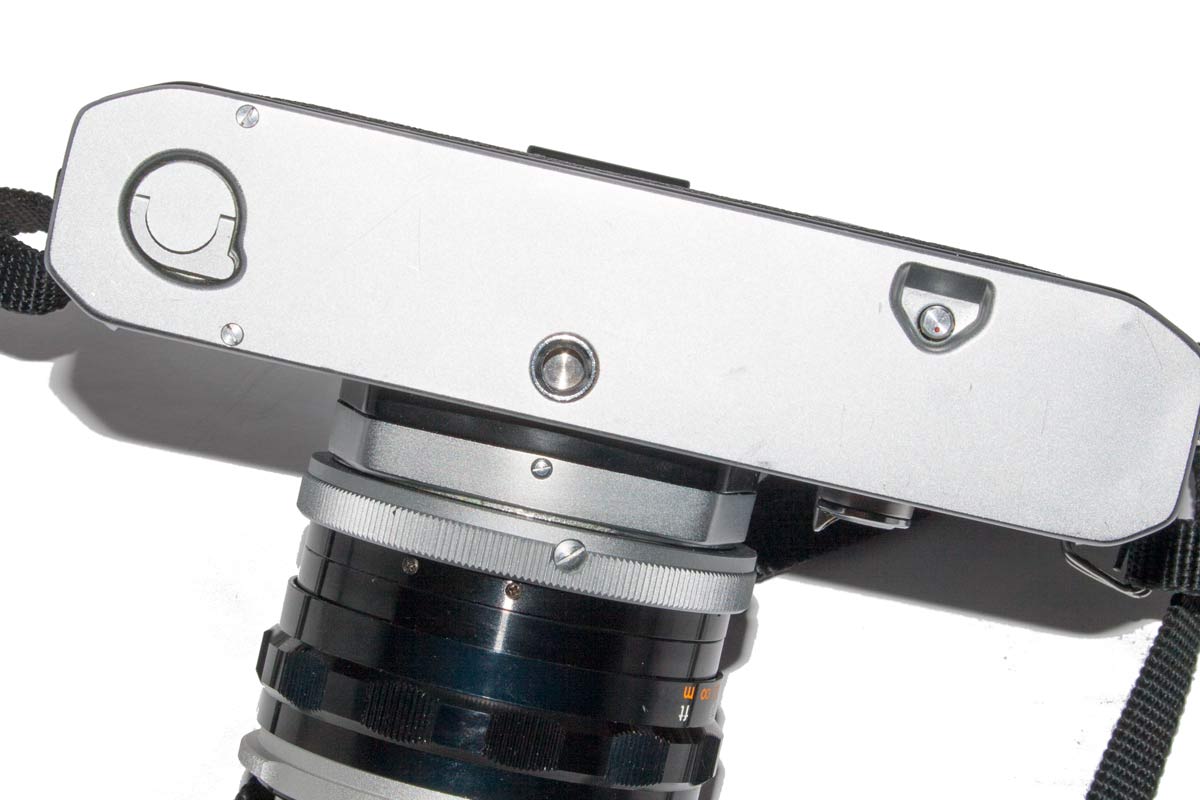
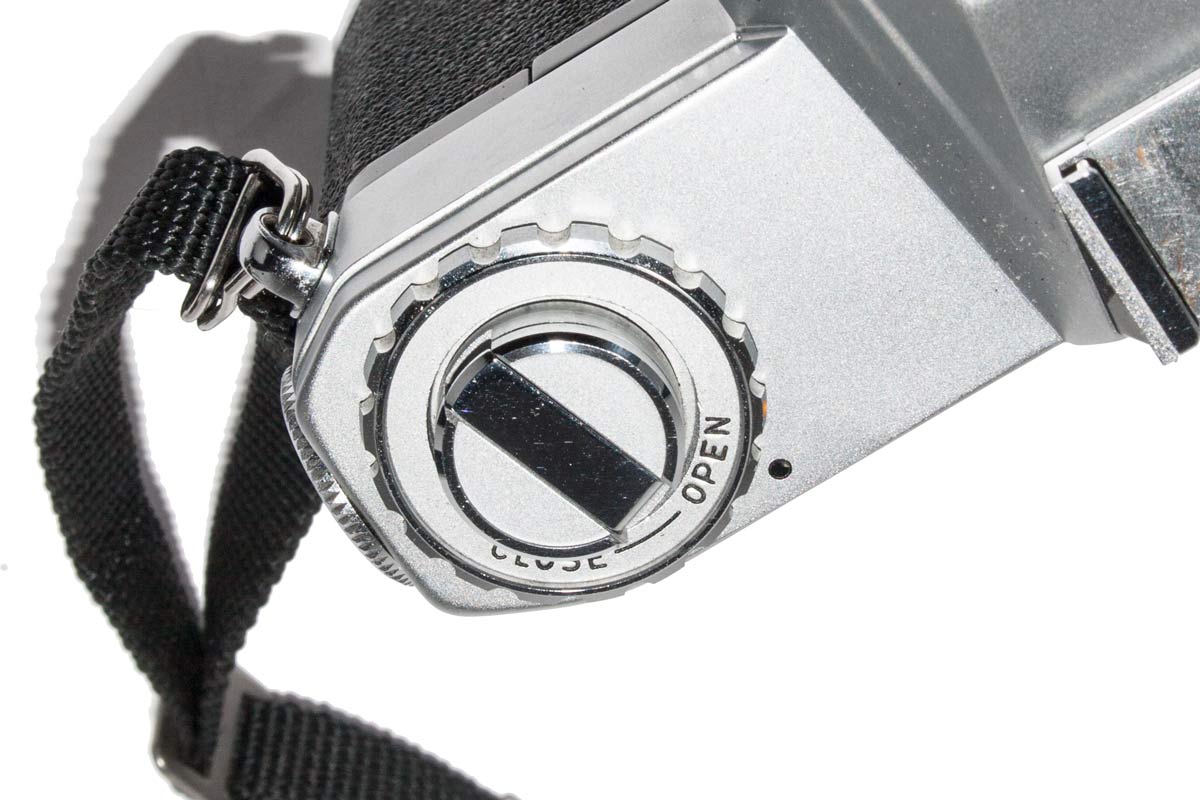
The latch to open the camera is still the same one found on the Canon rangefinder cameras and all the way back to the Leica II’s and III’s.
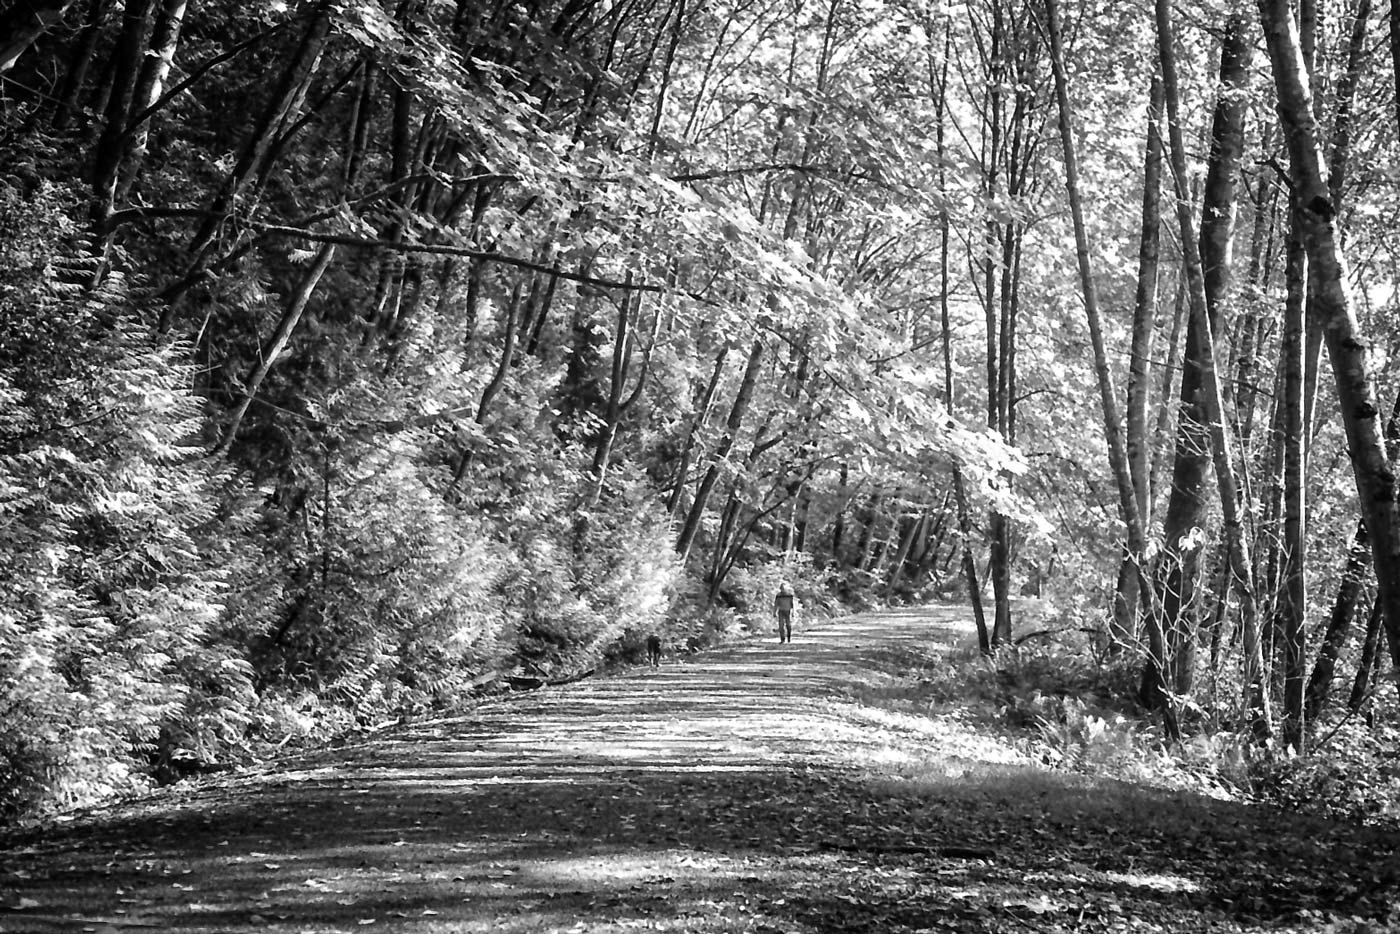
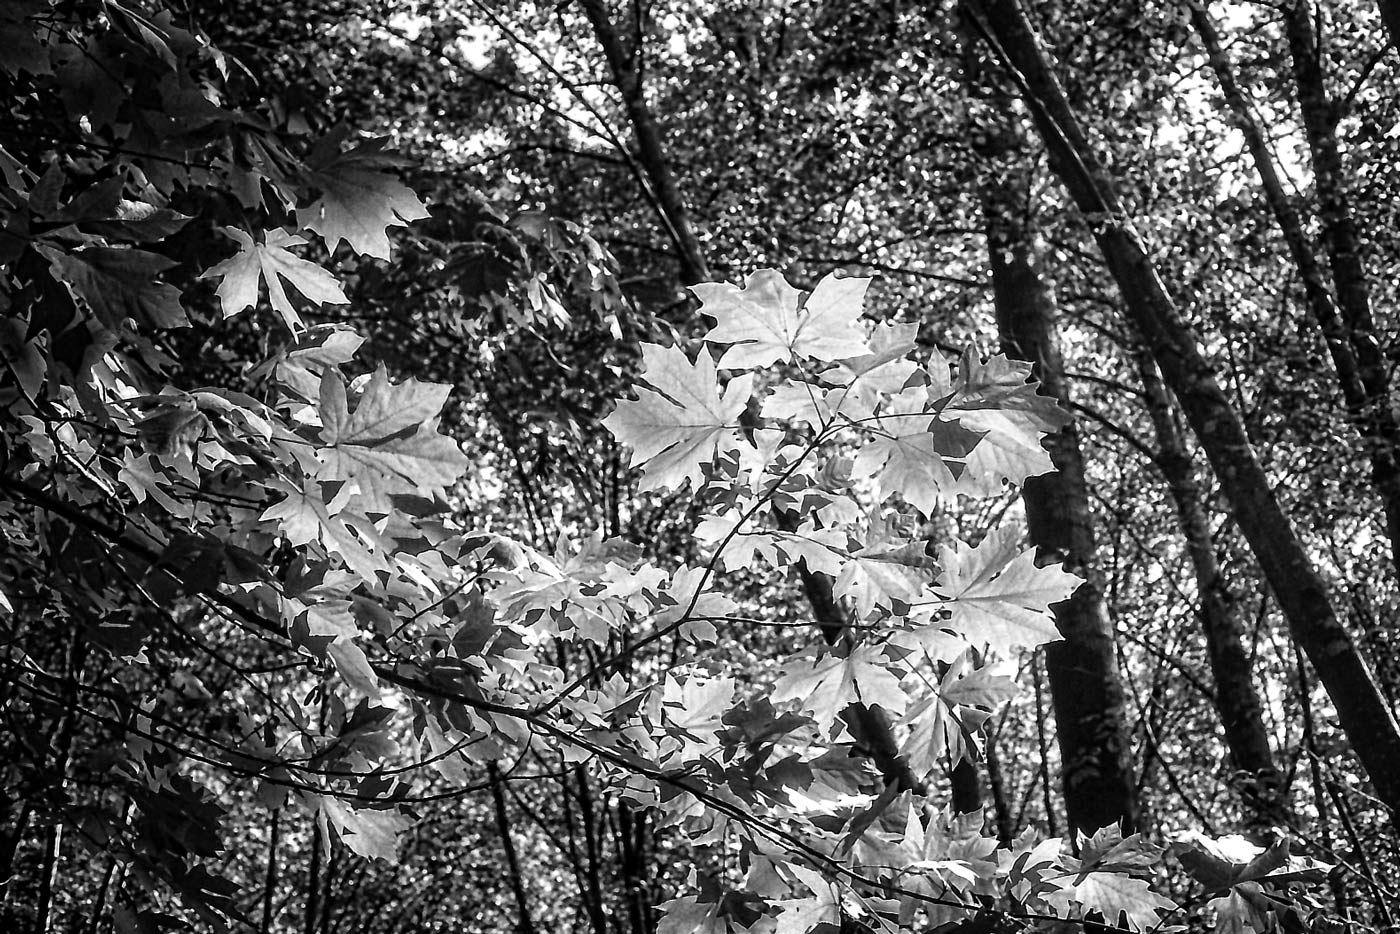
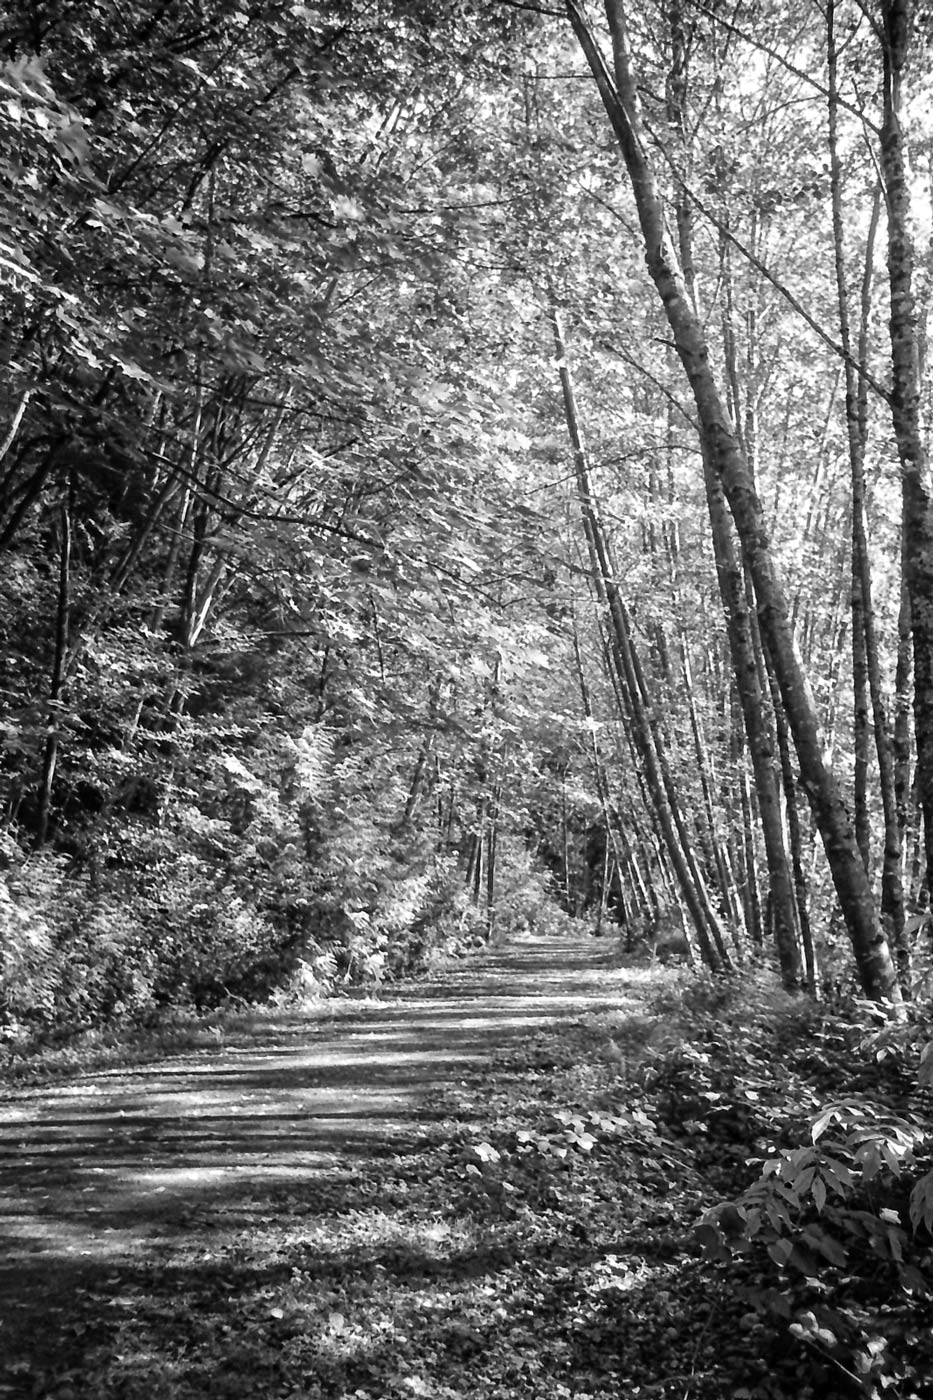
Taken with an FL 35mm f/2.5 lens, this camera is a serious piece of kit!
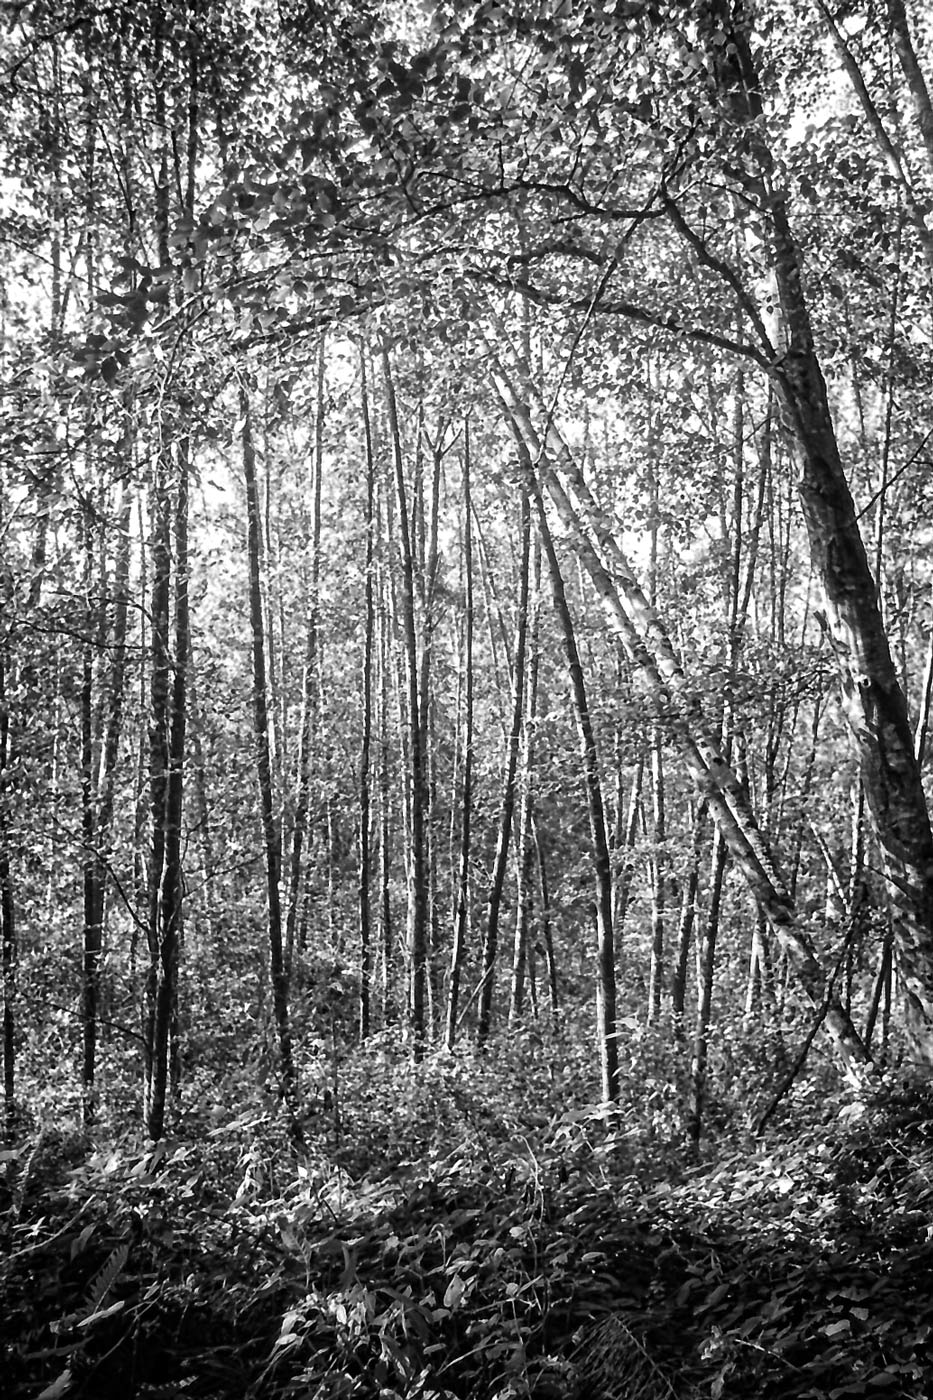
The 35mm again and sunlight cascading down into the saplings. A simple recipe for a great picture!
It was an incredible day and I could have taken great pictures with my Brownie Hawkeye. (I fact I must do that.) But these pictures certainly show the ability of this camera.
You can also see the imprint of a digital workflow: snappy contrast, an HDR look, and an almost “infrared” effect. But, in fact, these images are shot without a filter and on HP4 film processed at 100 ASA.
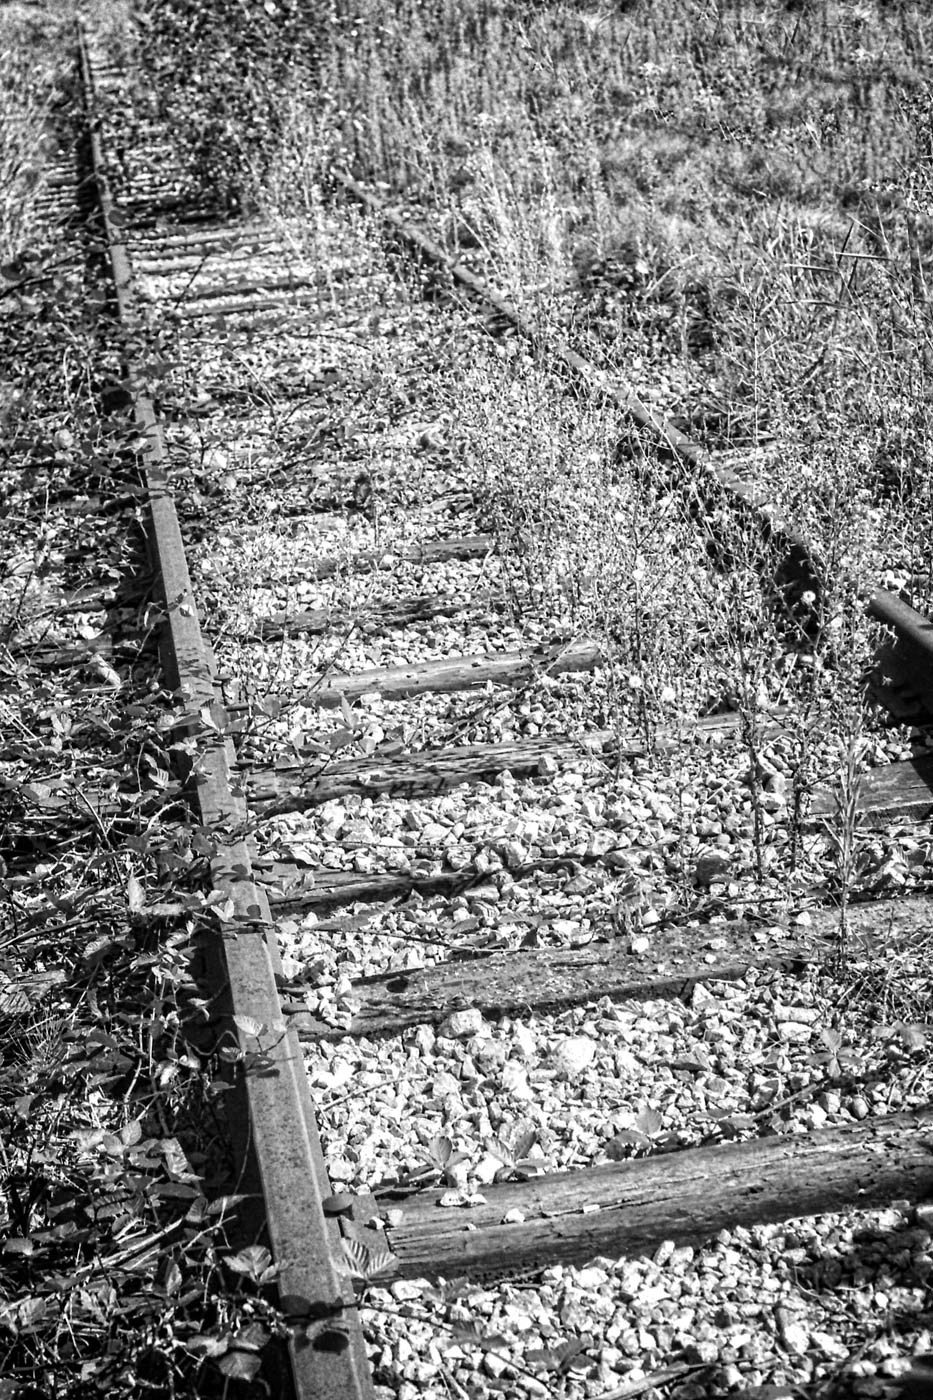
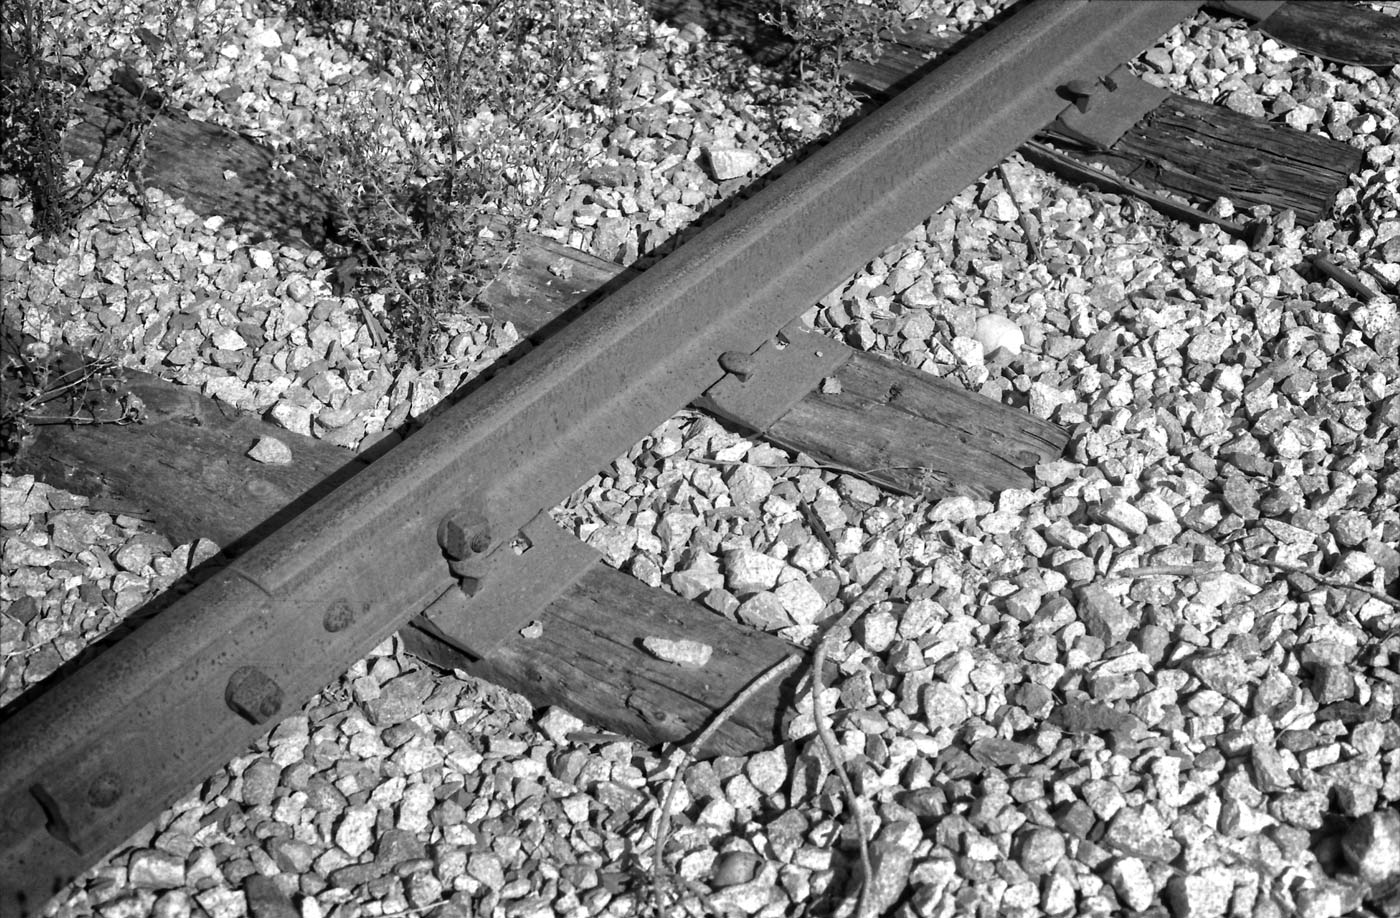
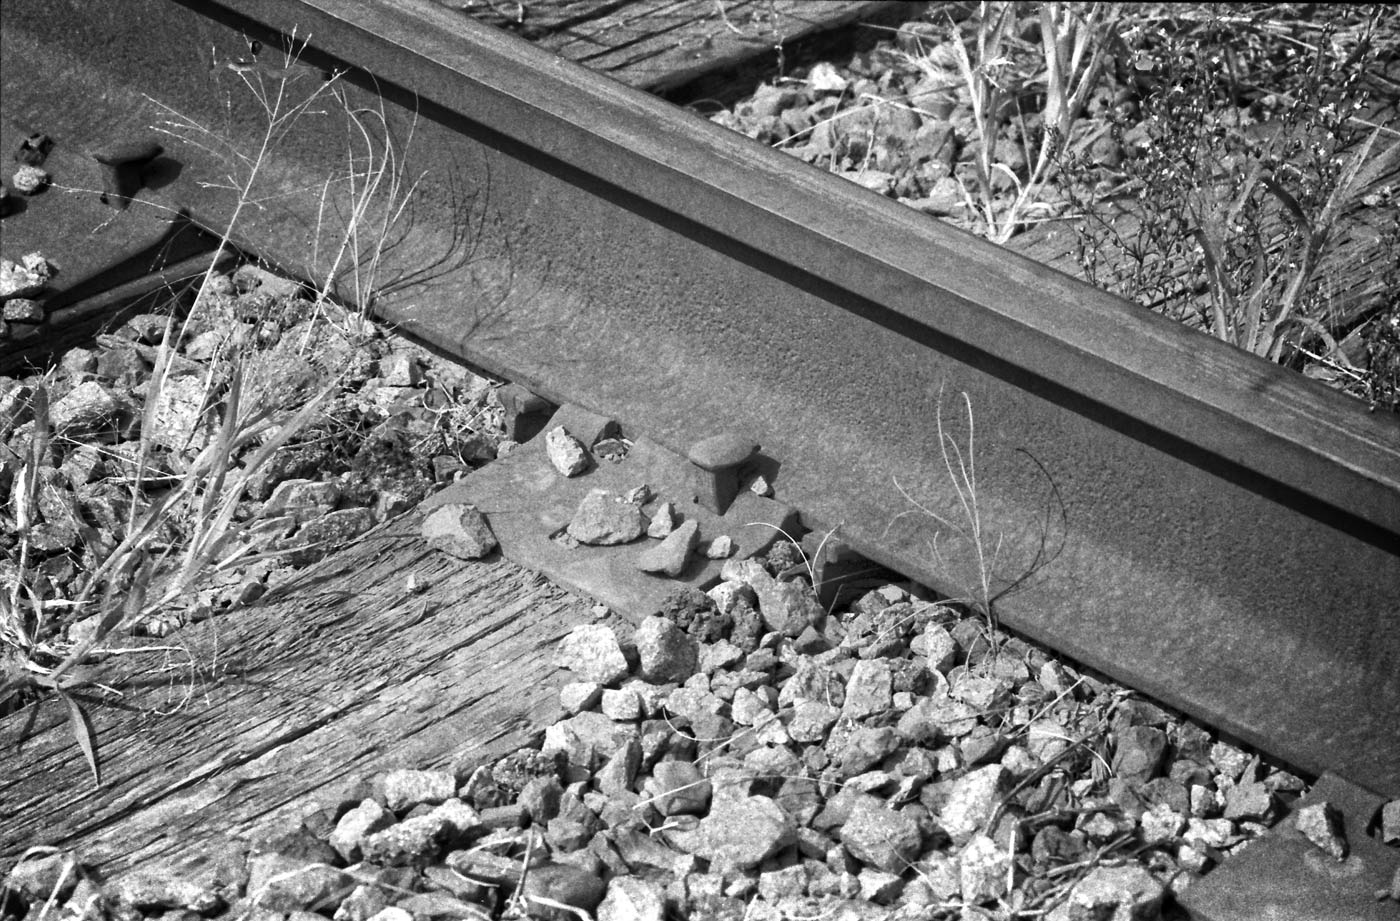
Lets look at a few more samples. There is a seldom used rail line spur behind the plant where I practice my day job. I like machinery and railroad rails and rolling stock are no exception. They fascinate me. So I went for a walk along these old tracks.
This website is the work of R. Flynn Marr who is solely responsible for its contents which are subject to his claim of copyright. User Manuals, Brochures and Advertising Materials of Canon and other manufacturers available on this site are subject to the copyright claims and are the property of Canon and other manufacturers and they are offered here for personal use only.
