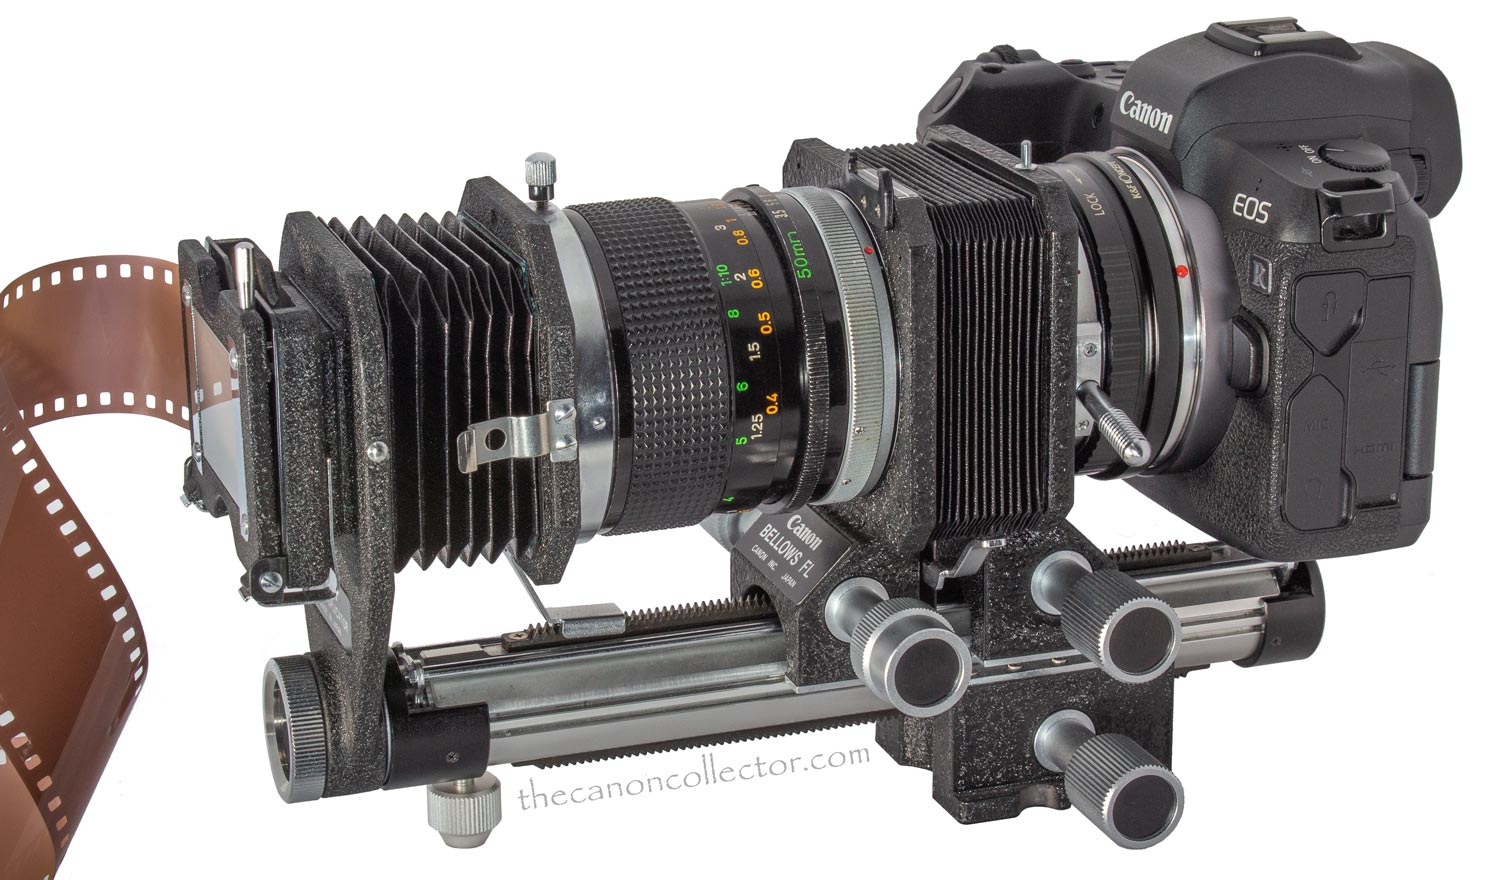
This is the scanning set-up discussed here. My Canon R is mounted on the Bellows FL with an FD 50mm f/3.5 Macro lens. On the front of the set-up is the Canon Slide Duplicator to hold the film.
Film Scanning Revisited
A few Second Thoughts
You may recall, but probably don’t,
that I discussed film scanning with the use of a camera back in November of 2017. At that time I was using a 16mpx Sony NEX C3 on this same rig. It was a very brief exploration and although I felt the
camera was better than my flatbed scanner the results were tenuous.
In the last few weeks a couple of things have happened that made me want to revisit this topic. Firstly was a roll of film I took with my EOS 3 using a Canon EF 28-105mm f/3.5-4.5 lens. The film was Ilford Delta 100 Professional developed in Infosol 3, 1:9 dilution for 5 and a half minutes. This should have been a good combination but when I scanned the film on my Canoscan 9000F Mk II flatbed scanner I was not happy with the result.
While I was chewing on this I was listening to one of my camera podcasts I follow and there was a discussion of the development of a negative carrier for using with a digital camera to scan slides. I found that strange considering Canon had produced the above device years ago for the same purpose. And that got me back to thinking about scanning my film with a camera.
Since my comments back in 2017 I had acquired a Canon R which gave me a superior camera and so I decided to repeat my earlier trials with a little more care this time. I scanned the same images this time focusing very carefully and then stopping down to f/11 to actually make the images. I illuminated the film carrier with daylight and my shutter speed was 1/4 second. For this discussion we are going to look at a single image. It is processed in Photoshop and OnOne Effects and they are both sharpened.
The images from the scanner showed good contrast. I assume there is considerable processing of the image in the scanner itself. The images obtained with the camera were very low in contrast and so the two had to be processed differently to create a rough equivalent density.
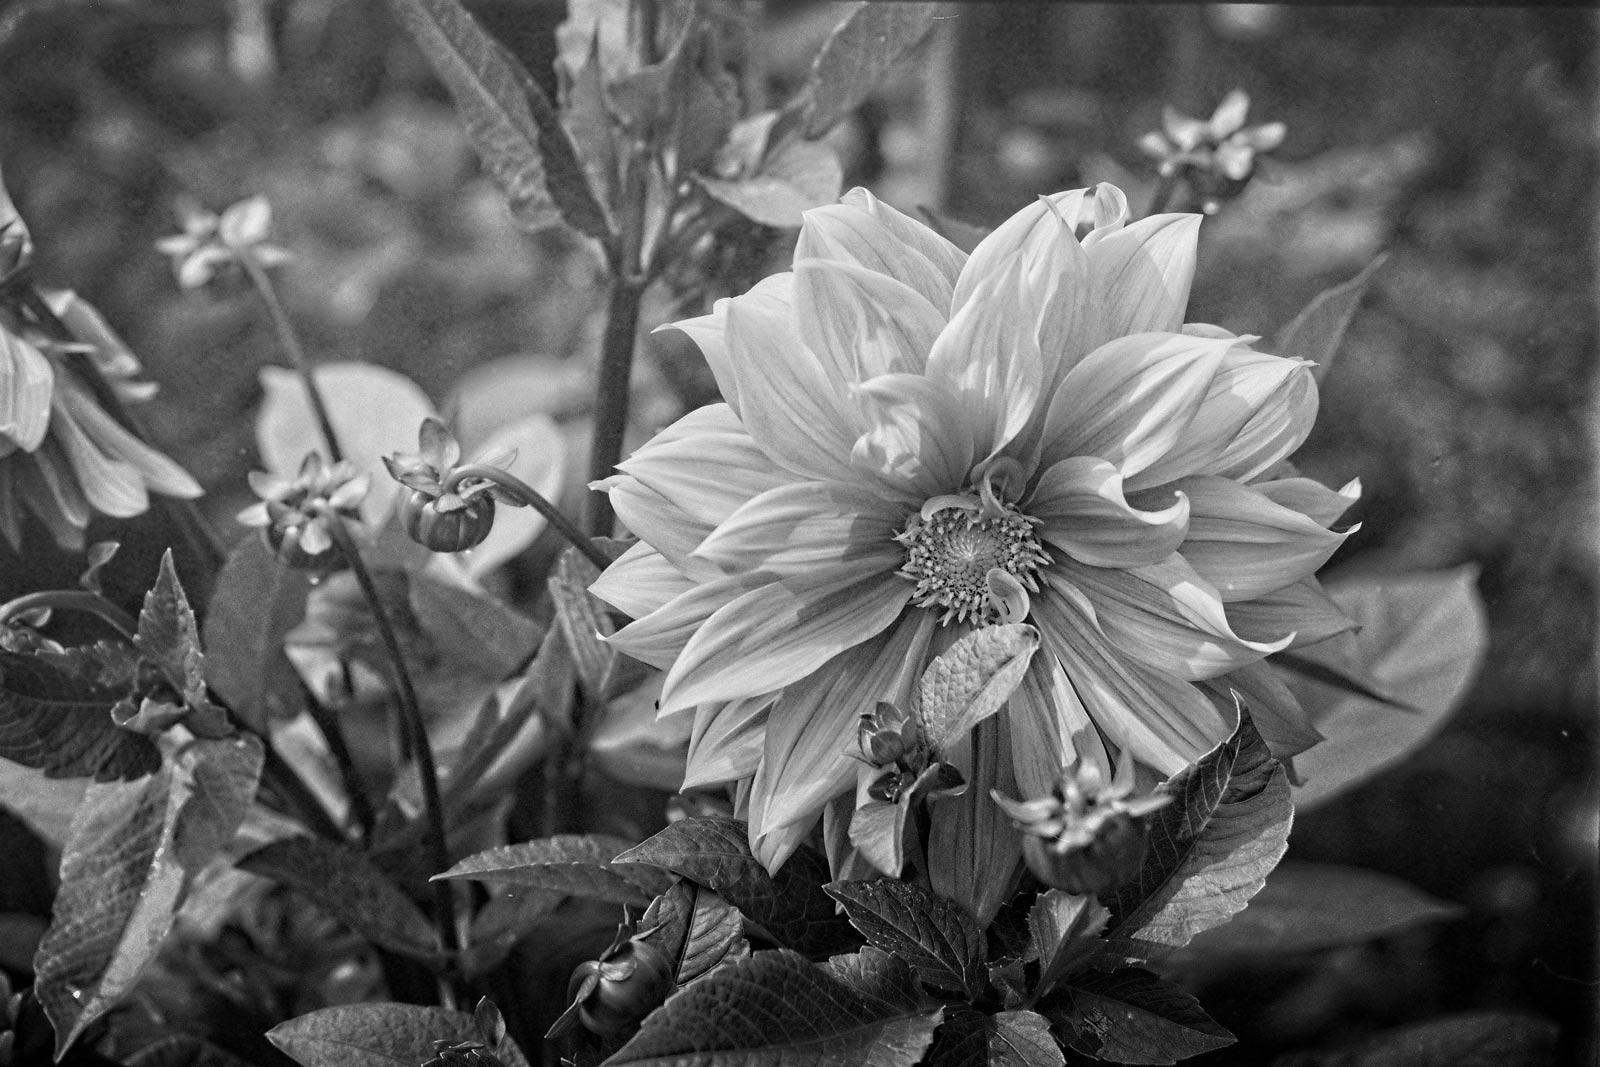
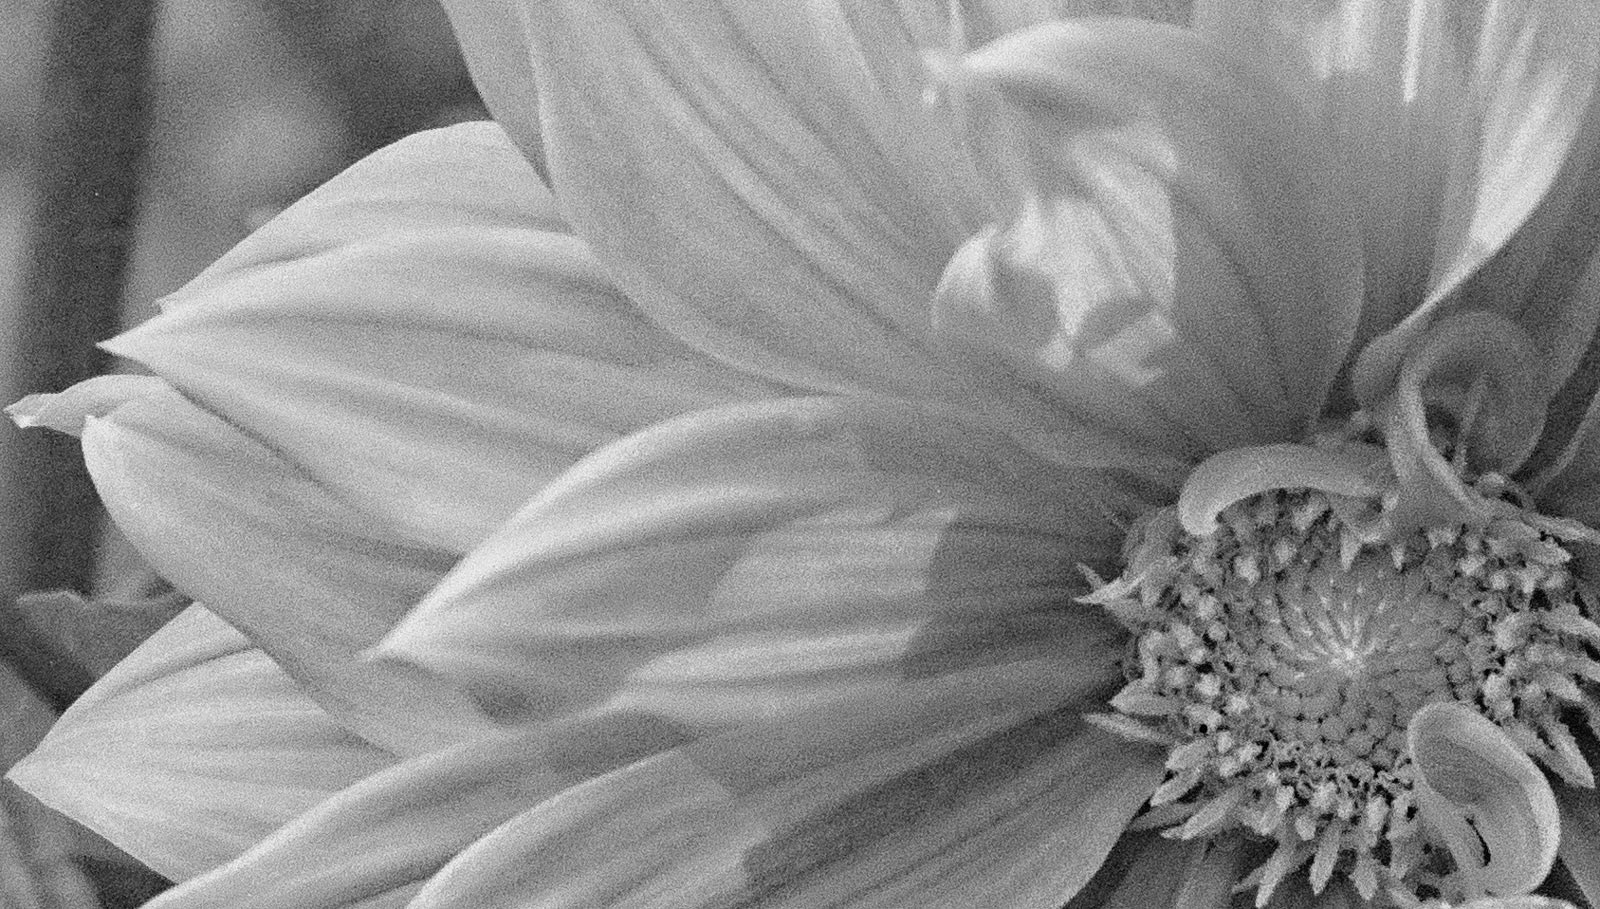
Above are two full frame images from the same negative. The Canoscan image on the left is pleasing but shows a softness that was bothering me as I say above. The Canon R image appears to be sharper but what is most striking is the added texture and smoother gradation in tones. However, to get the whole story we have to look closer.
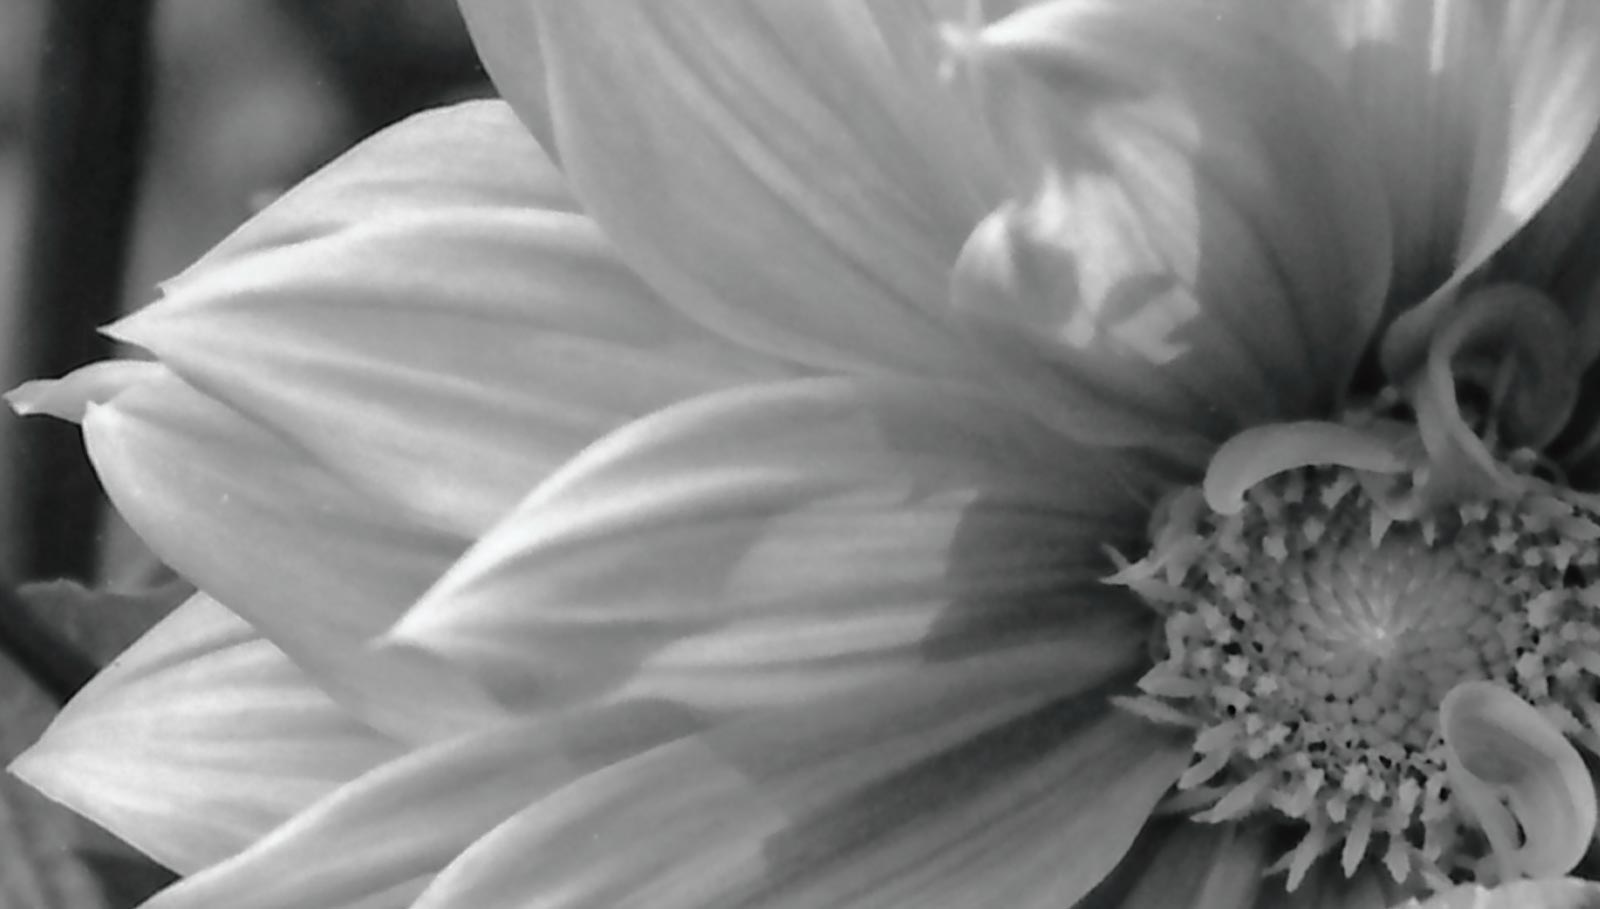
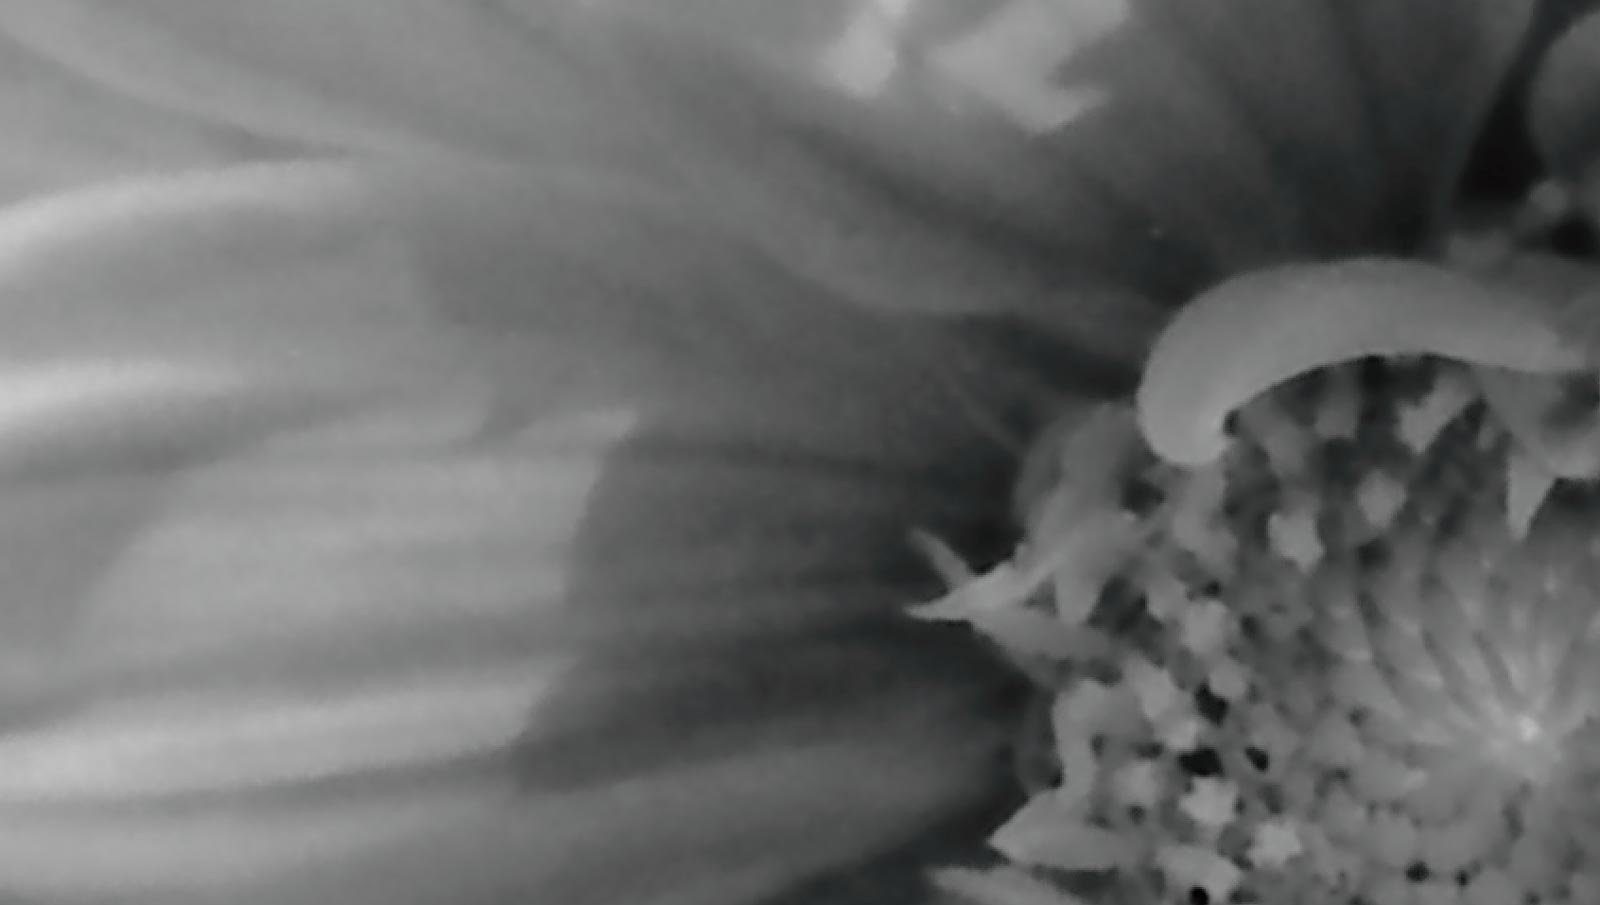
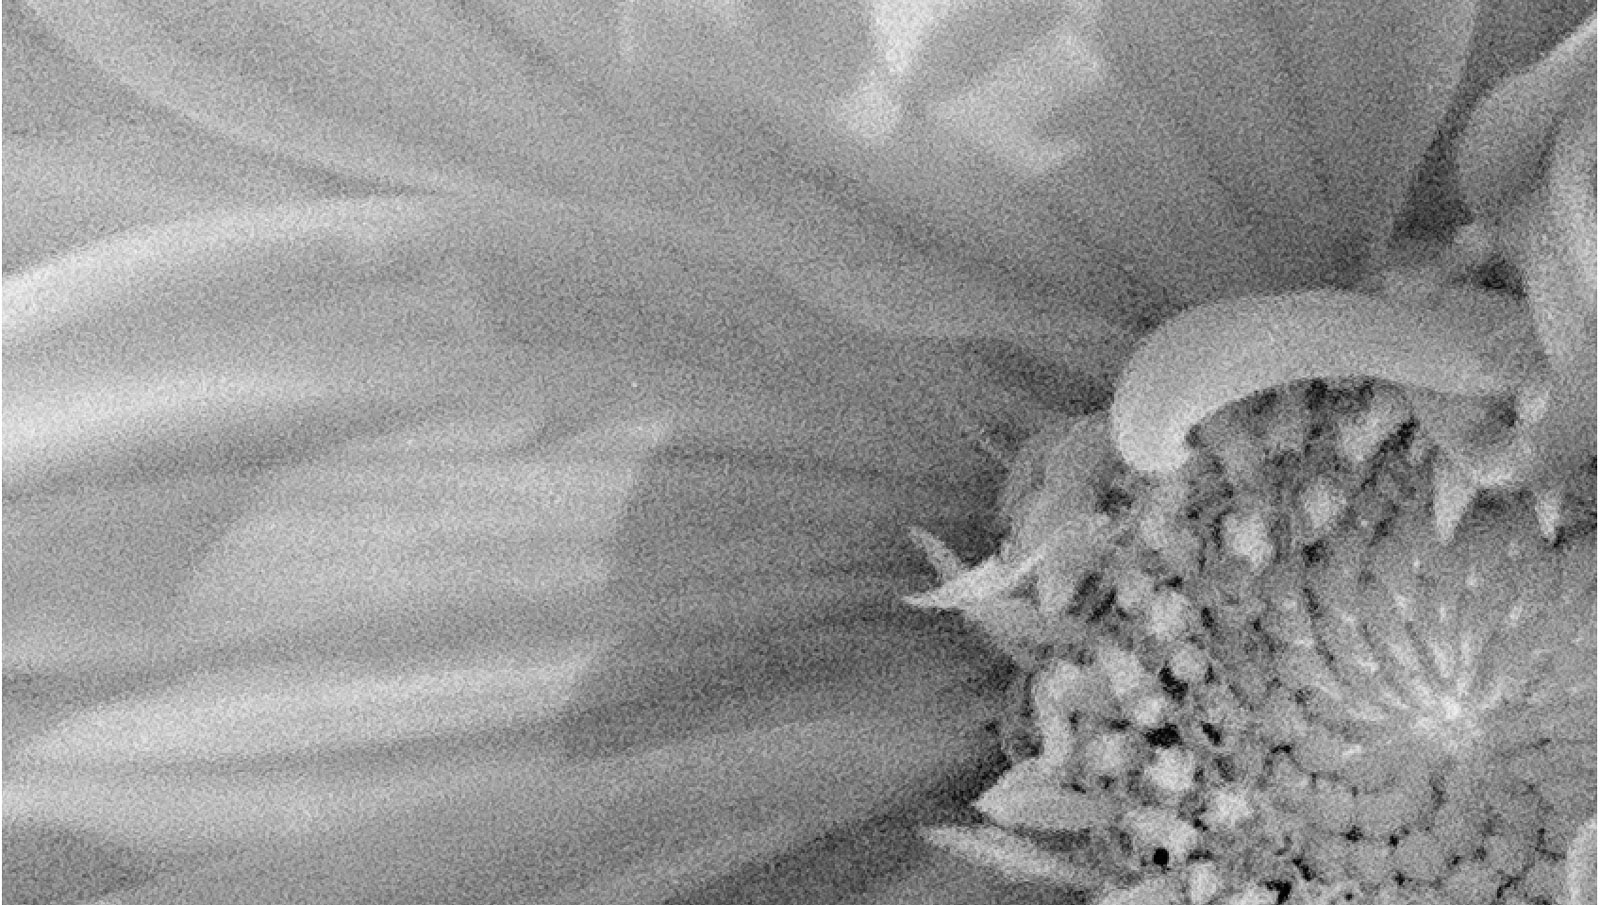
When we look at a portion of the images magnified to 100% there is a distinct difference between the two. The image taken with the camera is much sharper and shows greater detail and texture.
At 200% the difference between the methods is unmistakeable. The enlargement of the scanned image is simply a blur. There is no detail at all. The blow-up from the image obtained from my Canon R still shows sharpness. But remember, this is from a piece of film. And the salt and pepper “noise” you see in the image is the actual grains of silver in this fine grained film. The scanner may be sufficient for posting to the internet but to create a fine print it simply does not do the job.
Workflow for Film
When I say “Film” I am refering to Black and White film. I like to develop my own film to maintain as much control as possible and color processing is not something I am interested in. Too much trouble. And besides, most of my film shooting is done to enjoy my old cameras and for that B&W works just dandy!
Scanning with the camera is tedious, to say the least. You have to set up the equipment, take the images watching for dust and the like and ensuring even illumination. Then you have to transfer the images to the computer. Once in the computer you are dealing with negative images. From these you cannot assess your images properly.
To convert an image to a positive is not difficult but it is time consuming. As a result I do not convert every image. On a roll of film there are likely only one or two images that you will be interested in. So, I first scan my images which quickly and easily gives me positive images I can assess and use on-line. Then those that I may consider for prints I will specifically image with my camera. This saves a huge amount of time.
And in Conclusion ….
I cannot leave this subject without giving a good word to Canon for their FD 50mm f/3.5 Macro lens. This is an amazing piece of kit and although I acquired mine to collect it, I find I am using it constantly. And it is one sharp lens. At any distance this lens is amazing.
Secondly, the Bellows FL and Slide Duplicatior are wonderful pieces of equipment. Again, I acquired them as part of my collection but I have found them to be exceptionally usefull. I highly recommend them to you. They are not hard to find on the collector market and they are not expensive.
Now, what we have been discussing is 35mm film. As for larger formats, well, that is for another blog post.
This website is the work of R. Flynn Marr who is solely responsible for its contents which are subject to his claim of copyright. User Manuals, Brochures and Advertising Materials of Canon and other manufacturers available on this site are subject to the copyright claims and are the property of Canon and other manufacturers and they are offered here for personal use only.
