Shooting with the Mirror Box 2
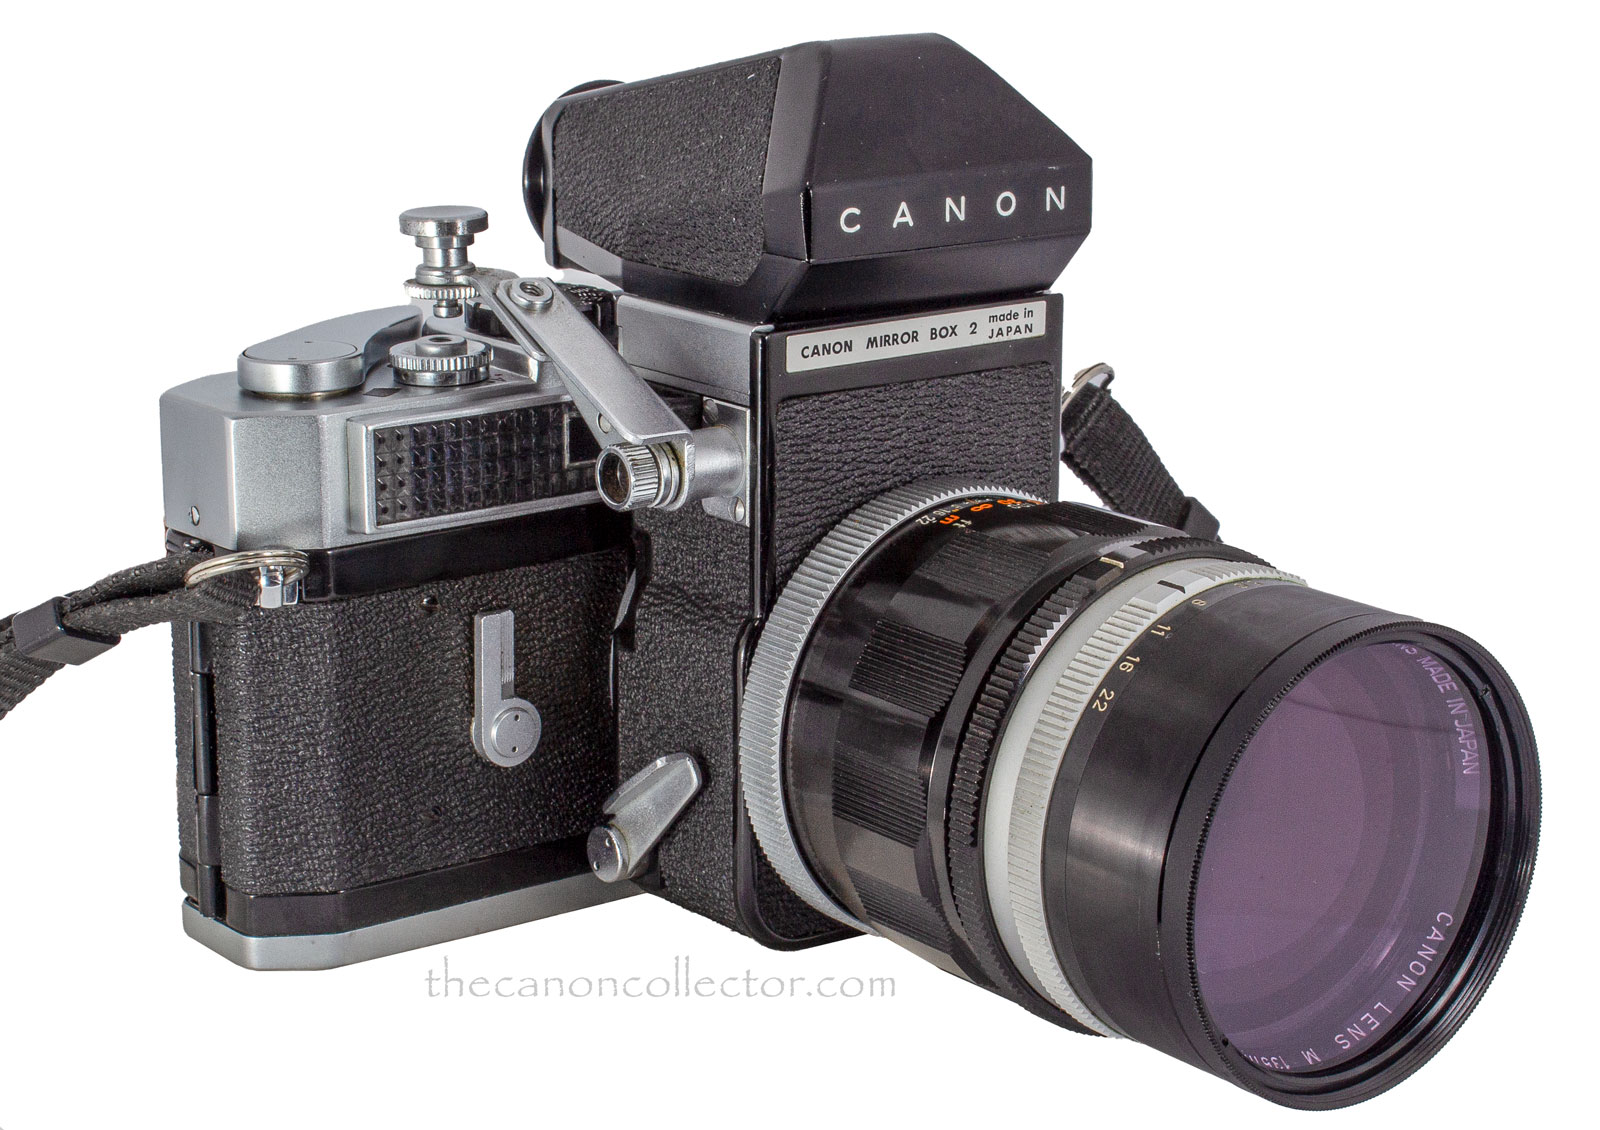
This is my Model 7 (Ser. No. 835801) with
a Mirror Box 2 and M 135mm f/2.5 (Ser. No. 19686)
telephoto lens. This is the gear I took for a walk last week.
One of the great things about collecting old cameras is being able to take pictures with such a wide range of equipment. I am shooting with gear that I could never have afforded when it was new but now, so many years later, it is affordable.
I have had sitting on my camera shelf for several years a Canon Model 7 rangefinder camera
with a Mirror Box Two mounted on it
with an M 135mm f/2.5 telephoto
lens. I decided last week that it was
time to try it out. This post is about
my impressions of shooting with the
Mirror Box 2.
Both the camera and the mirror box were untested so first thing I did was sit down, load a dummy roll of film, and see how it all worked.
And I immediately ran into my first observation. Loading film into the Model 7 is a pain in the …… camera! It is not as easy as the User Manual suggests. The take up spool has a slot for the film to feed into and this is too narrow so the film does not fit into it. Secondly, the tab that is supposed to hook the “second perforated hole” is just too small to do that. So loading the camera is fiddley (is there such a word? ) and annoying. But it can be done.
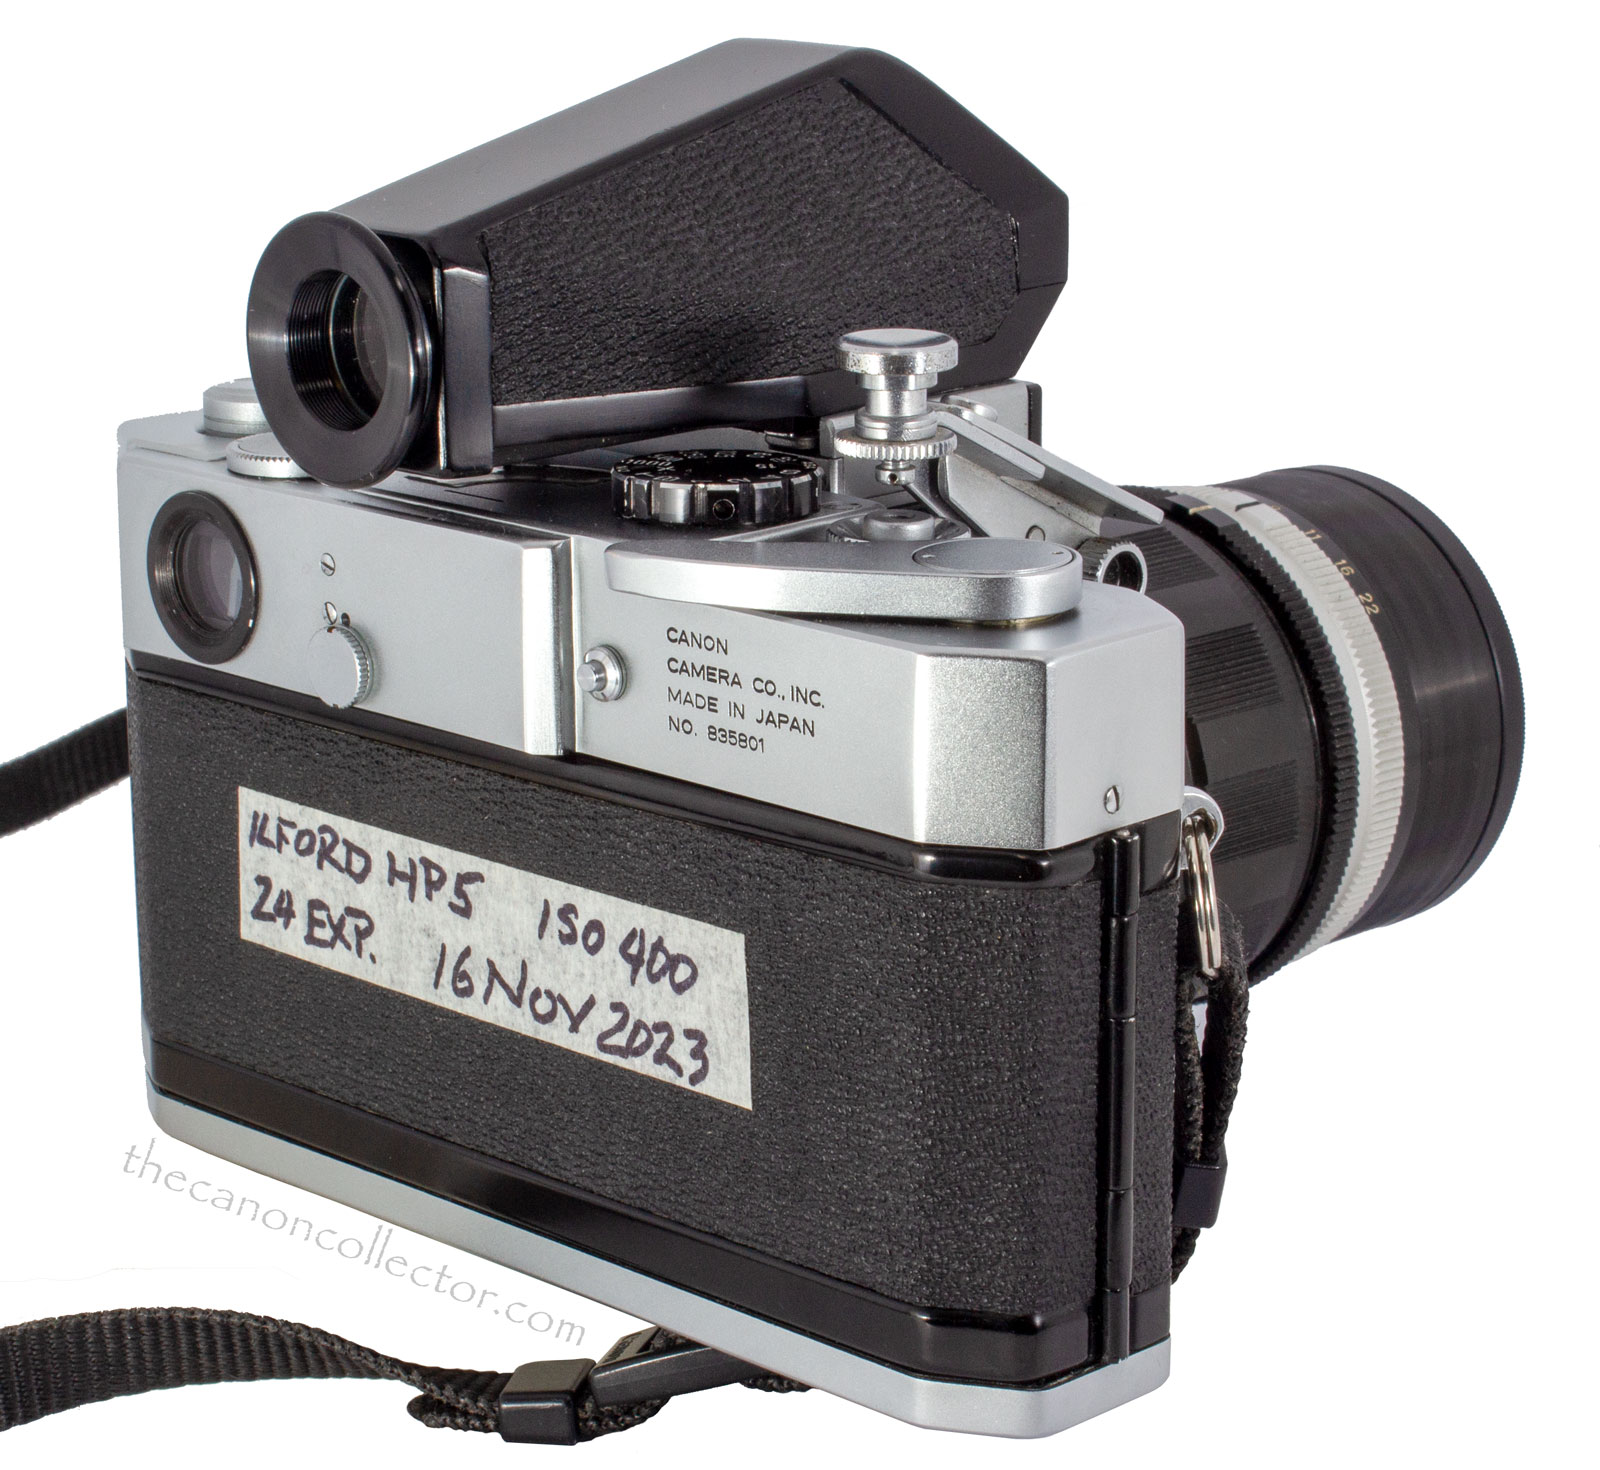
This is the back of the Model 7 and Mirror Box 2. The masking tape message is to keep track of which camera has film in it, and what that film is. With so many cameras this is a must!
I then played with the mirror box and realized I had another problem. The mirror is on a small platform that moves up into the housing and then drops down when the shutter is released. The platform rides on two vertical rods, one of which has a spring wound around it, which compresses when the mirror is lowered into the light path for viewing through the lens. When the shutter fires the spring powers the mirror platform upwards out of the light path so the picture can be taken.
The problem was that the mirror was not moving upwards totally out of the light path. It was getting stuck half way. I treated this by using solvent on a small piece of rag and tweezers and I cleaned the two support rods and then applied a drop of fresh oil to each. That did the
We have a Newsletter
There is a Newsletter for thecanoncollector.com to keep you up to date on what we are posting. Try it!
trick. But, there is a lesson here to remember: always check your gear before you go out to be sure you know how to use it and to ensure that it is working. Fourty year old cameras and equipment get stiff with age and often need some gentle TLC. Had I not taken the time to do this preliminary check I would have wasted a whole roll of film.
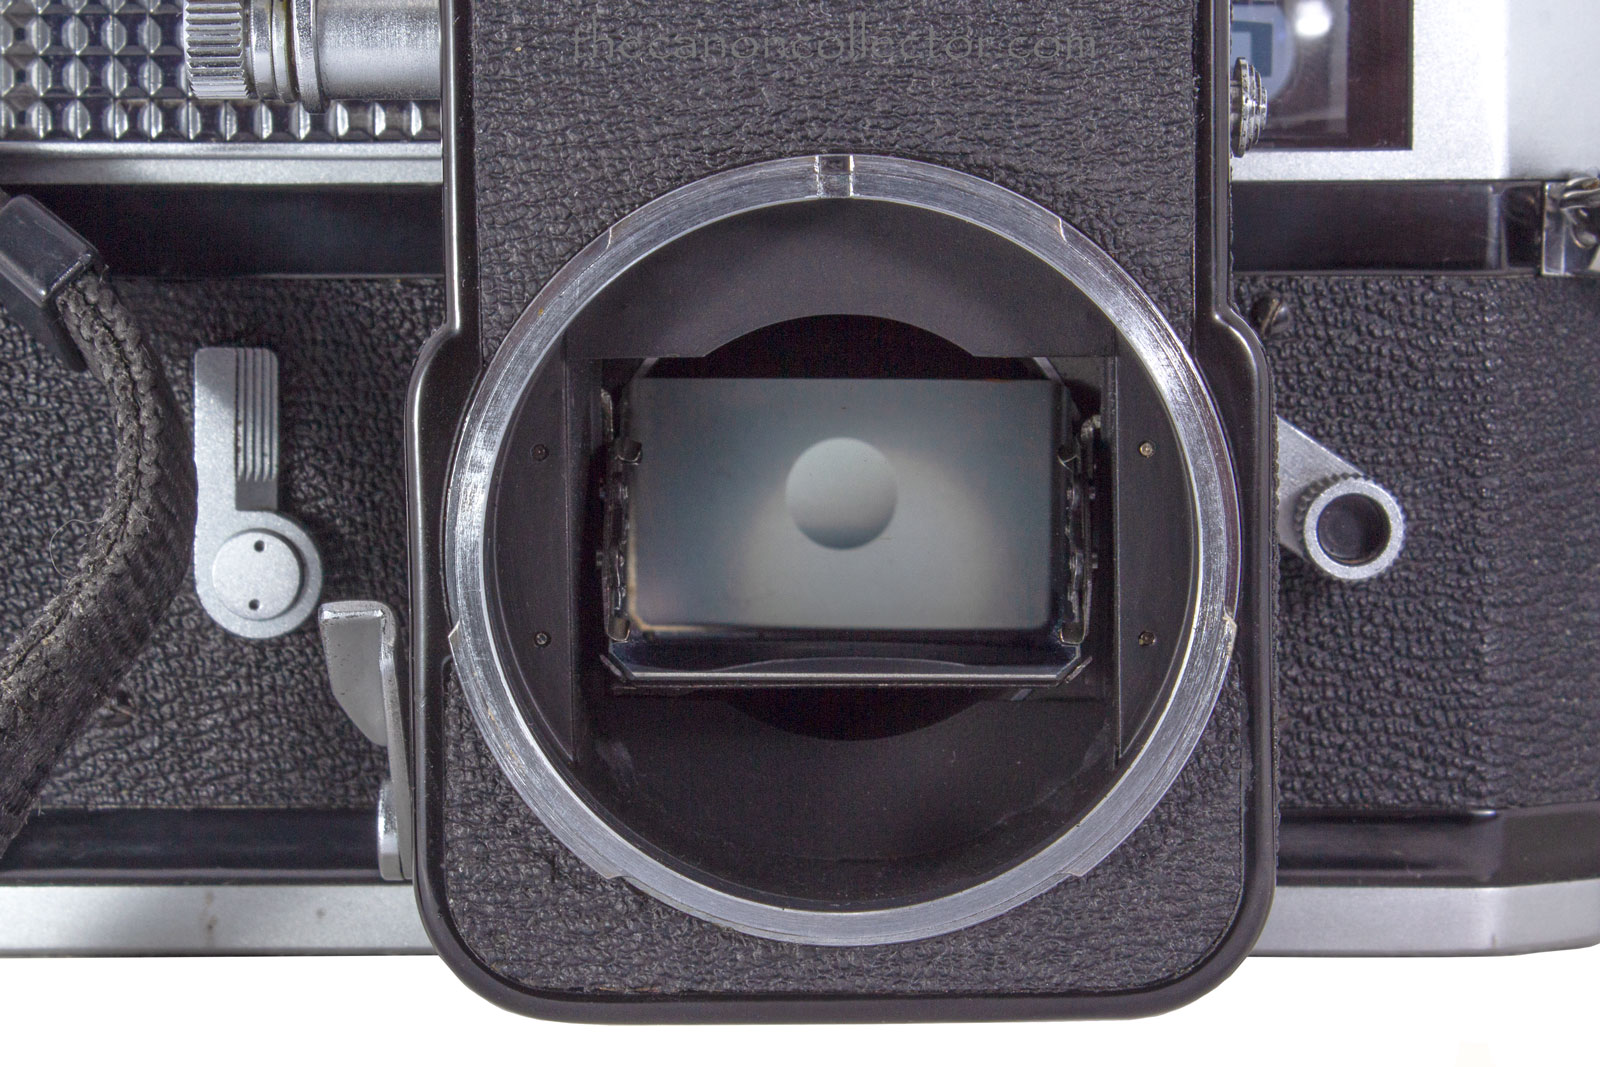
Looking into the front of the Mirror Box we see the mirror in the down position with an image of the focusing screen which is above it.
There is one more setting that is critical to using the Mirror Box. The mirror must jump up out of the way just as the shutter releases but it must be up before the exposure begins. This, unfortunately, can be set to move too soon, resulting in a blank viewfinder just before the shutter fires or in the alternative, the mirror blocks light as it pushes up while the exposure is taking place.
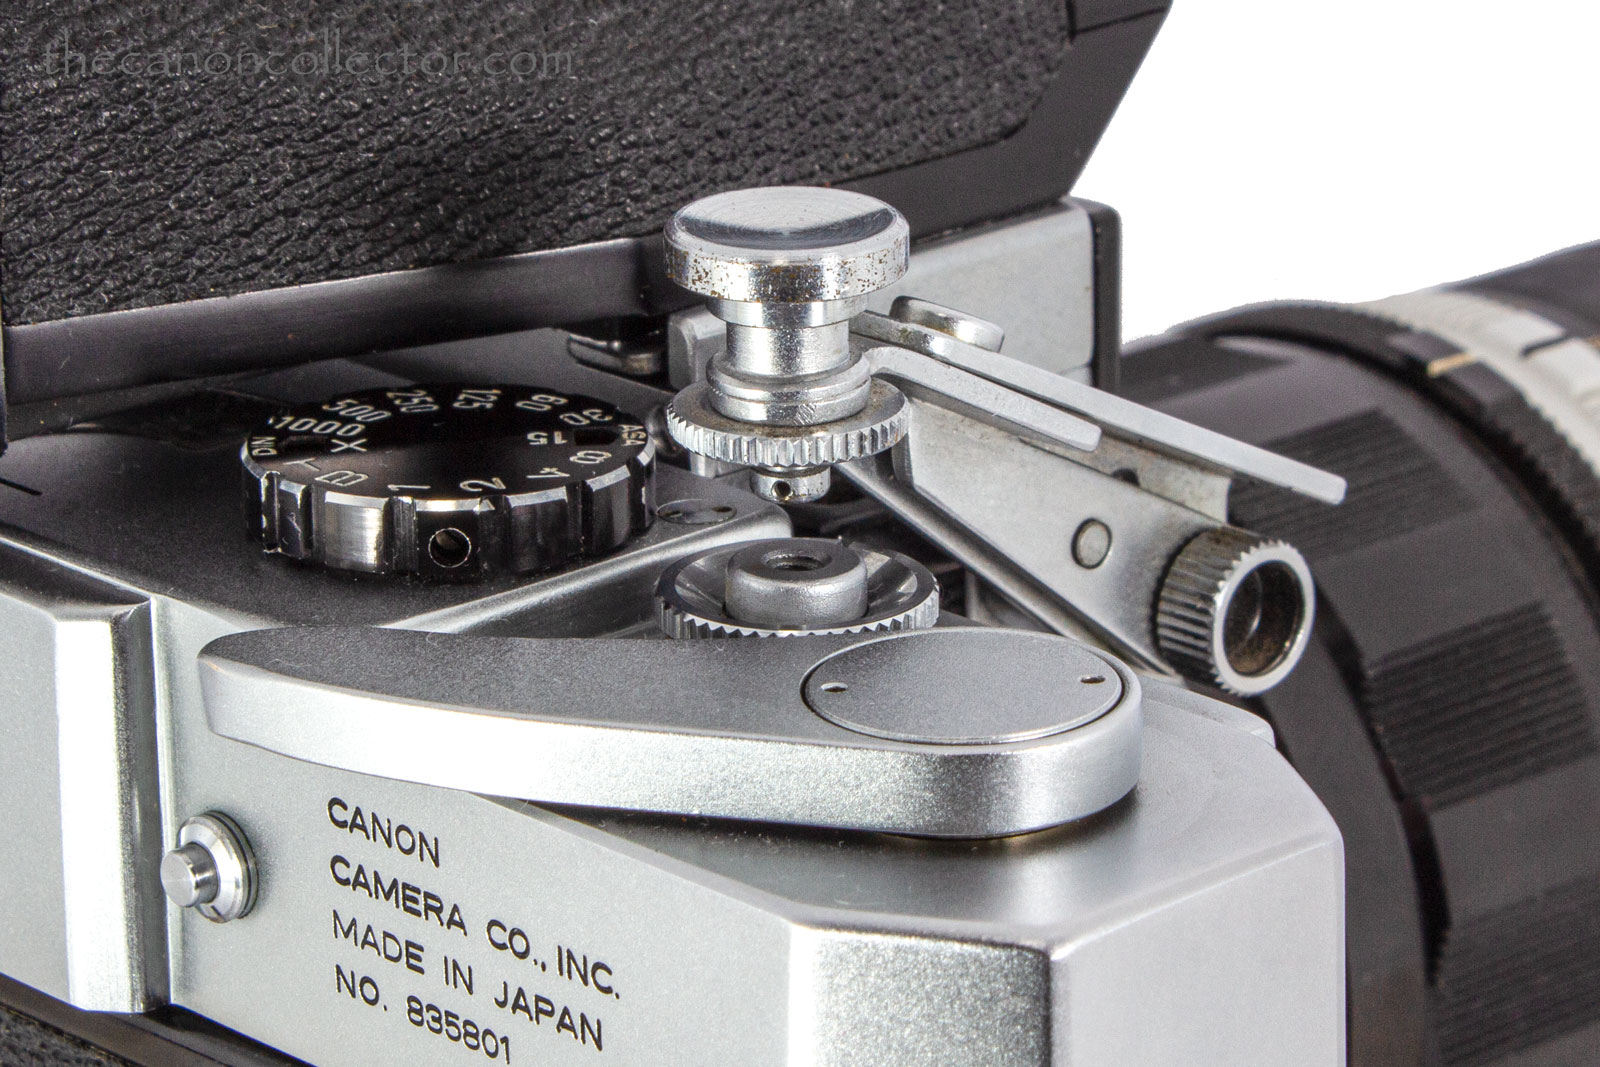
The mirror box has an arm that sticks out over the shutter button and when you push this down the lever fires the shutter and the mirror platform. The timing of these two events is controlled by the threaded plunger under the arm that makes contact with the shutter button. Once you have the setting working correctly there is a locking screw that you can tighten to prevent the setting changing on you while you are in the field. I had to play with this to get the right setting but once I had it set, it worked well.
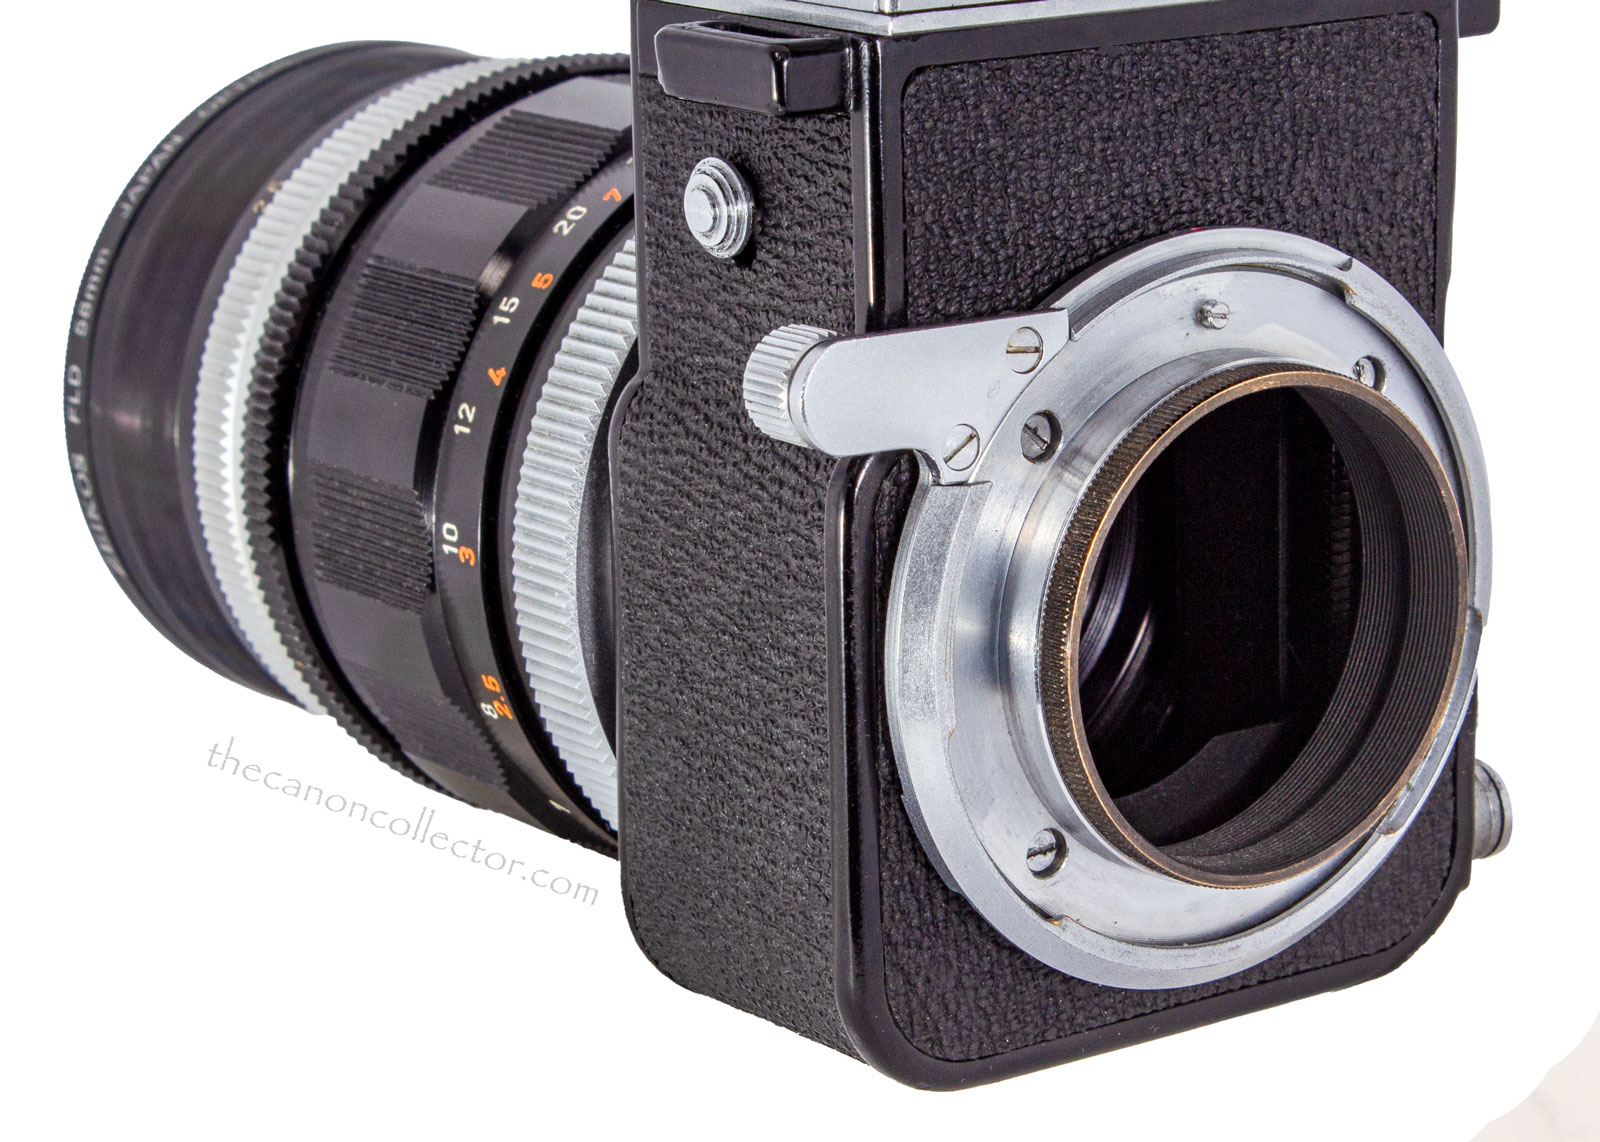
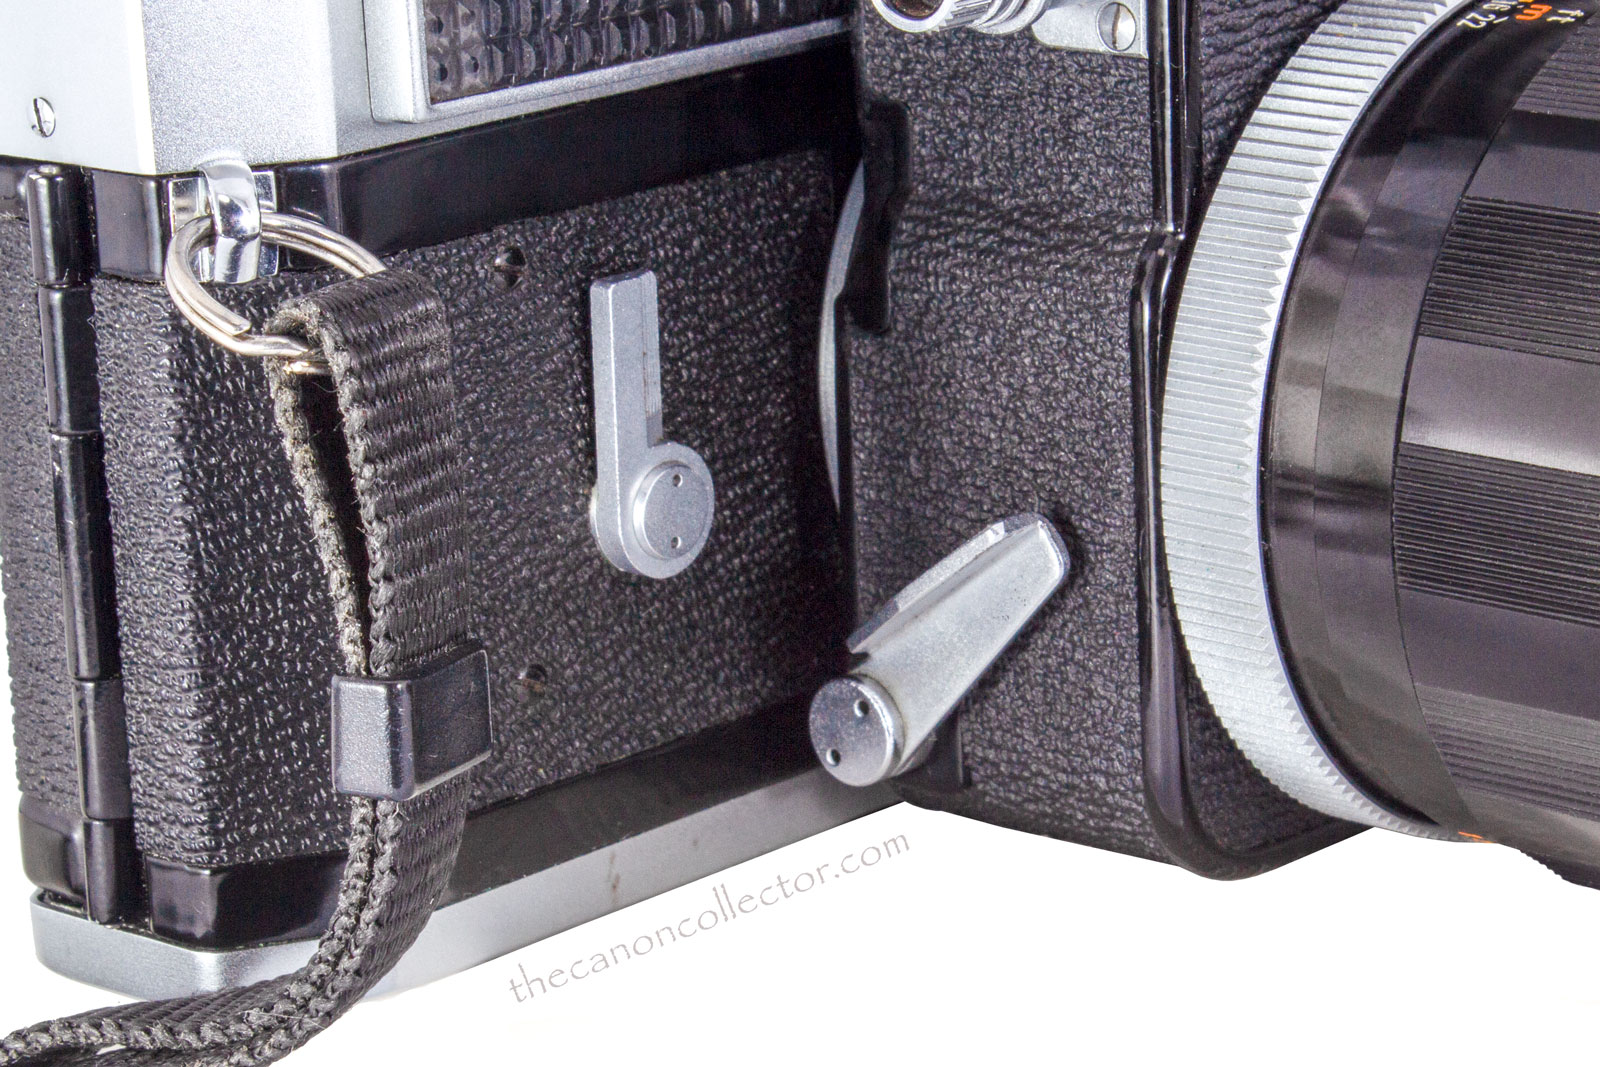
The Mirror Box 2 will only connect to the Model 7 and Model 7s’s external bayonette lugs. The lever in the side is raised to its upper position, shown here, the camera fits straight into the mount and it is locked in place by moving the lever down which rotates the locking lugs.
In this picture we can see the shutter release arm of the Mirror Box 2 positioned over the shutter button on the camera. The plunger on the arm is threaded and can be raised or lowered by turning it. The serrated locking wheel is located beneath the arm. This is used to lock the setting in place.
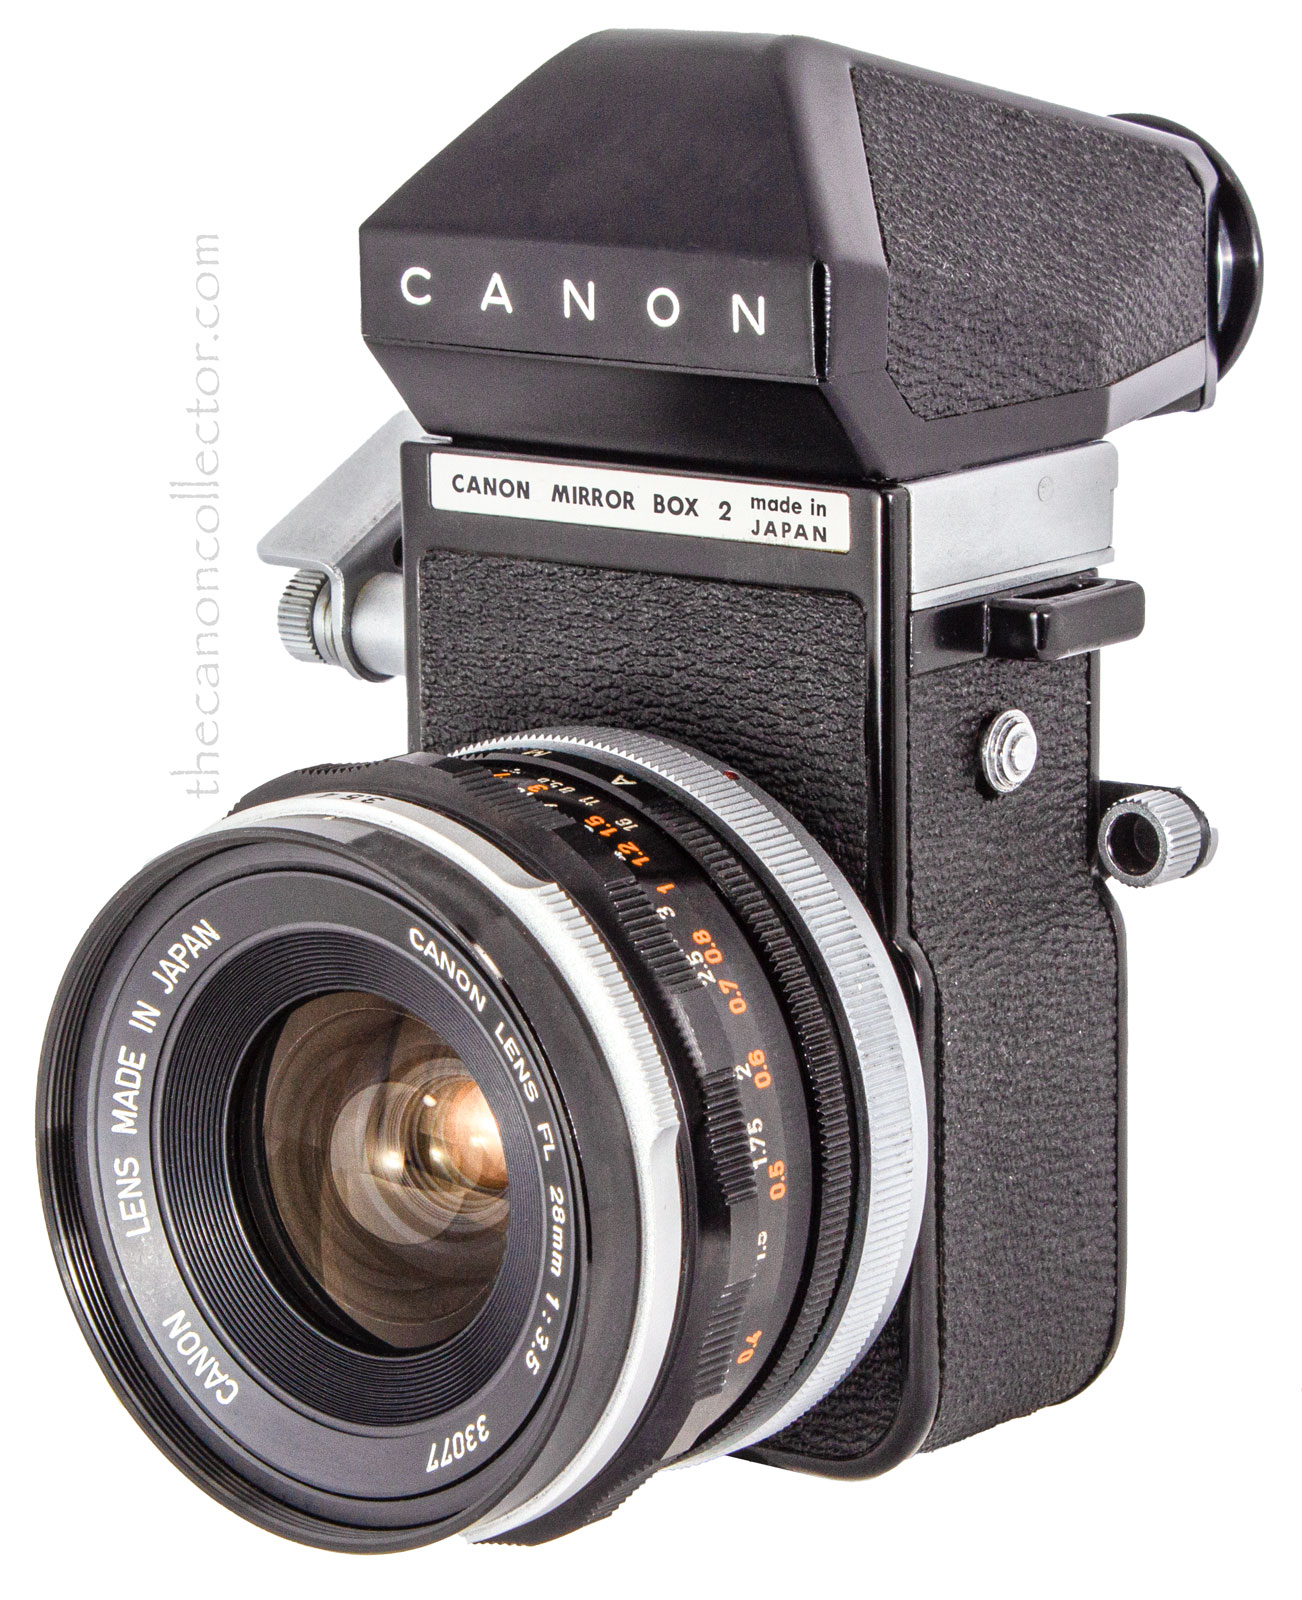
This is the Mirror Box 2 with an FL 38mm f/3.5 lens mounted on it. It mounts fine but there is no auto aperture function and focus is way way too close. There is no infinity focus or anything close to it.
To take a picture the mirror platform must be moved up out of the light path. This is done by depressing the lever, shown above, on the right side of the mirror box. I found that this can be done most conveniently with the ring finder on either hand.
The Canon M 135mm f/2.5 Lens
Canon made two lenses to fit directly on the Mirror Box 2, an M 200mm f/3.5 and, the one I have, an M 135mm f/2.5 lens that mounts just the way any later FD lens mounts, with the familiar silver locking ring. Of course there is no auto aperture control with this lens.
Some much longer focal length lenses could also be used on the mirror box but they required a bellows between the mirror box and the lens for focusing. We are not going to look at any of that here.
The aperture works like any preset manual aperture. You set the f-stop with one ring and then close the lens down to the preset aperture with a second ring. So, set the aperture, using the second ring open the aperture, focus, then close down to the preset aperture, and finally press the shutter. You can see there is a lot to do to take a picture with this rig.
In this lens we see the beginning of the FD series of lenses. The locking ring is the same as the one used on the Canomatic lenses, the FL lenses and the FD lenses. In fact, all of those lenses will fit on the Mirror Box 2 but they will be far to far from the film plane and focus distances will be a matter of inches. There will be nothing near “infinity focus”.
Shooting with the Mirror Box 2
I know we are going pretty fast here but we set out to talk about taking pictures. So let’s get to it.
Once I got out to expose some film the first thing I noticed that this is a heavy unit when all is assembled. It hangs nicely around the neck but if I was to spend two hours taking sports action I think I would get pretty tired.
Secondly, I noticed that the camera and the mirror box have many many sharp angles which makes holding the camera uncomfortable.
The mirror box does not obstruct any of the camera controls, with two exceptions. The light meter sensor is obscured and the meter is completely covered. So you have to use an auxiliary meter, handheld, as the Model 7 has no “shoe”. The 7s has a shoe but it and the meter are covered by the viewfinder prism as well. So, hand held meter. The second difficult control is the switch around the shutter button that locks the shutter button or allows film rewind. This is hard to access with the Mirror Box mounted on the camera.
Another complaint is the focusing screen. But this is something I have trouble with on all cameras. With my old eyes the focus screen, which is a ground glass with a circle in the center with a finer grain to it, is hard to use. Even with the lens wide open, I have trouble finding accurate focus. I prefer to have a split image, at least, to work with.
The day I chose to go out was sunny with clouds floating about. Film was HP5 shot at ISO of 400. I scanned the film with my EOS R and in post processing I did adjust brightness and contrast but I did no sharpening. My apertures were around f/8 to f/11.
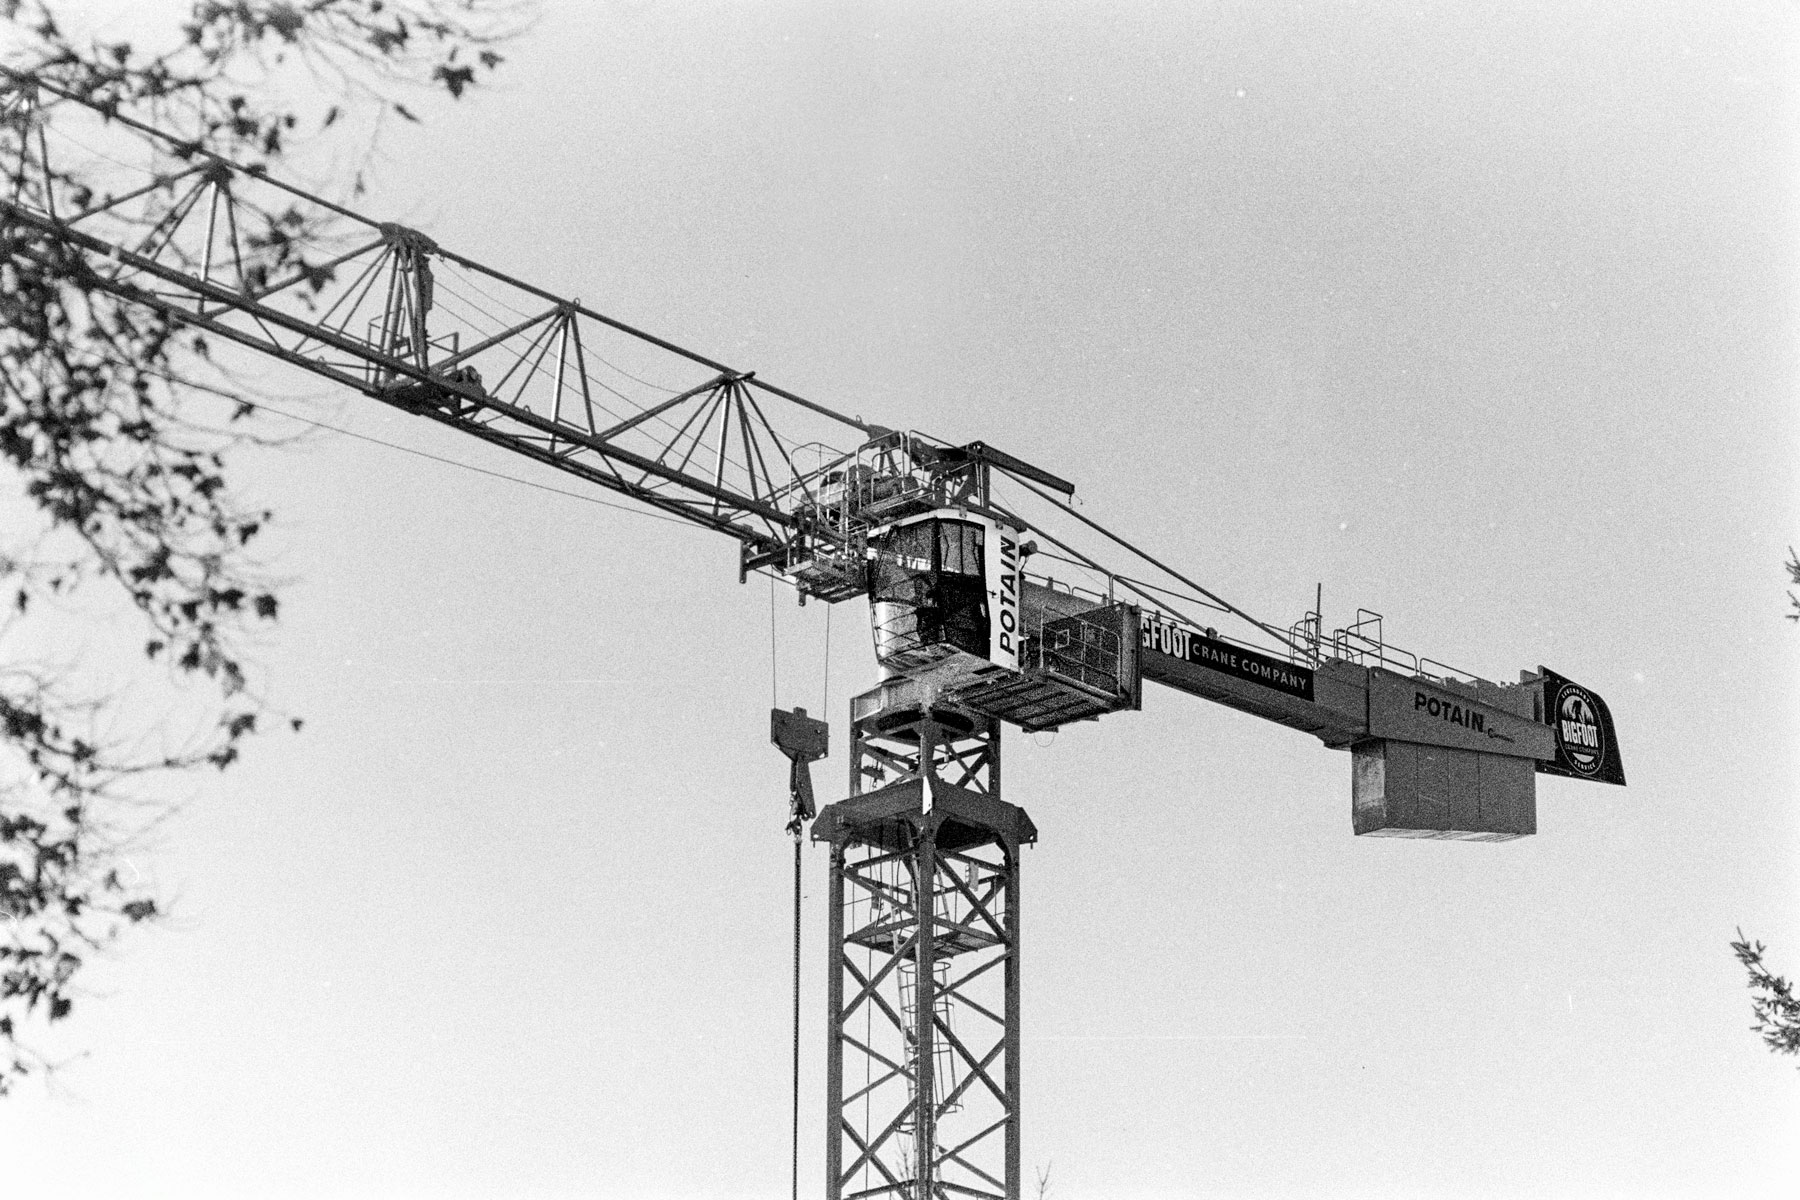
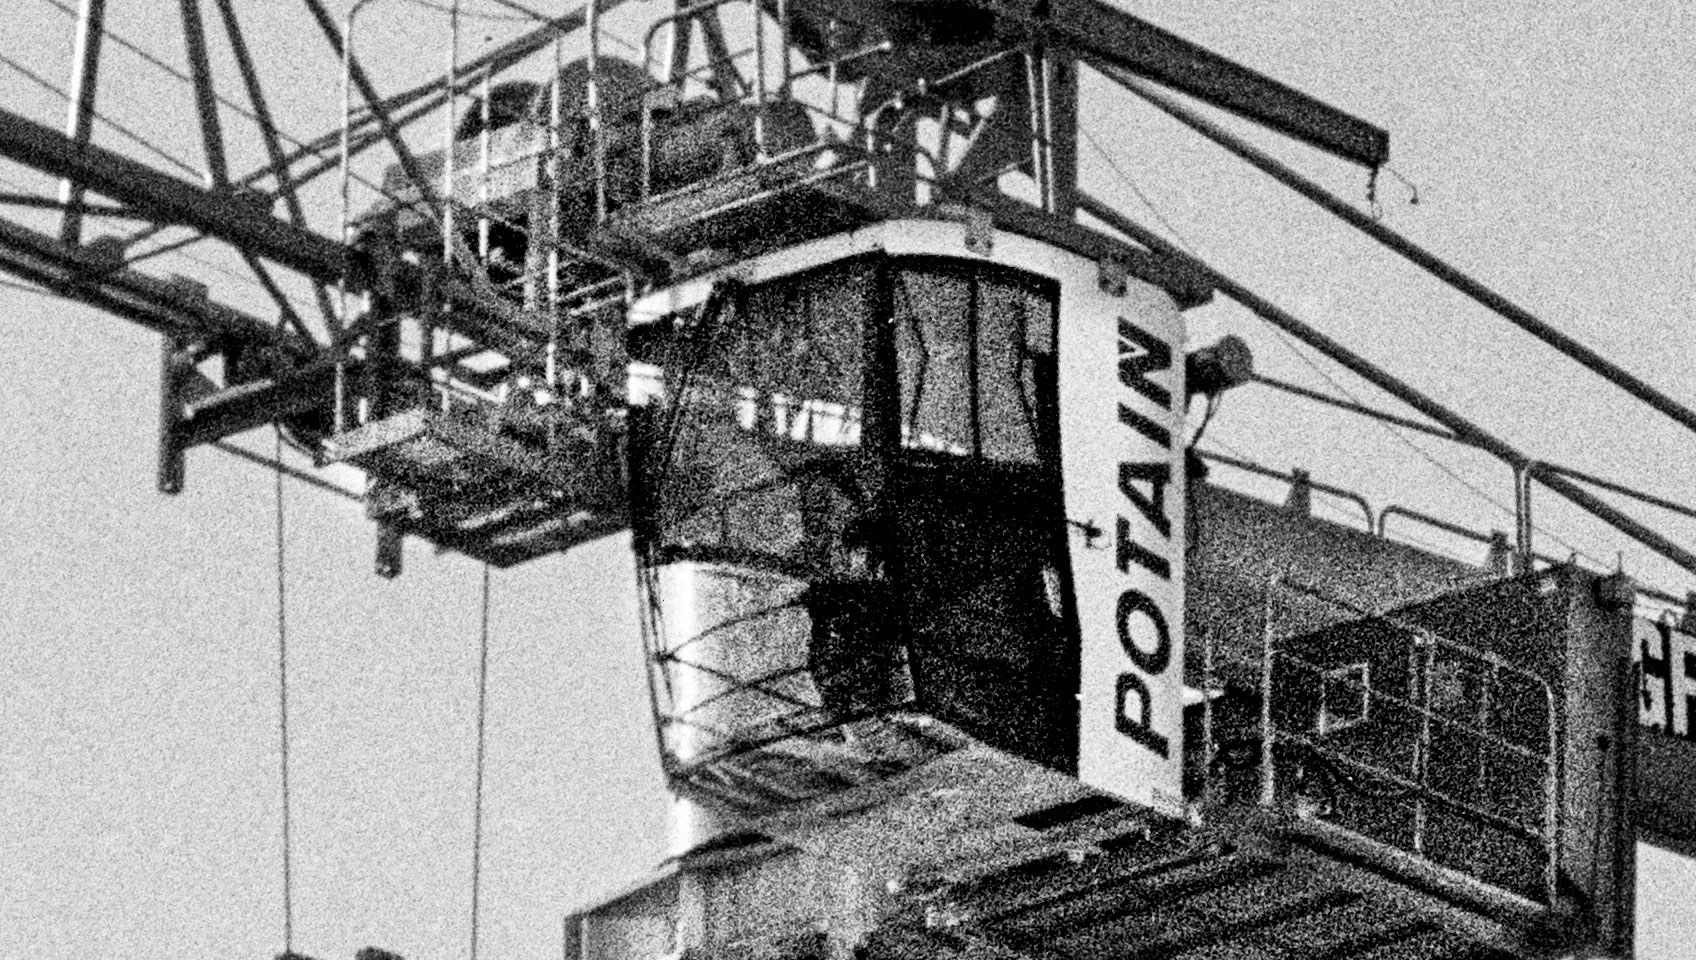
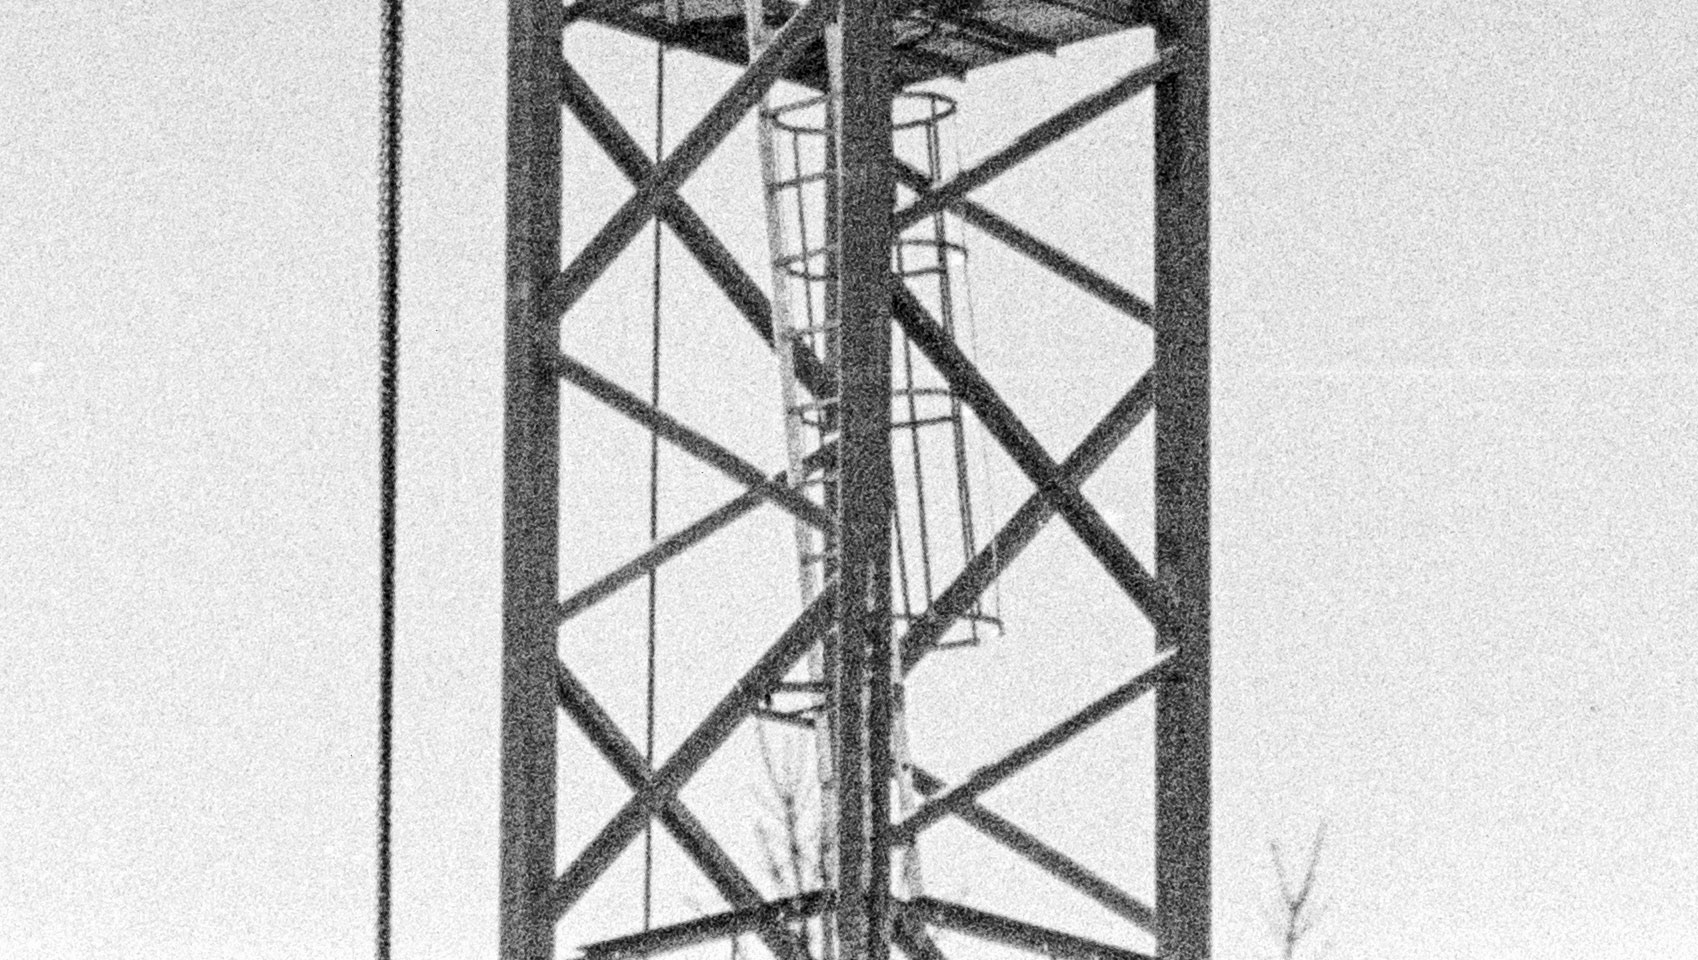
This is the full frame image. The trees on the left and right are in the foreground and not in sharp focus. Focus was on the crane.
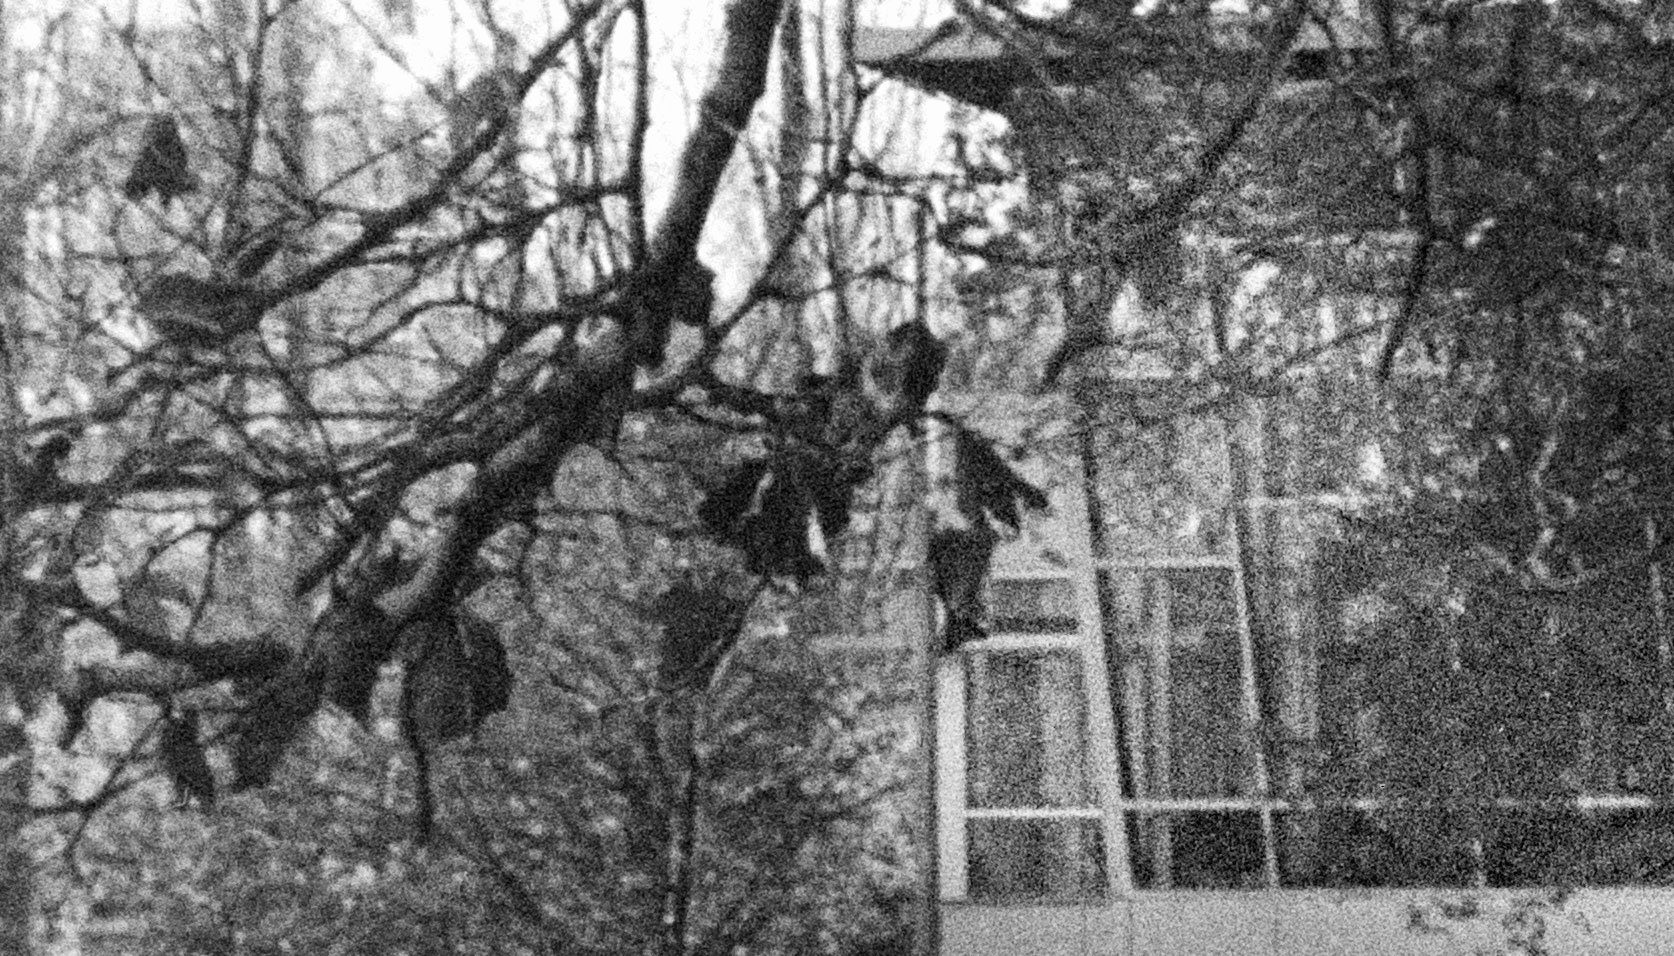
This is the center of the frame rendered at 100% The grain of the film is visible and we can see the lens is sharper than the film is able to capture.
After all is said and done, actually taking pictures with the Mirror Box 2 is pretty straightforward, although, there are more steps than with a modern DSLR or mirrorless digital camera. Those steps are:
- Take a light reading and chose your shutter speed and aperture.
- Set your shutter speed and aperture but open the aperture with the “stop-down” ring.
- Lower the mirror by pressing the lever on the right side of the mirror box.
- Focus the image.
- Use the “stop-down” ring to close the aperture to the selected setting.
- Compose the image and press down on the shutter release.
I found that I quickly became used to this routine. Once chosen, aperture and shutter speed generally did not change so steps 1 and 2 were simplified. After a dozen or so shots the proceedure became routine.
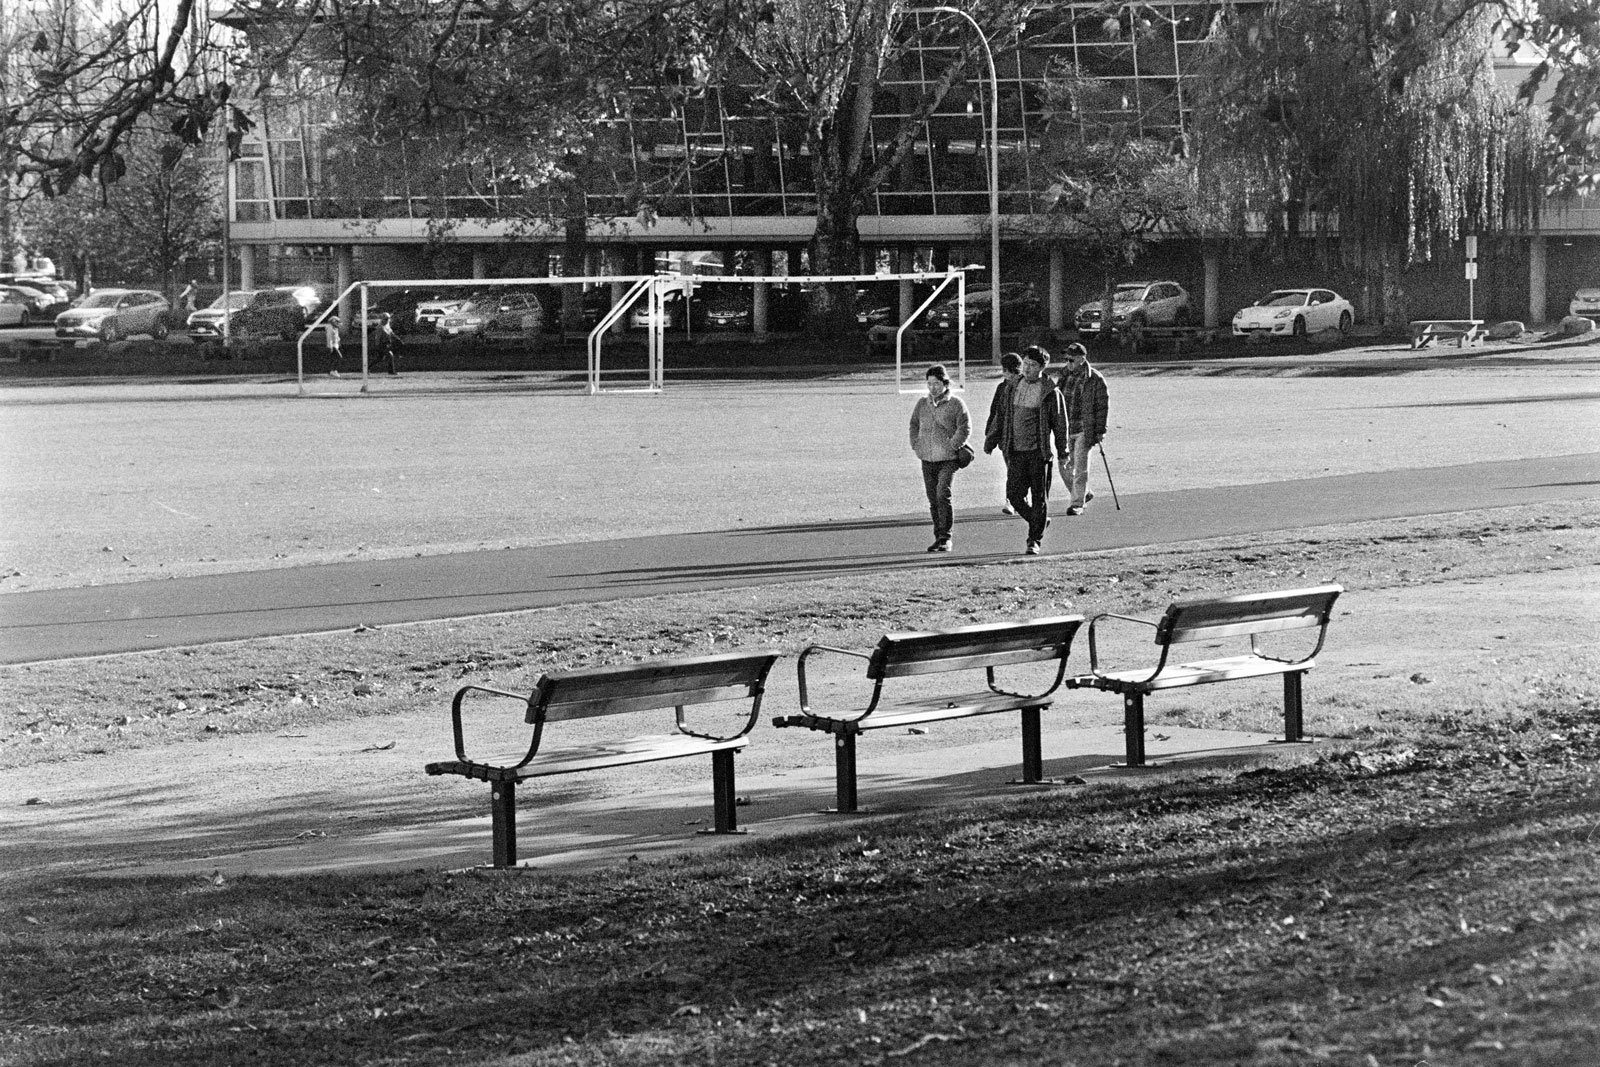
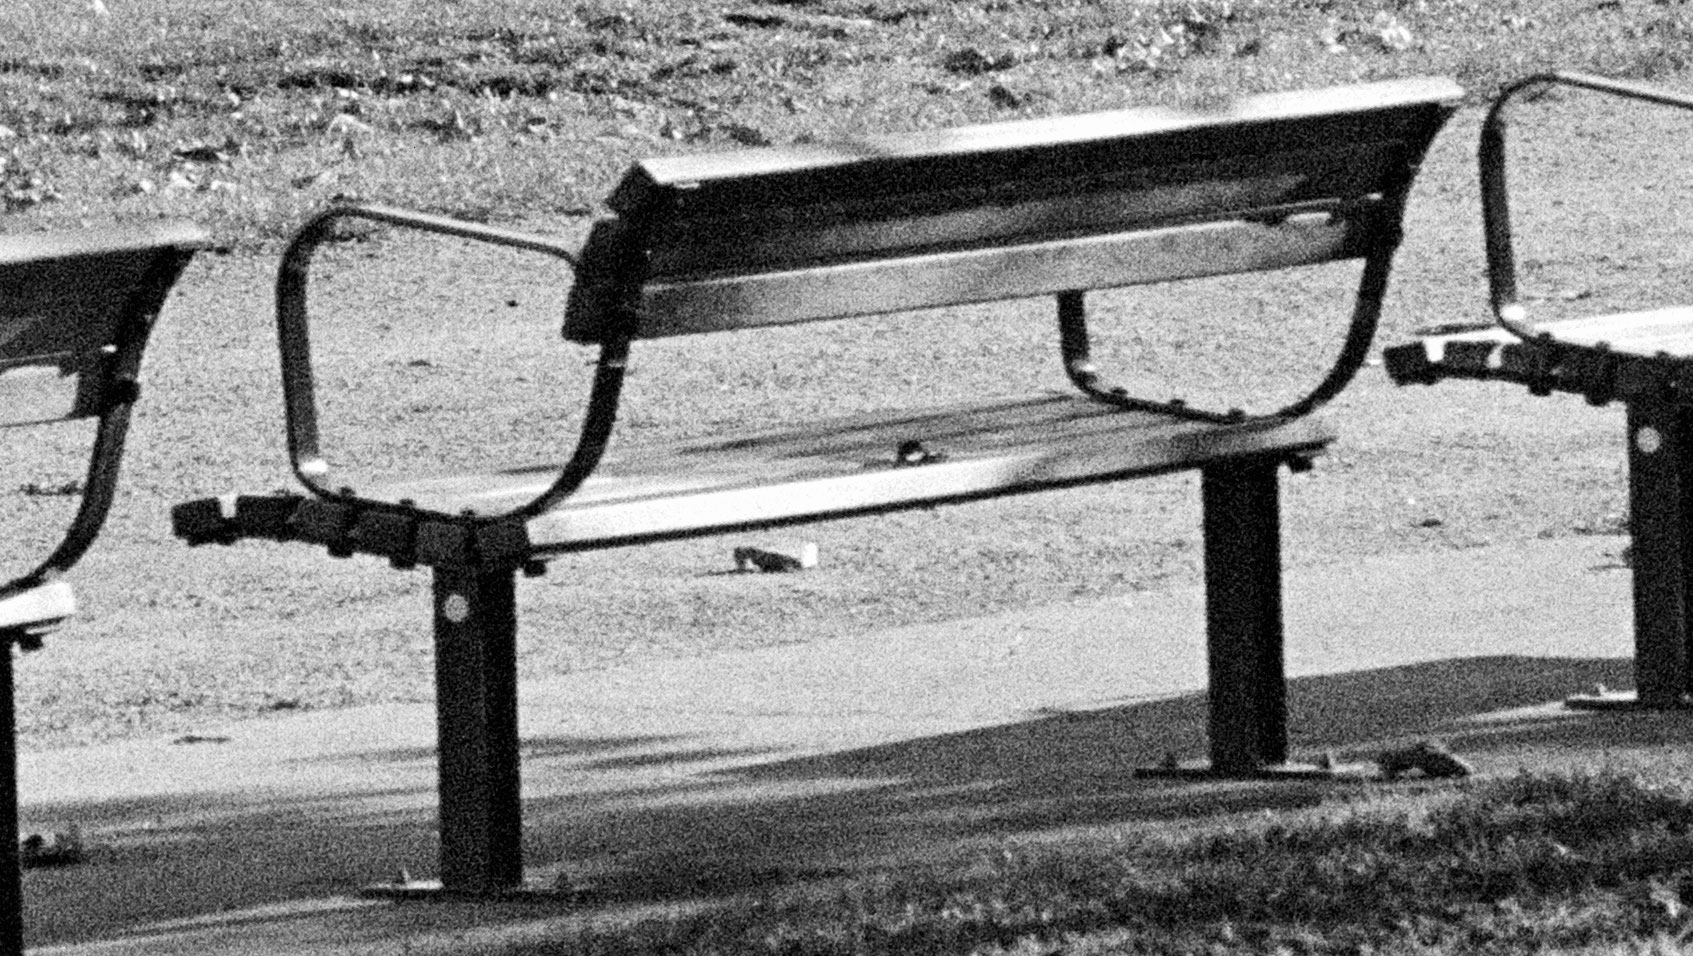
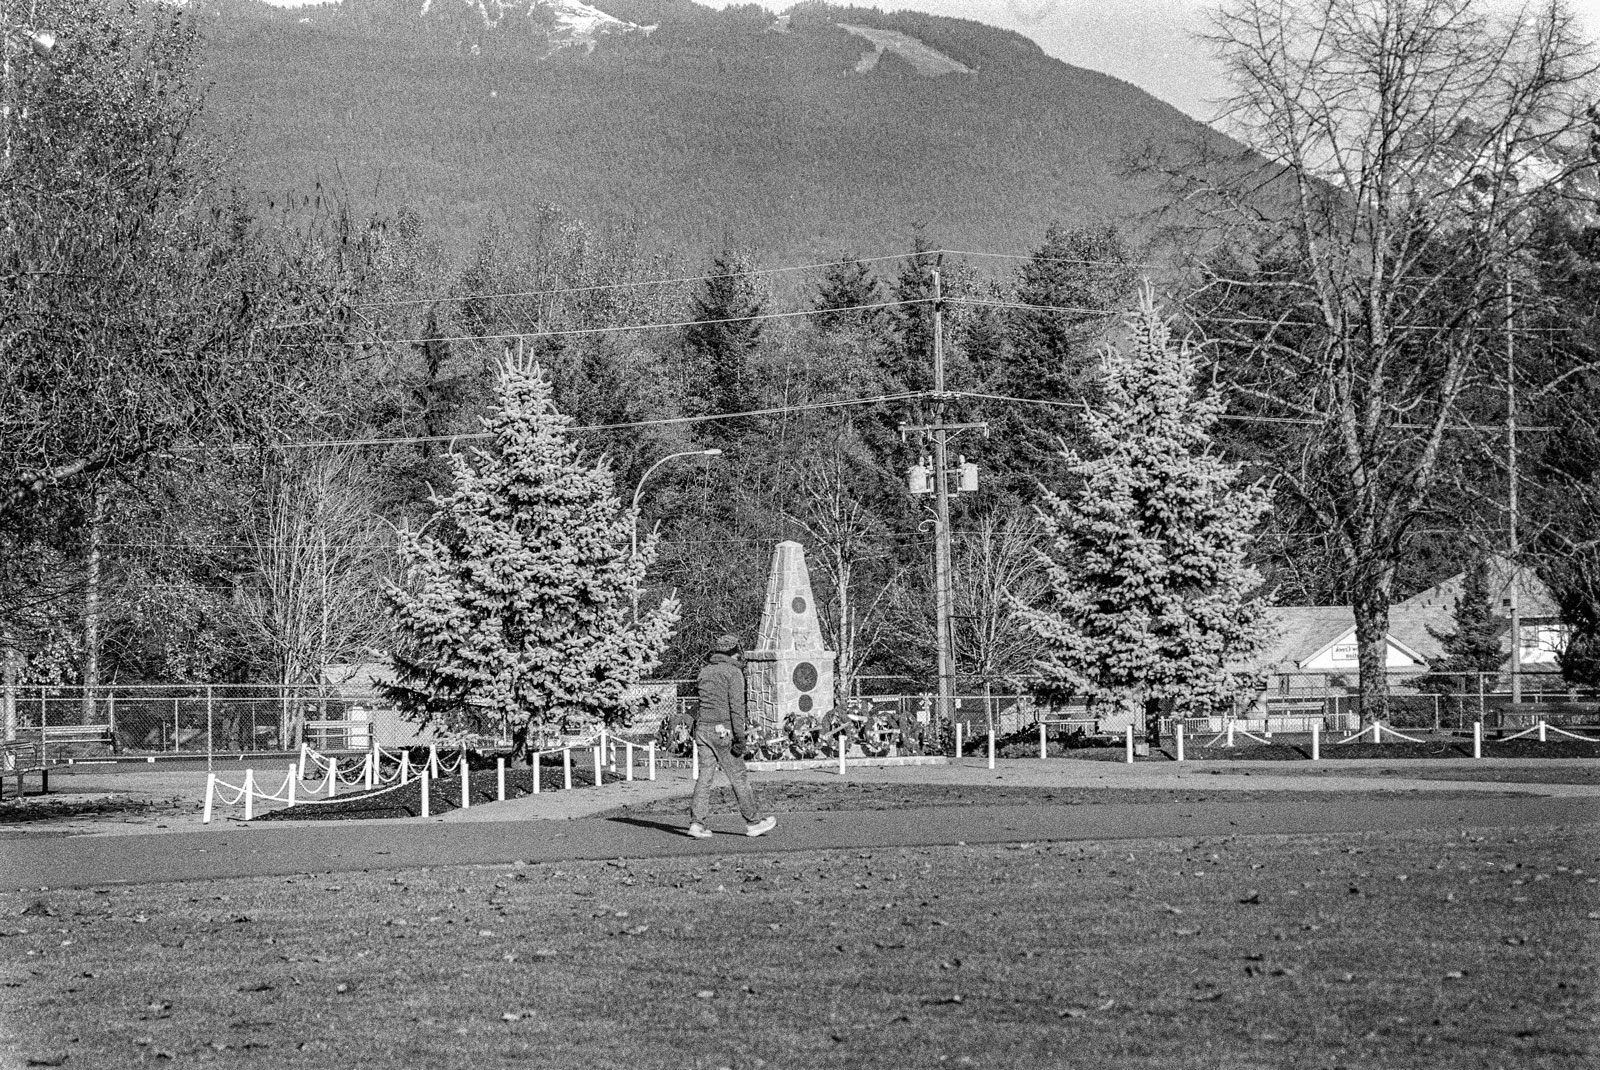
Again this image is the full frame. Contrast and brightness have been adjusted in post but sharpness is as it came off the film.
The center of the image at 100% again shows the grain of the film. Lens sharpness exceeds the ability of the film to capture it.
135mm lenses seem to the the longest lenses that a rangefinder camera can handle reliably because as the focal length increases the viewfinder is trying to interpret smaller and smaller angles. In a consumer device like a camera that is designed to be knocked about to some degree it is not realistic to expect such precision. So there is a limit. The Mirror Box 2 was designed to get around this shortcoming by allowing focusing of any lens on a ground glass in real time. The advantage of the Mirror Box increases with focal length.
That said, and regardles of how easy it was get used to using it, the arrival of the Single Lens Reflex put an end to the Mirror Box. SLR’s were lighter, easier to operate, and required fewer steps to obtain a picture. But, as I discovered, the Mirror Box was a practical device capable of taking fine pictures with long lenses. However, it arrived too late and the SLR was introduced before a useful range of lenses could be developed for it.
One final image, this time with some sharpening and other manipulation. It is not “art” but it does demonstrate that the Mirror Box 2 is a viable instrument and had the SLR not come along it may have matured into a sophisticated photo accessory.
This website is the work of R. Flynn Marr who is solely responsible for its contents which are subject to his claim of copyright. User Manuals, Brochures and Advertising Materials of Canon and other manufacturers available on this site are subject to the copyright claims and are the property of Canon and other manufacturers and they are offered here for personal use only.
