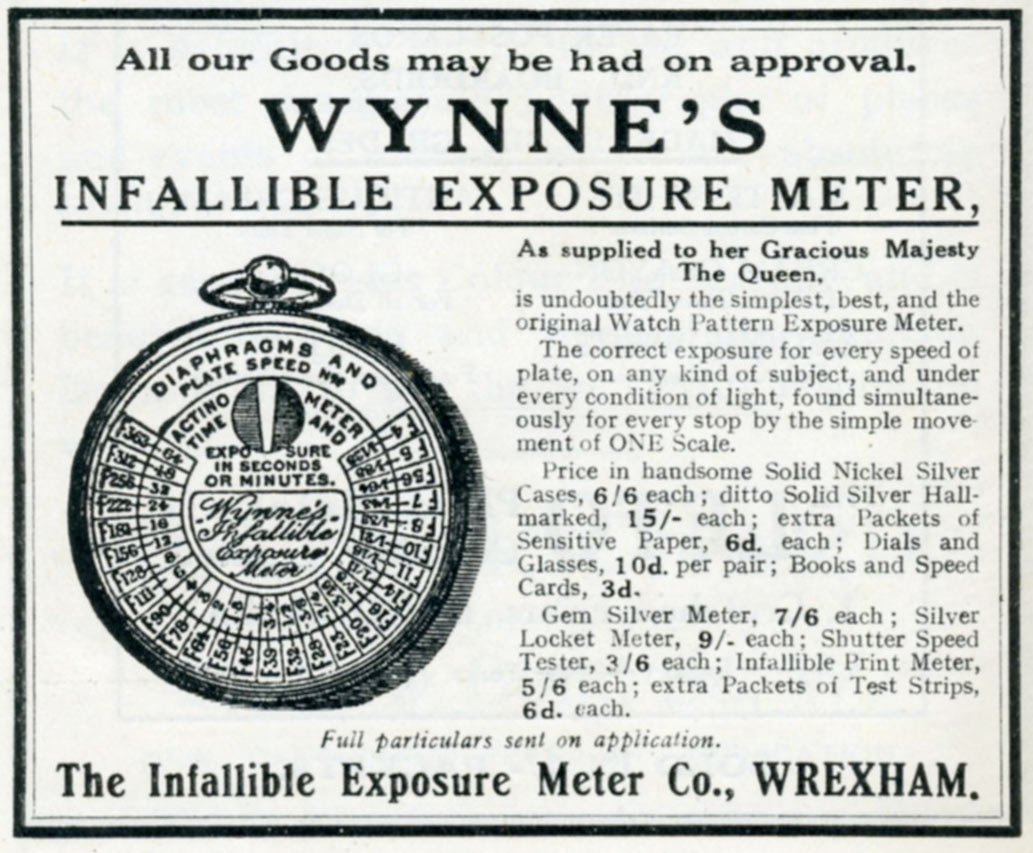
Wynne’s “Infallible”
Photographic Exposure Meter
Oh How Far We’ve Come!
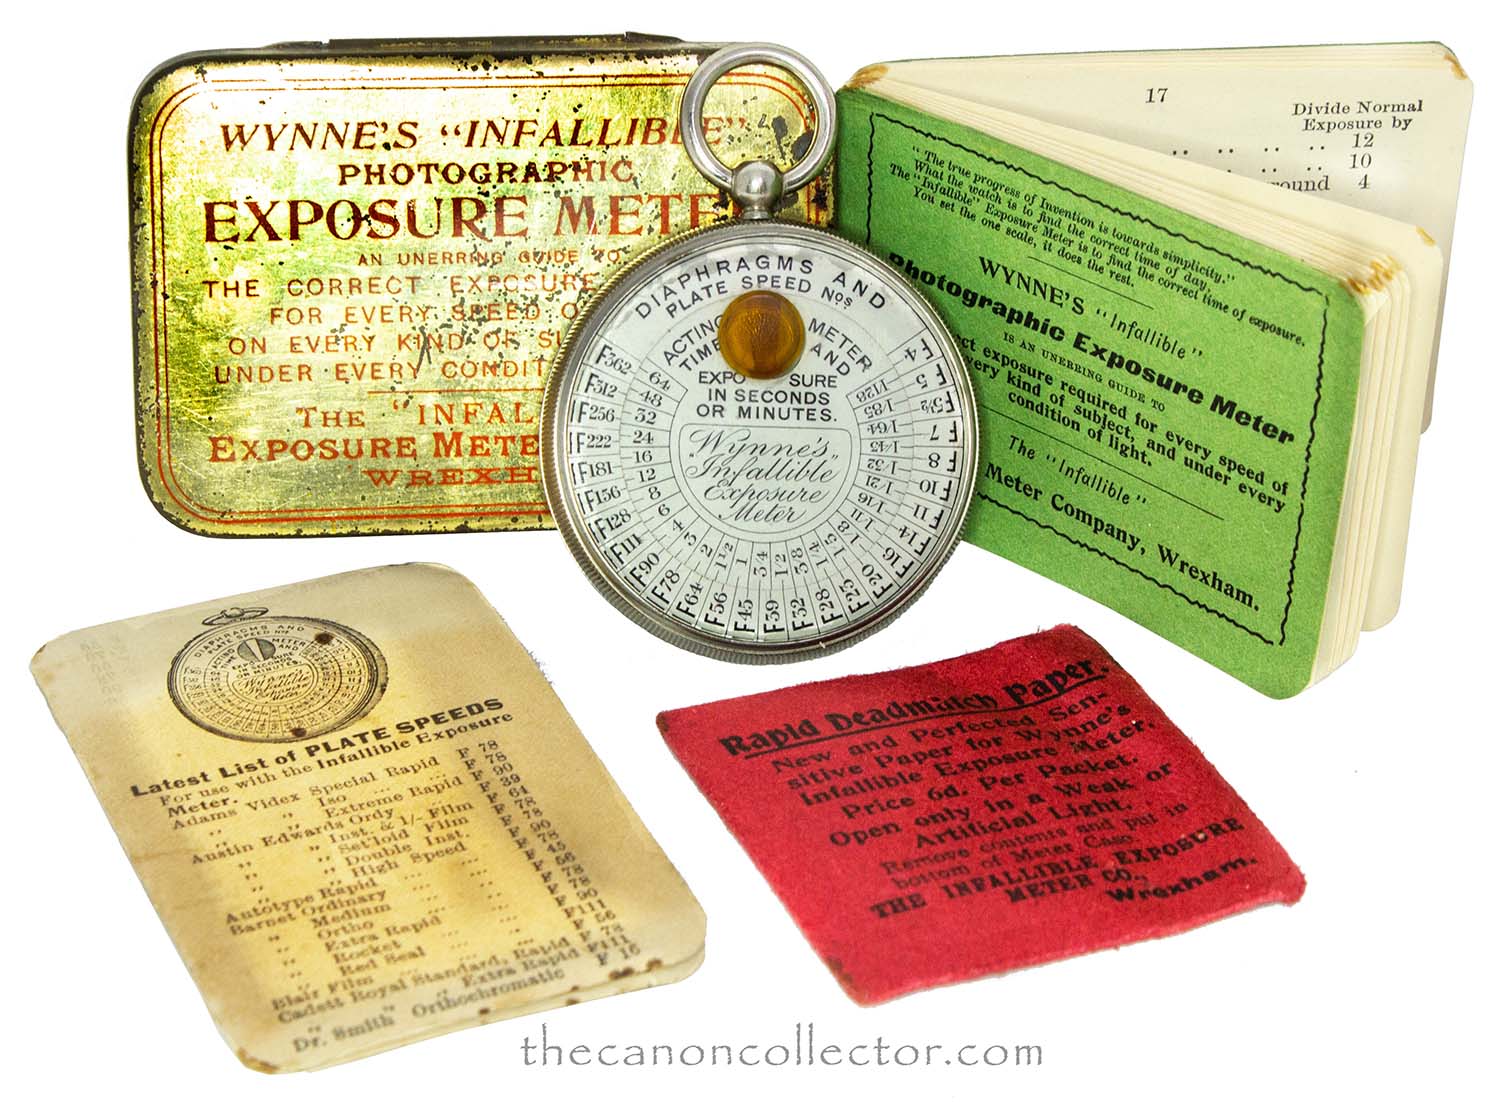
Wynne’s “Infallible” Exposure Meter out of the tin box with the rest of the contents: a Cue Card of Film Speeds, a package of replacement “Deadmatch” paper and an instruction manual.
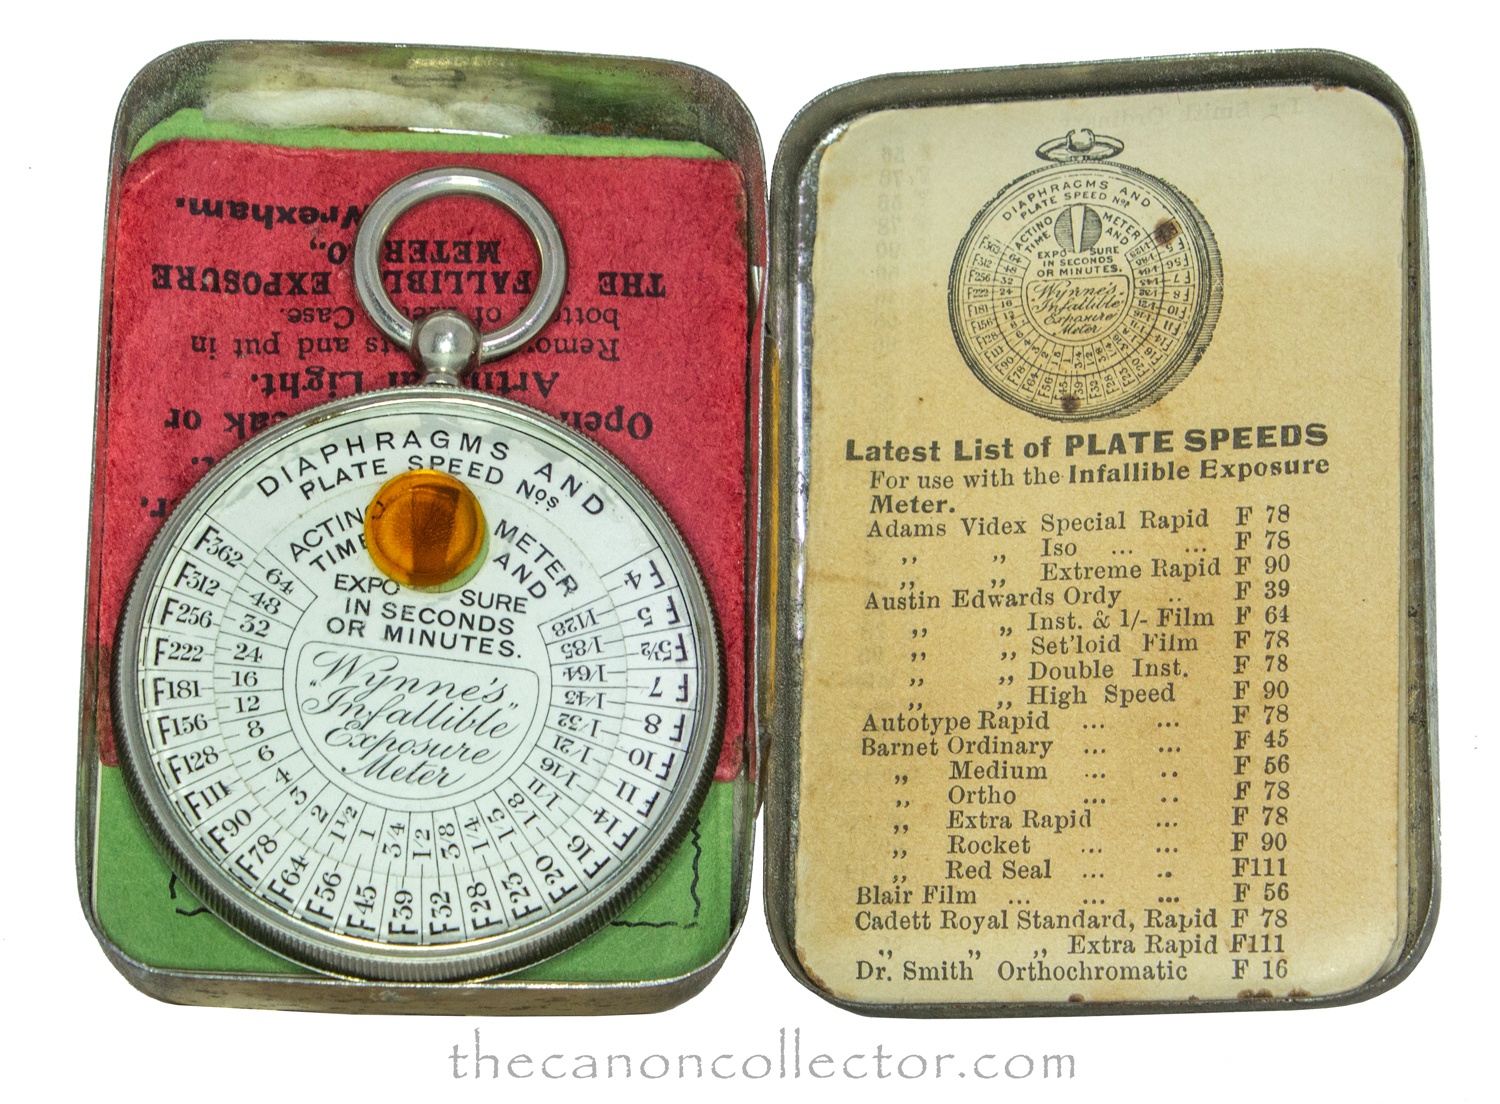
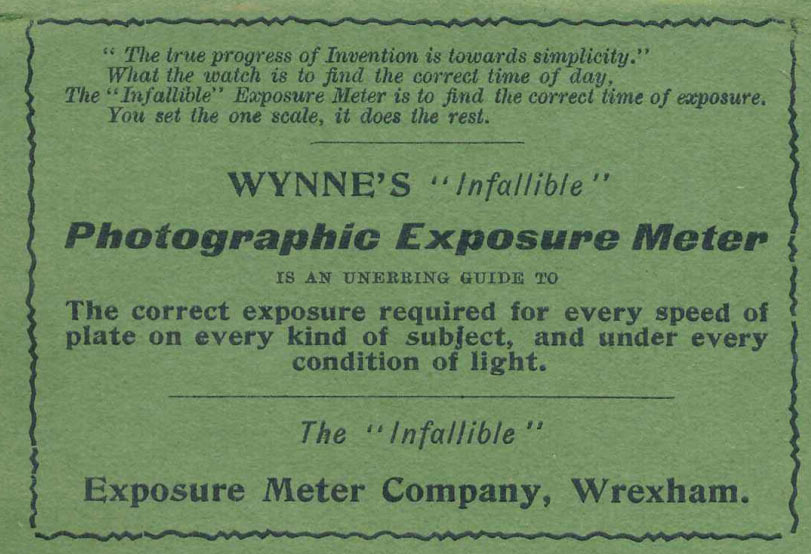
When you open the tin box the contents are arranged like so: Film Speed Card in the cover on the right, the Manual, “Deadmatch” papers and Meter in the box on the left.
I was walking on our local shopping street the other day and I dropped into a small antique shop I browse for old cameras. The owner has come to know my interest and he points out to me new items that he finds from time to time. This day he tempted me with a small tin box and said he was not sure what it was or how it worked but it was old and had the word “Photographic” on it so he assumed I might be interested.
Being naturally curious I opened the box, read the contents, and found I was looking at a light meter from a long time ago. Pulling out my cell phone and doing a quick internet search I found that this meter came from around 1900. It was interesting but not what I collect. However, I think my man was having trouble selling it and he offered it to me for very little, so …., I bought it.
But what did I actually have? Well, we need a little history to figure that out. In the early days of photography there were no light meters, at least not initially. Film speeds were hit and miss, not terribly consistent, and not standardized. Photographers were a specialized few and they were creative. They quickly learned to judge the light and estimate exposure through experience.
This was before electronics, especially
miniature electronics. We are discussing a time decades before the modern exposure meters. But being photographers they turned to what they knew: the fact that photographic papers darkened on exposure to bright light. And the darkening depended on the strength of the light and the length of the exposure. And this could serve as a measure of light intensity.

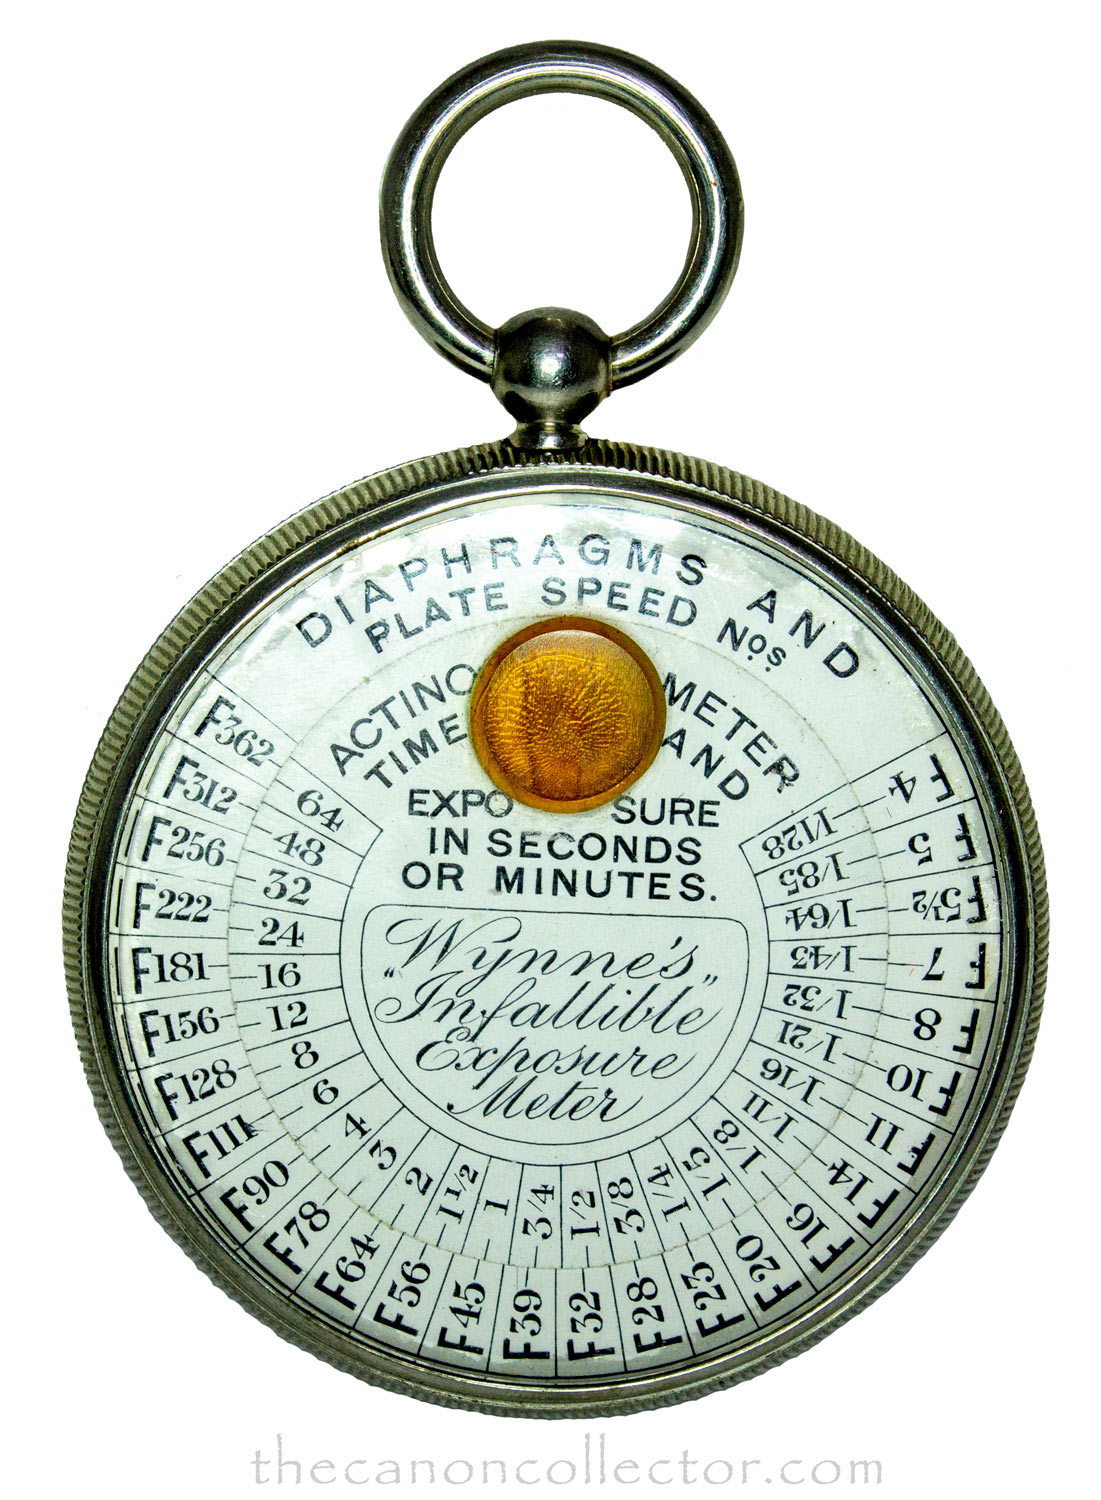
The Wynne’s Exposure Meter with the Amber Disc covering the window thru which the photo sensitive paper is exposed. The inner scale is shutter speed and the outer is f/stops.
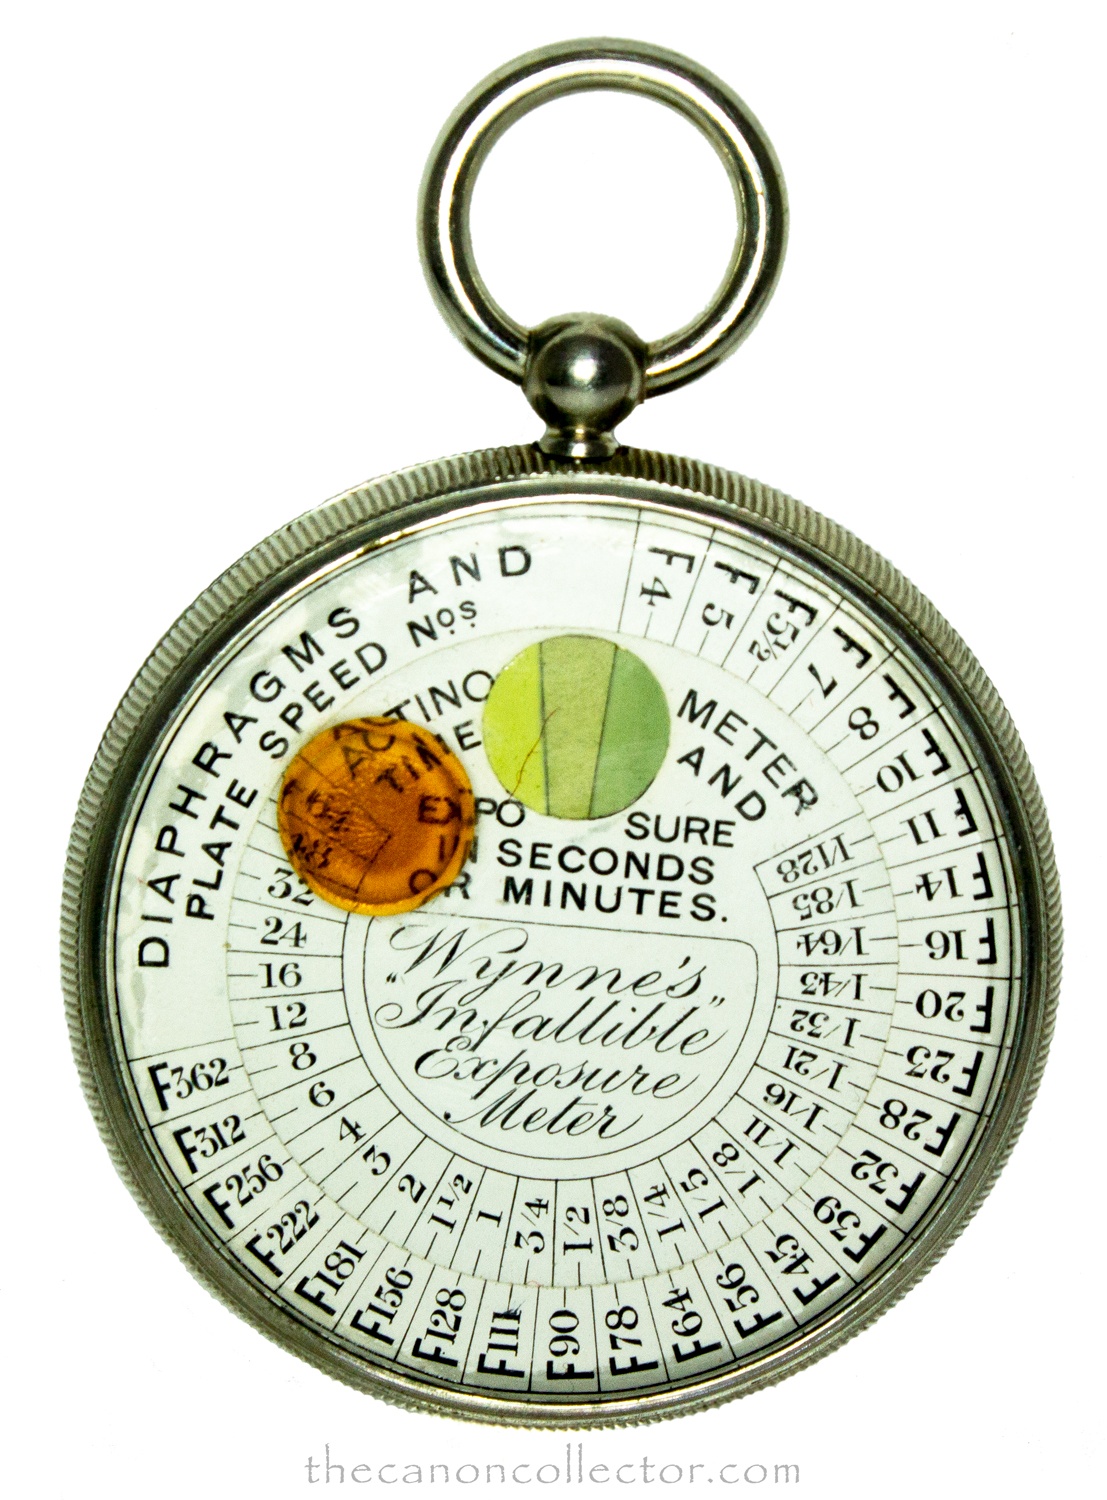
The Amber Disc moved to the side to measure light intensity. Photo paper is in the middle wedge and standard density patches are on either side of it.
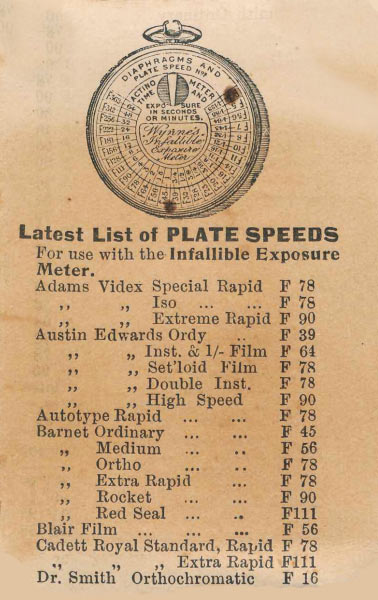
This folded card lists the film speeds of the day for various brands which is necessary to use the Meter.
Early light meters depended on a chemical reaction driven by the action of light on a photosensitive paper. This type of meter is called an “actinometer” because it is measuring the “actinic” value of light. Various methods of achieving a reading were tried over the years since the invention of the camera.
In about 1893 George Frederick Wynne (b. 1852, d. 1933) created the “Infallible Exposure Meter Co.” in the town of Wrexham in Wales. This company produced the Wynne’s Infallible Exposure Meter in several formats from about 1894 until the early 1930’s when better films and light measuring devices were available.
So how did this device work? The simple answer is that a piece of photographic paper is placed beside a standard color patch and exposed to the ambient light. It is then timed to see how long it takes for the paper to darken to the color of the standard patch. This time is called the “Actinometer Time” in the Wynne’s Manual.
You then look at the list of film speeds on the “List of Plate Speeds” that comes with the meter. The “F” number given is the f/stop to use if you expose the plate or film for the measured Actinometer Time. So for the first Plate listed, the “Adams Videx Special Rapid” that would be f/78. Of course your lens would probably be set to something like f/8 or f/16 so exposure time would be much less than the measured Actinometer Time.
On my version of the Meter, which is shown above, you will see at the twelve o’clock position an amber disk. This is a safe light cover over a wedged shaped hole through which the photo sensitive paper is exposed to light. By pushing on the disk the front glass rotates exposing the paper. On the right side of the opening is the standard color and on the left is a lighter standard color for measuring lower light levels. These never change.
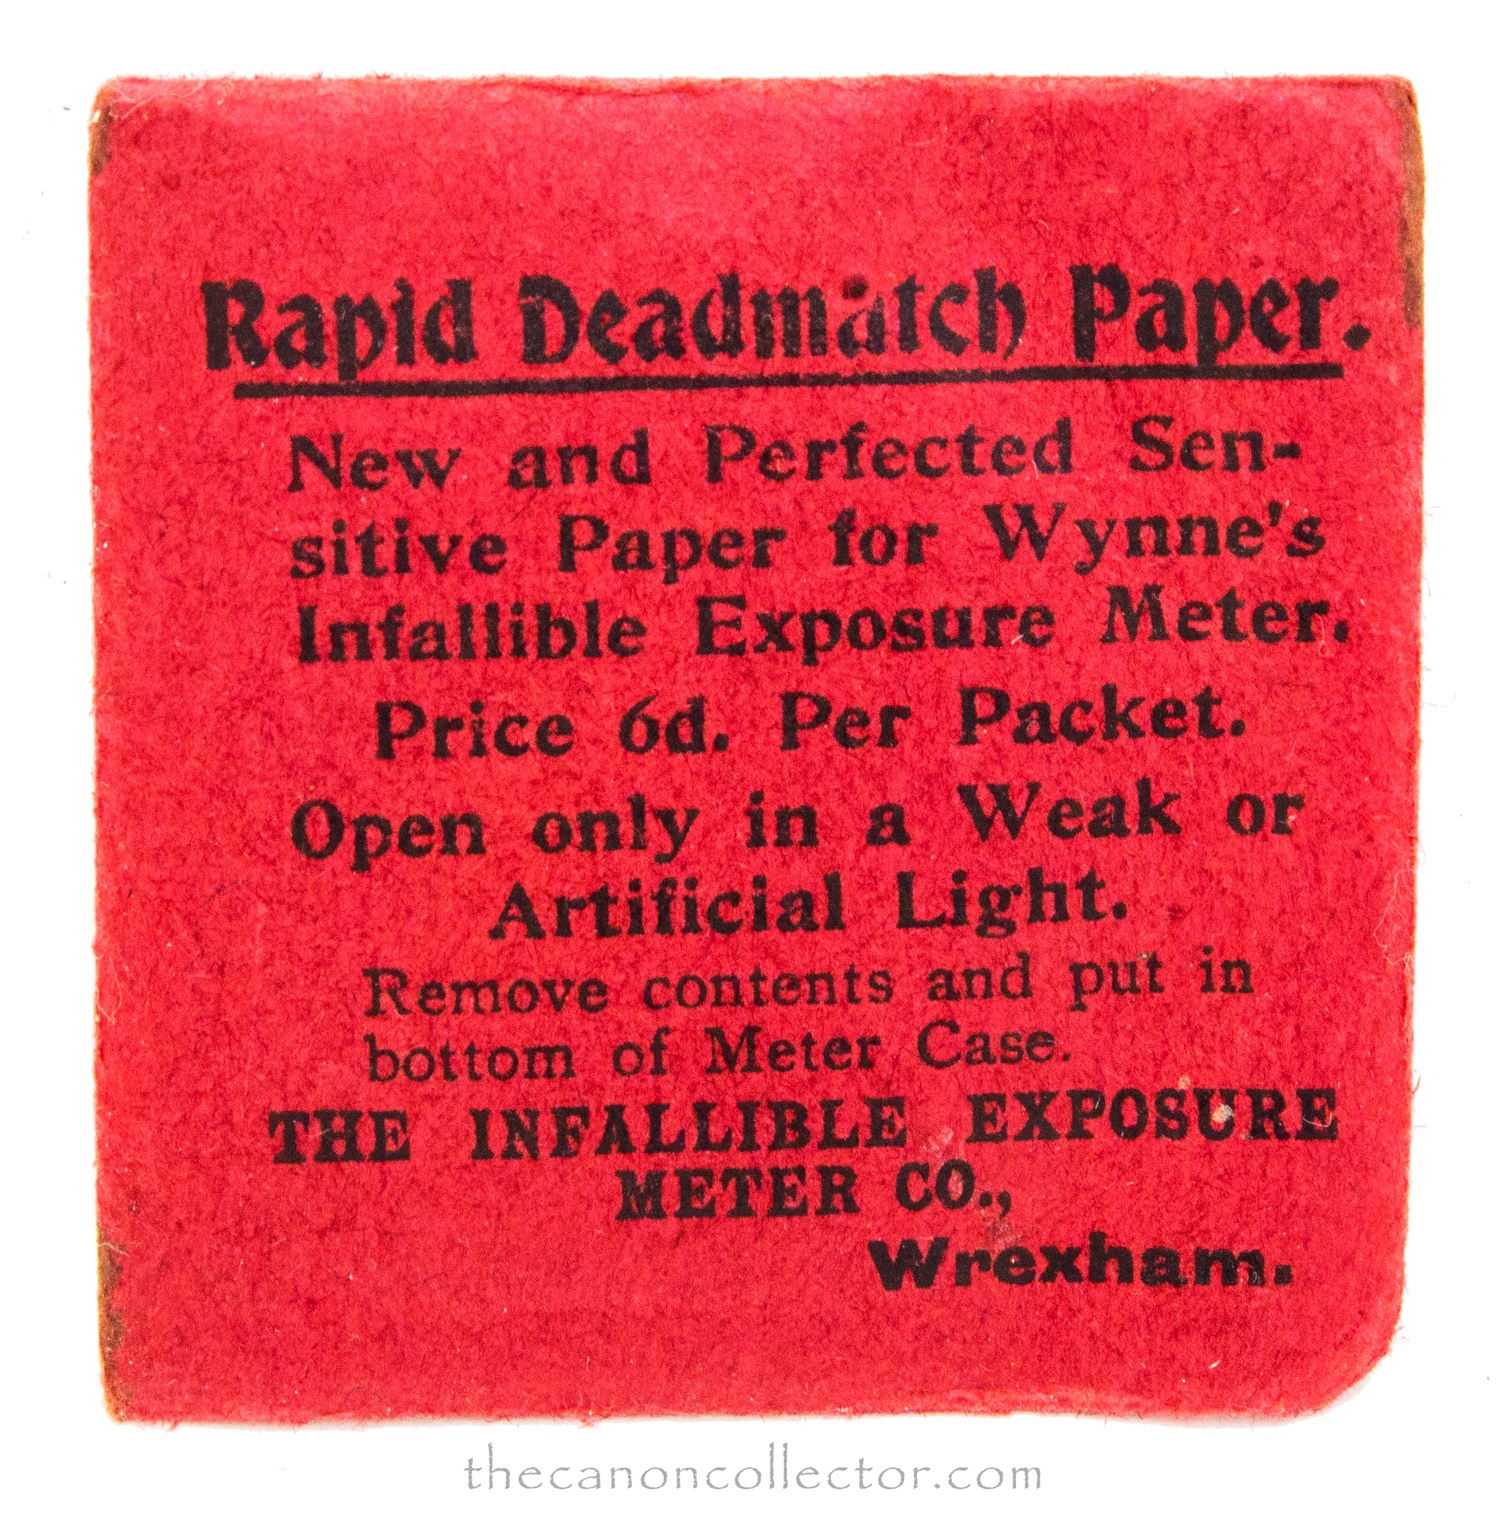
By rotating the back of the device a fresh unexposed portion of the test paper can be moved under the window. A dozen or more measurements can be made with a single disk of sensitive paper. Extra disks come with the device. That is what is in the red pouch marked “Rapid Deadmatch Paper”.
To make a measurement have the amber disk cover the open wedge shaped window, rotate the paper to a fresh patch, then begin timing from the time you move the amber disk to the side till the color matches the Standard Color patch.
When I got this meter the other day it came with this sealed packet of light sensitive disks. I have not opened it.
And now for the magic bit: turn the glass on the front of the Meter, which rotates the outer scale, and line up the Actinometer Time with the Plate Sensitivity “F” number and you can read all of your shutter speeds and f/stops on the dials. Just select the one you want to use.
This all sounds pretty neat, but, it is slow and the reading can take several minutes. And it depends on comparing two colors which can be tricky. But it must work because these meters were sold from the 1890’s through to the 1930’s.
I do not want to open my sealed package of Deadmatch Paper (no, I don’t know why the name!) but there is a paper disk in the meter and it is largely unused. I tried exposing it and it did darken on a bright day. That is amazing considering the paper is likely 100 years old. I did not try to actually use the meter because I have no idea how to rate the speed of today’s films or my digital camera.
When you open the back to load new Deadmatch Paper you place the paper in the center of the Meter with the sensitive surface towards to open wedge. Cover it with the red felt and replace the back cover.
On the left is the Meter with the back open. The Deadmatch paper is the greenish disk with two darkened areas. This is held, sensitive side down, in the back of the Meter by the red felt disk and the spring in the back cover. The cover rotates which caries the paper disk with it so that a fresh area of the paper is brought over the wedge shaped exposure aperture.
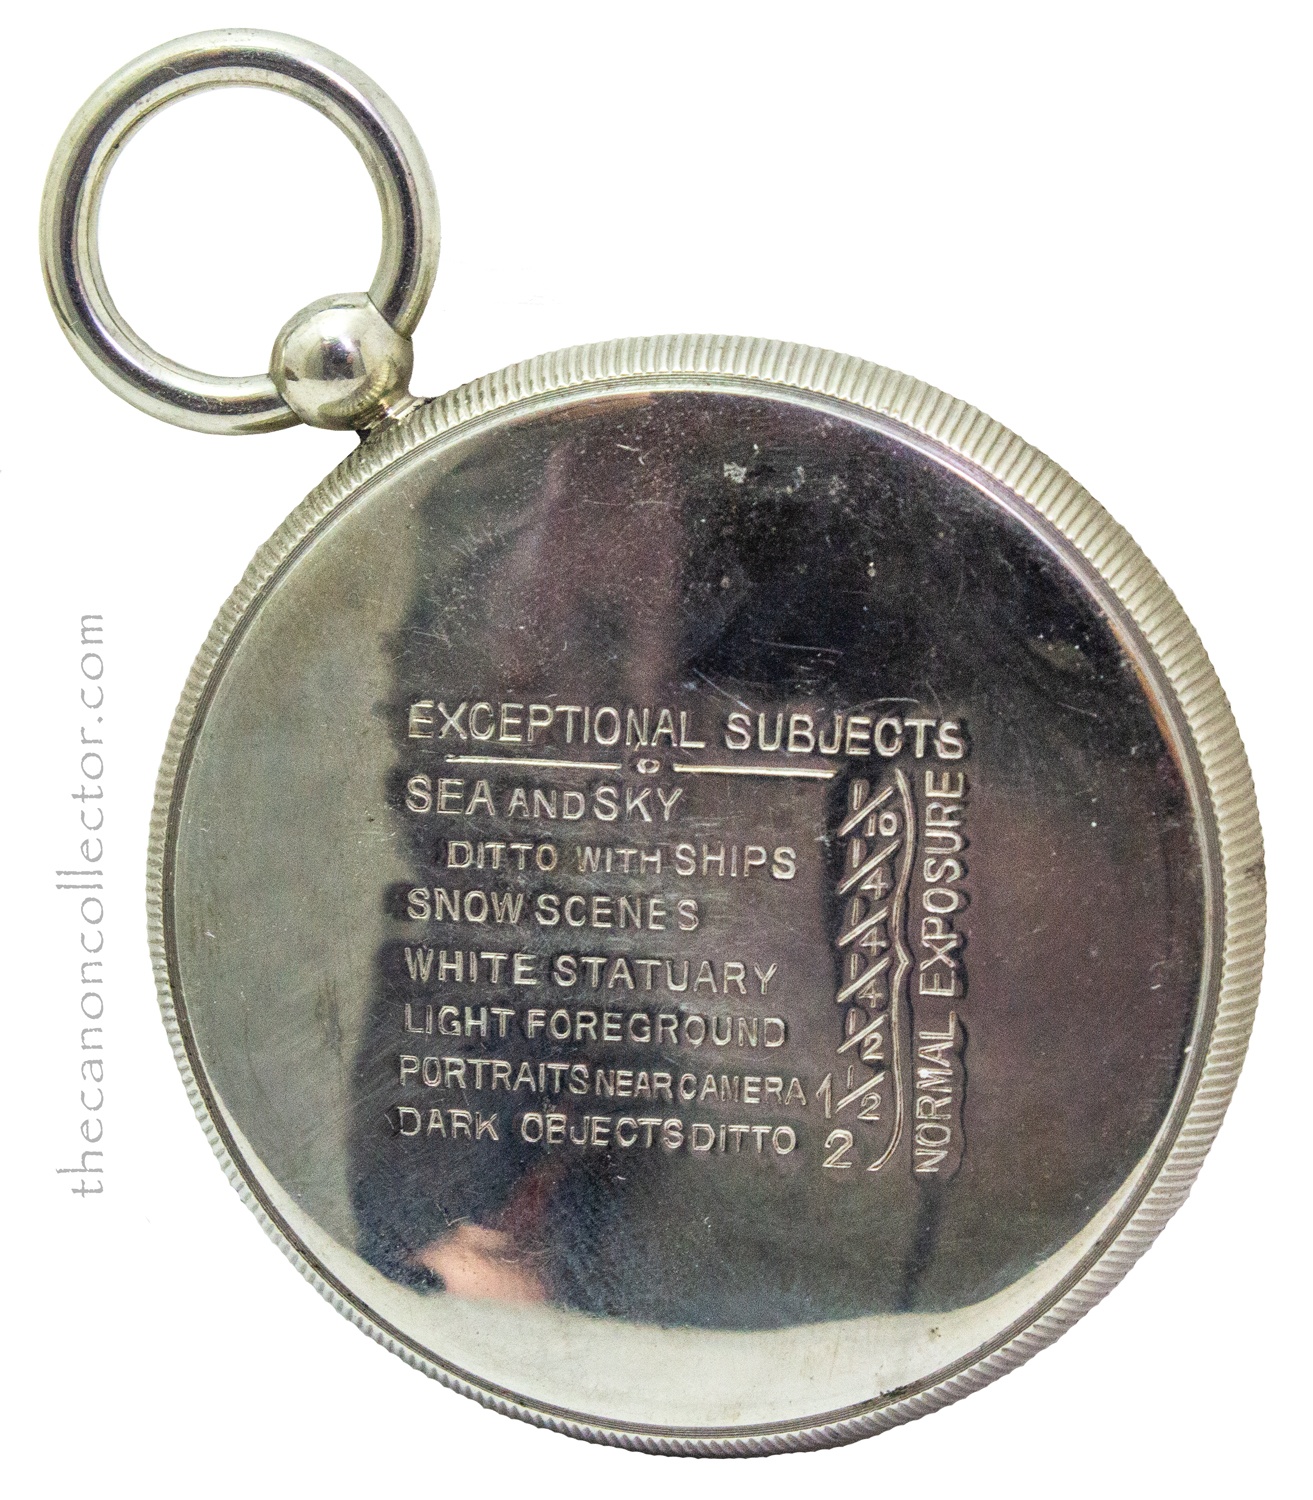
Over the years several styles of meter were produced. The Pocket Watch version originally had no Safe Light amber disk and you had to keep your thumb over the opening until you began timing the exposure. This was awkward and so the amber disk was added about 1898. The spring in the back of the case was added in 1900. In 1914 a model called the Hunter Meter was introduced which had a front cover that would snap shut just like a pocket watch. Over the years of production there were other shapes and styles but they all worked on this basic principal.
And there you have it! That is my foray into the land of light meters. Probably more than you ever wanted to know about the early history of these devices. But that is the joy of this hobby. The learning never stops and the interesting devices that have been created over the years seem endless. It makes every garage sale, every visit to an antique store or a junk shop an adventure. We will see what other treasures I can turn up to research and bore you with.
This website is the work of R. Flynn Marr who is solely responsible for its contents which are subject to his claim of copyright. User Manuals, Brochures and Advertising Materials of Canon and other manufacturers available on this site are subject to the copyright claims and are the property of Canon and other manufacturers and they are offered here for personal use only.

