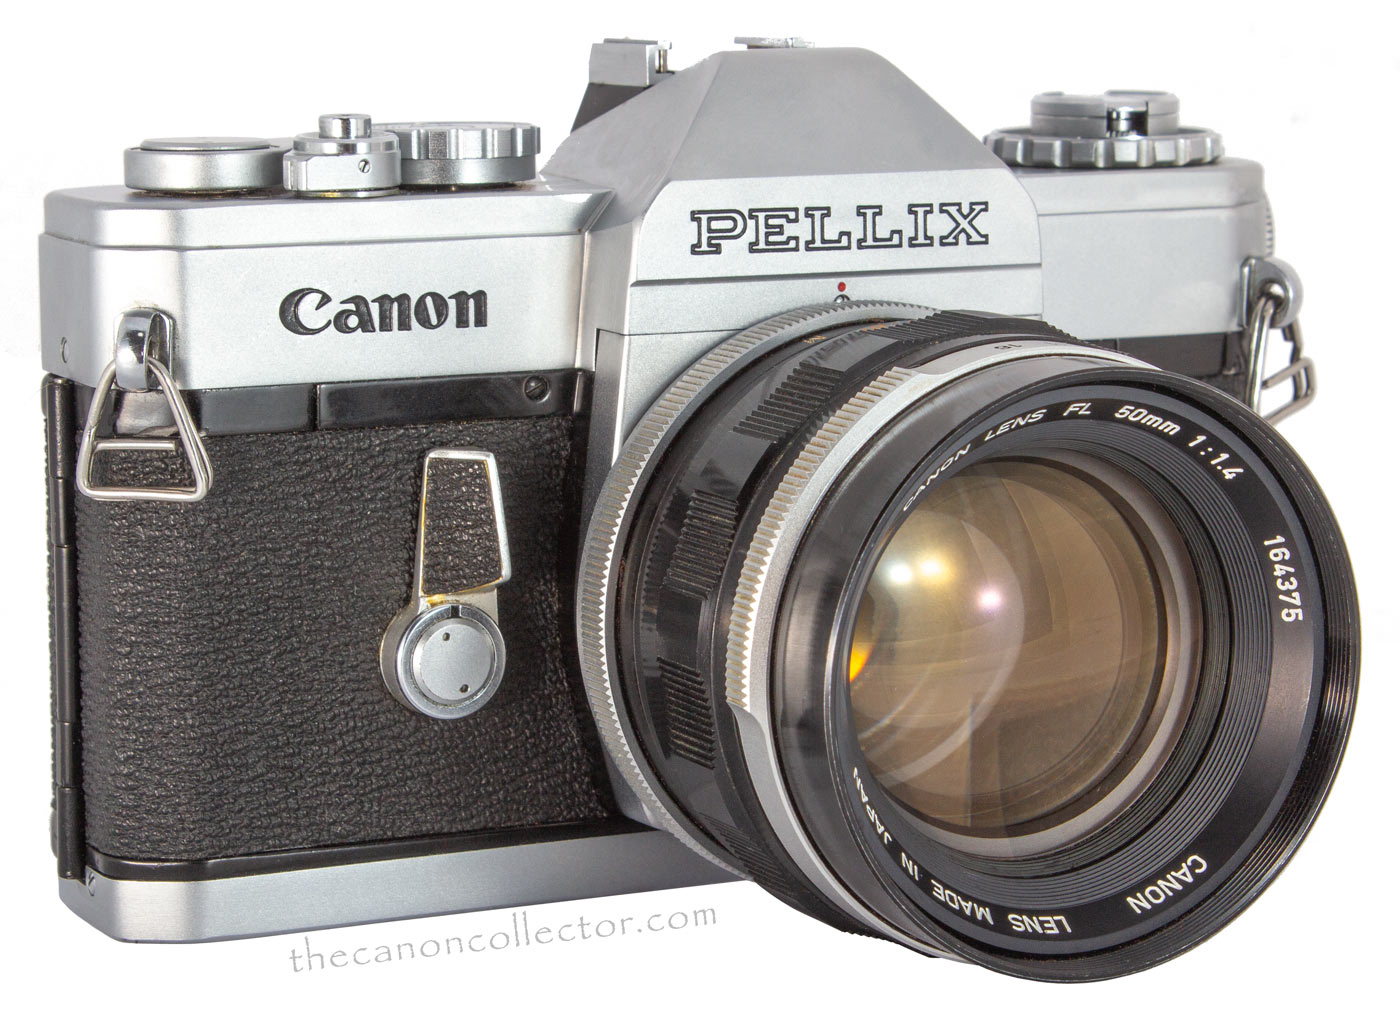
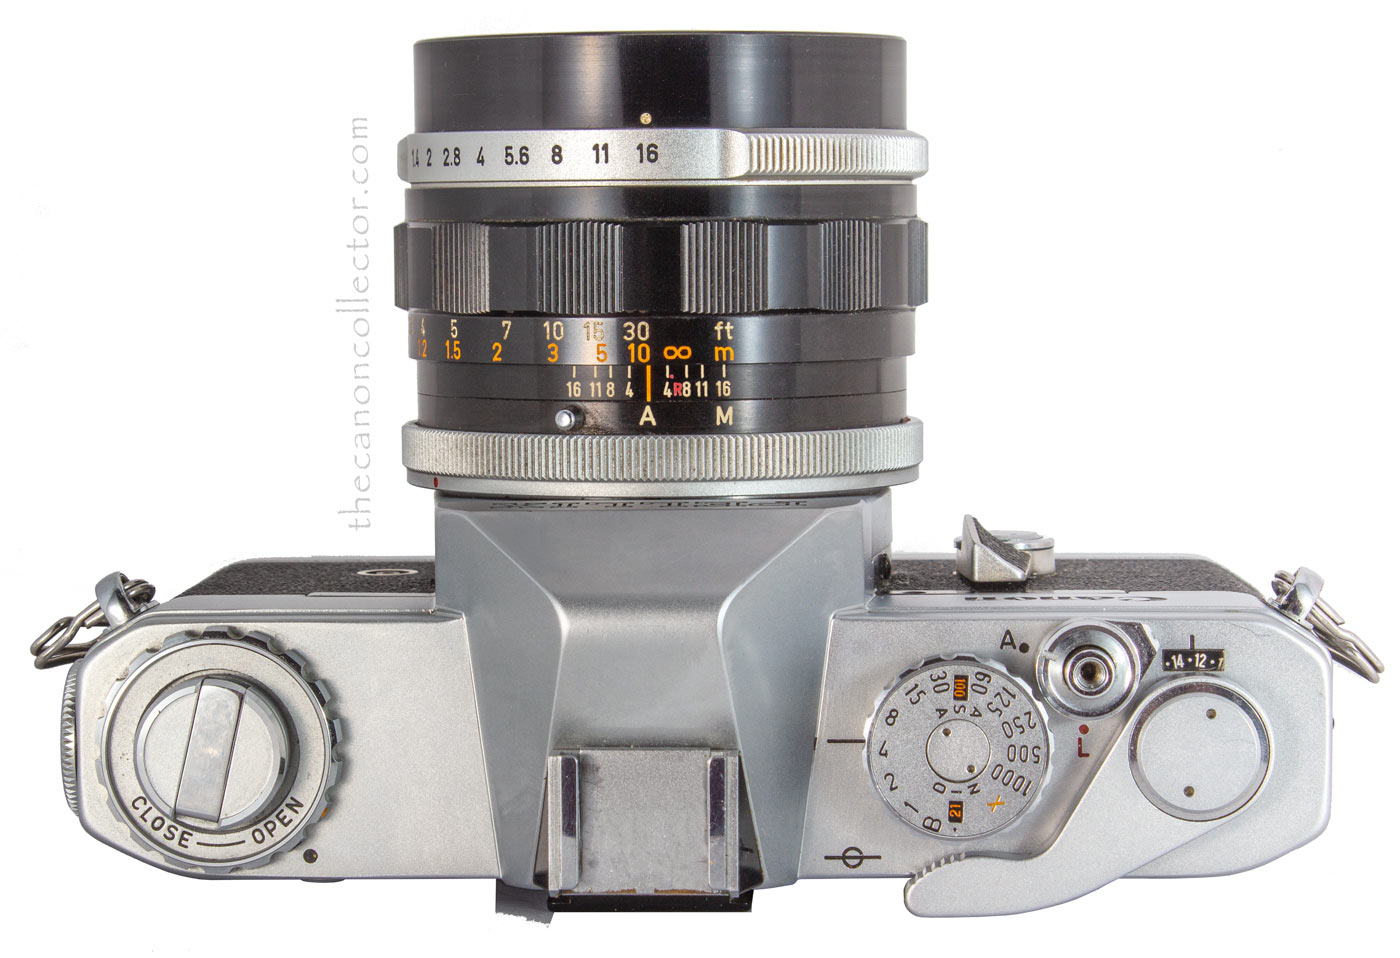
This is the “FL 50mm f/1.4 I” mounted on one of my Pellix cameras. The Pellix cameras came with the FL mount and this large aperture lens was one of the “Kit Lenses” available for it.
The FL 50mm f/1.4
Prelude to the FD Mount
The FL lens mount was introduced in 1964 with the Canon FX. It was a simplification of the Canomatic lenses on the Canonflex. The single pin on the back, when pushed to one side, would close down the diaphragm to the preset aperture. When released the aperture would snap open again. Note that there is no provision for full aperture TTL (through the lens) metering. That would come with the FD series. The FL series were eclipsed in 1971 when the F-1 was introduced with the FD mount.
Canon made three FL 50mm f/1.4 lenses. There seems to be little discussion of these three on the internet and what I find is very inaccurate. Even the Canon Museum is, again, incomplete and wrong. So, first off, lets talk about the three lenses, how they differ and how to identify them.
1st Version – FL 50mm 1:1.4
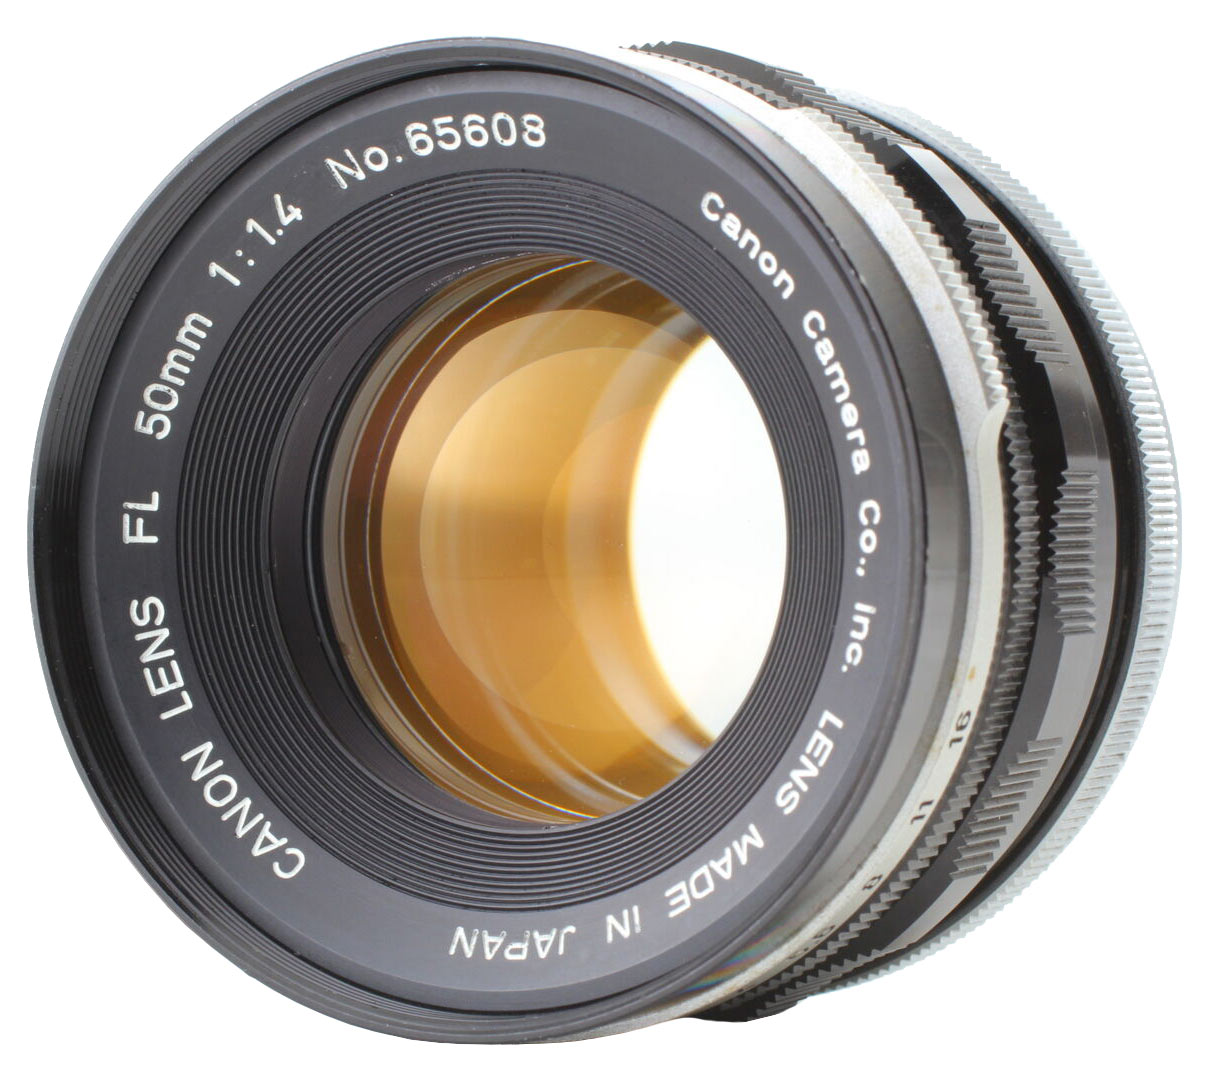
The first of the FL 50mm 1:1.4’s is pictured on the left. Introduced in April of 1965 it had a “Stop-Down” ring between the silver aperture ring and the focus ring which allowed the user to view the subject with the lens stopped down. This was necessary because the FT and FX cameras did not have this ability in the body.
It is best identified by the “Stop-Down” ring which the other two versions do not have.
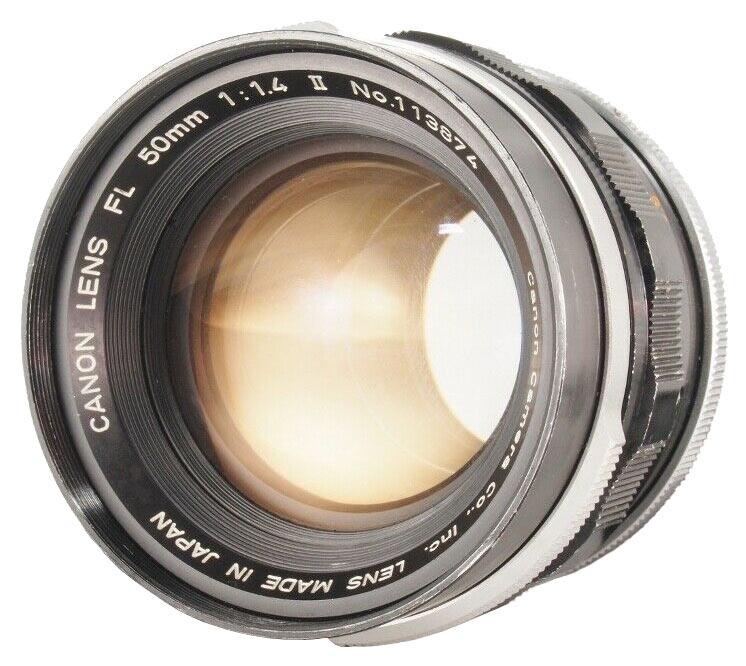
A second way to identify this lens is by the Name Ring. The second version does not have the “No.” in front of the serial number and the third version has the “II” designation in the name. So this must be the first version.
Of course we can also go by weight. The Canon Museum says that the first version lens should weigh 280 grams. For the second lens they give no weight for some reason but I have weighed mine and it is 360 grams (without caps, filters or lens hoods). Then they give the third model as 340 grams. So weight should distinguish them.
2nd Version – FL 50mm 1:1.4 I
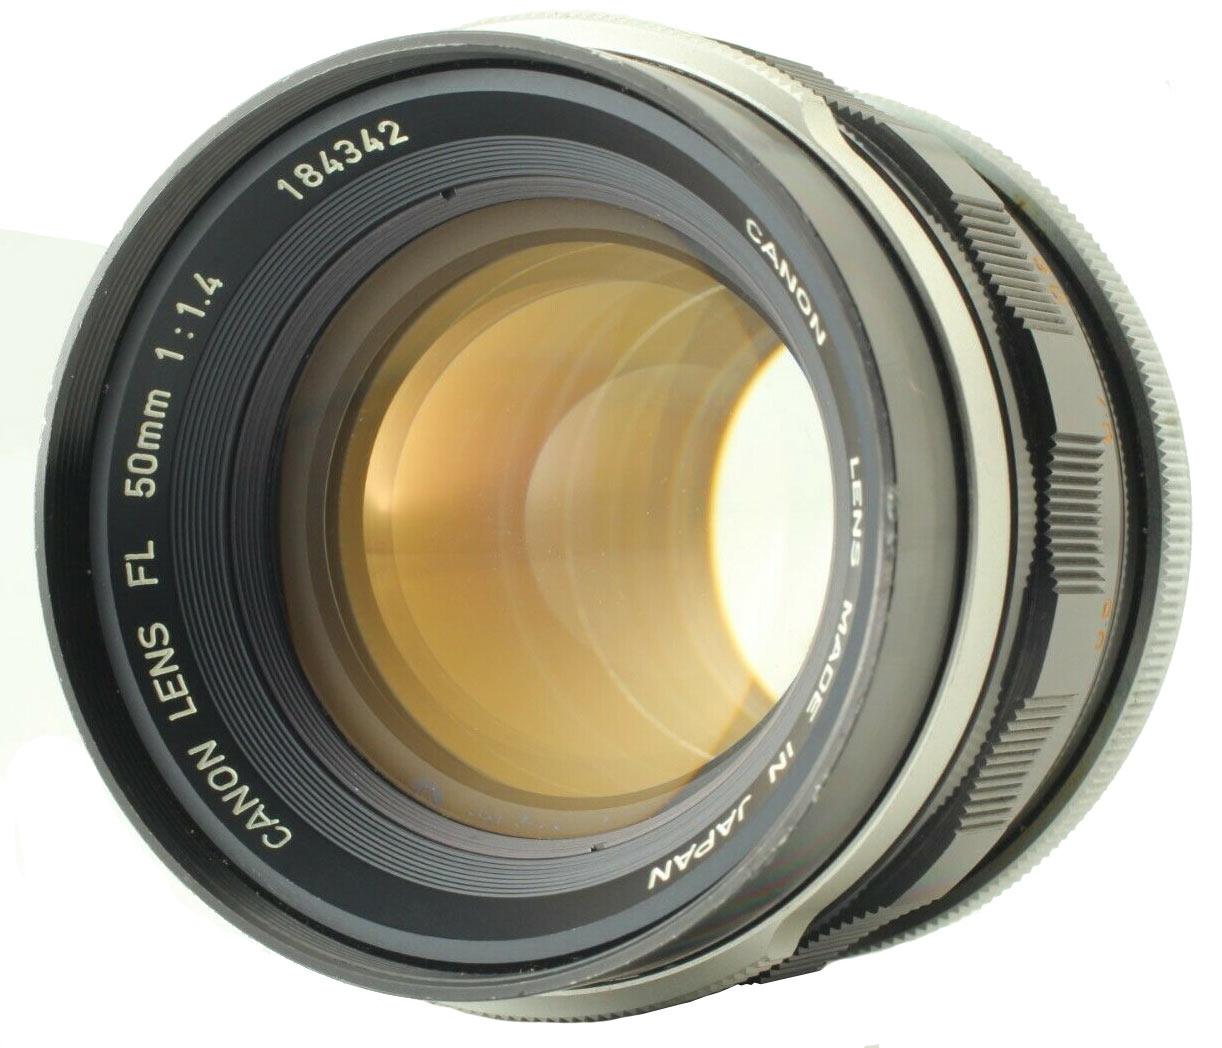
The Second Version of this lens, introduced in September of 1966, is called by the Canon Musum the FL 50mm 1:1.4 I. Same name with the addition of the Roman Numeral “I”. This version is easy to spot because both of the others put “No.” in front of the Serial Number on the Name Ring. On the left you will see that this lens does not have the “No.”. It also has no Stop-Down ring but a stop down preview can be had using the added “A-M” Aperture Ring which is not on Version 1.
However, note that the name ring has the same name as Version One. The “I” is left off just to make things confusing. Also, the picture of this lens in the Canon Museum is wrong. They are showing a Version One as the image for the Version Two. So no wonder people are confused about which lens is which.
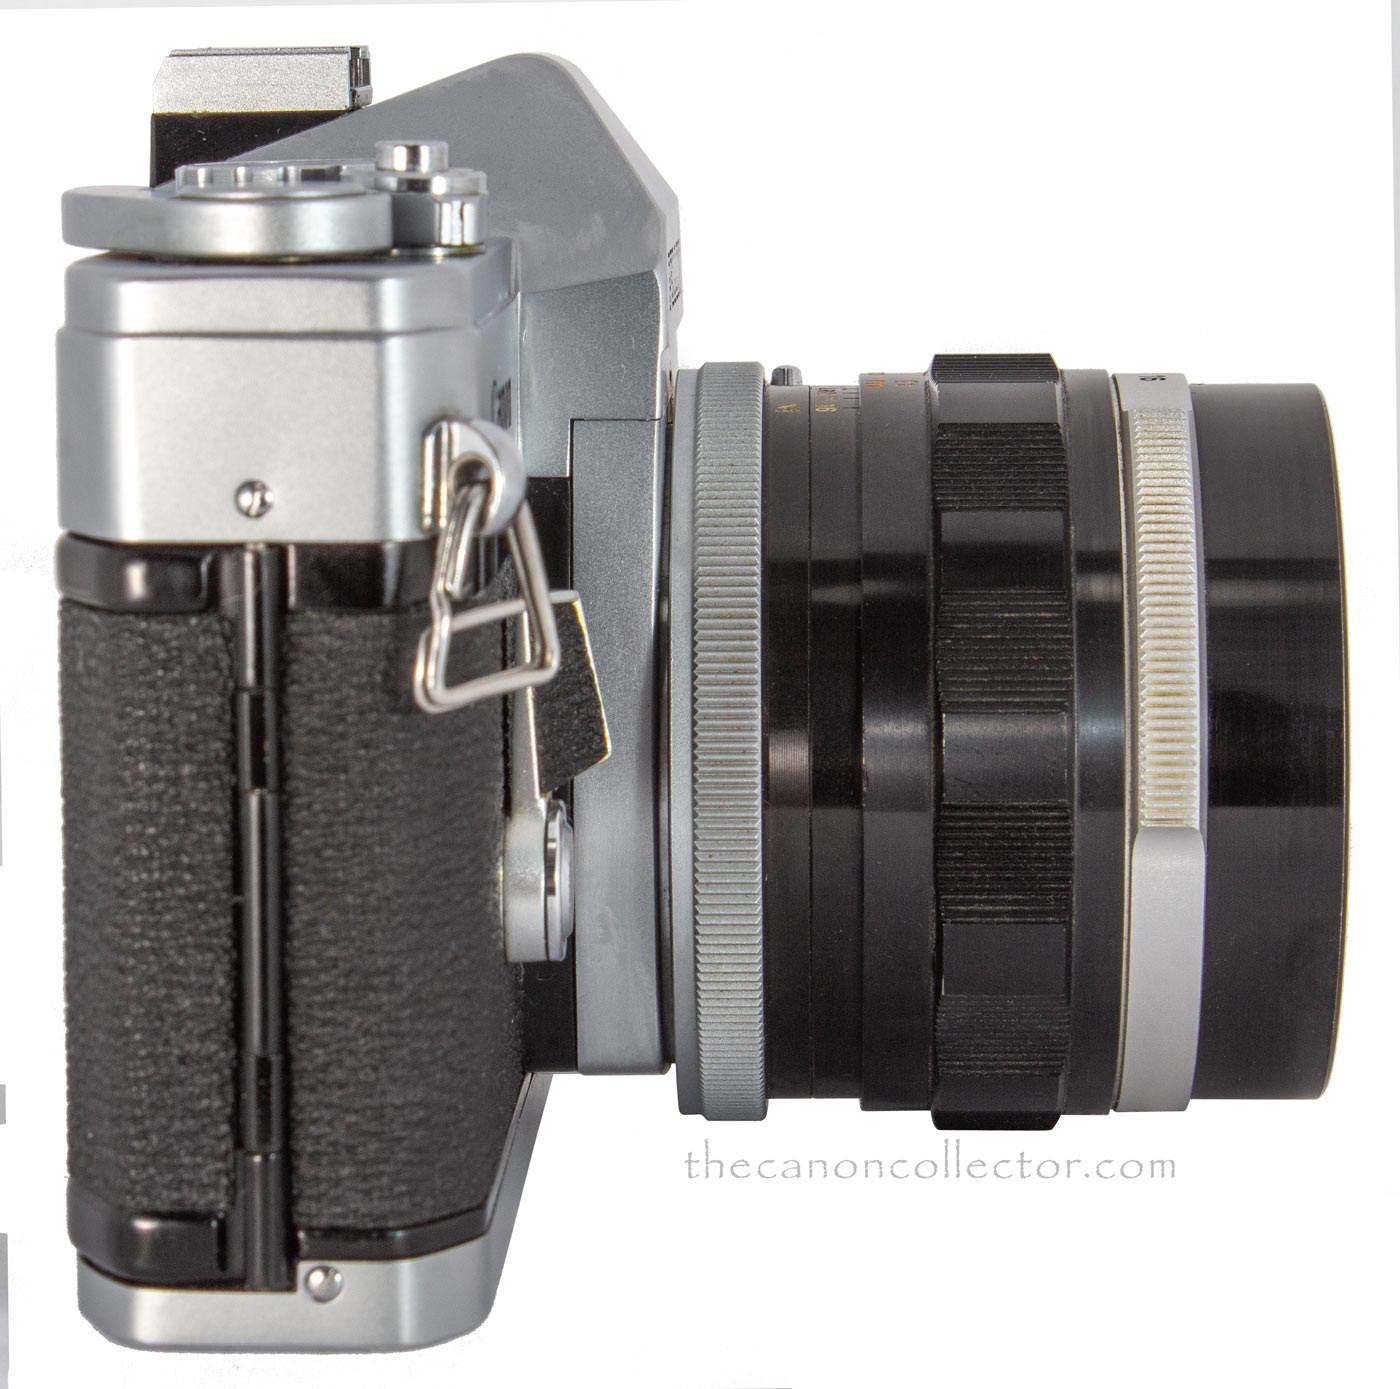
Side view of the Second Version mounted on a Canon Pellix. Note the absence of the Stop-Down Ring between the focus ring and the aperture ring.
3rd Version – FL 50mm 1:1.4 II
The third version of this lens was released in May of 1968 and it is easy to recognize: the full name appears on the Name Ring. Identifying it will be no problem!
But looking at the Canon Museum one would not know this because there is no image shown for the lens. Other than the Name Ring the Version Two and Three look the same
The internal design of this lens is more complex with 7 elements in 6 groups, i.e. two of the elements are cemented together, rather than the 6 elements of versions 1 and 2. Presumably the extra element means improved performance of some nature. Maybe one day I will do some side by test of the three versions and see if we can detect differences among them. One day.
Comparison of Three Versions
The following chart sets out the differences, an similarities, between the three versions. As usual, this is the best information I have to this point. It is subject to change as I learn more.
| Ver. | Name | Date | Elements | Groups | Weight | Name Ring | Stop-Down |
| 1 | FL 50mm 1:1.4 | Apr ’65 | 6 | 4 | 280gr | “FL 50mm 1:1.4” | Stop-Down ring at Front between Aperture and Focus Rings |
| 2 | FL 50mm 1:1.4 I | Sep ’66 | 6 | 5 | 360gr | “FL 50mm 1:1.4” | No Stop Down Ring, A-M Aperture Ring at Rear |
| 3 | FL 50mm 1:1.4 II | Mar ’68 | 7 | 6 | 340gr | “FL 50mm 1:1.4 II” | No Stop Down Ring, A-M Aperture Ring at Rear |
All three of the 1:1.4 lenses had eight aperture blades, minimum f/16 stop, and 58mm filter threads. Their serial numbers are a bit of a mystery. It appears Canon numbered them out of sequence.
As part of my research for these lenses I went to E-bay and wrote down all the serial numbers I could find and the version of the lens. I need many more examples to nail the transition points down more exactly but I found 11 Version 1’s between 13697 and 84057. Twenty examples of Version 2 fell between 162267 and 277785. But Version 3 falls between Versions 1 and 2. 10 copies of Version 3 fall between 103597 and 143781. But, as I say, we need a lot more examples to define the start and endpoints more closely.
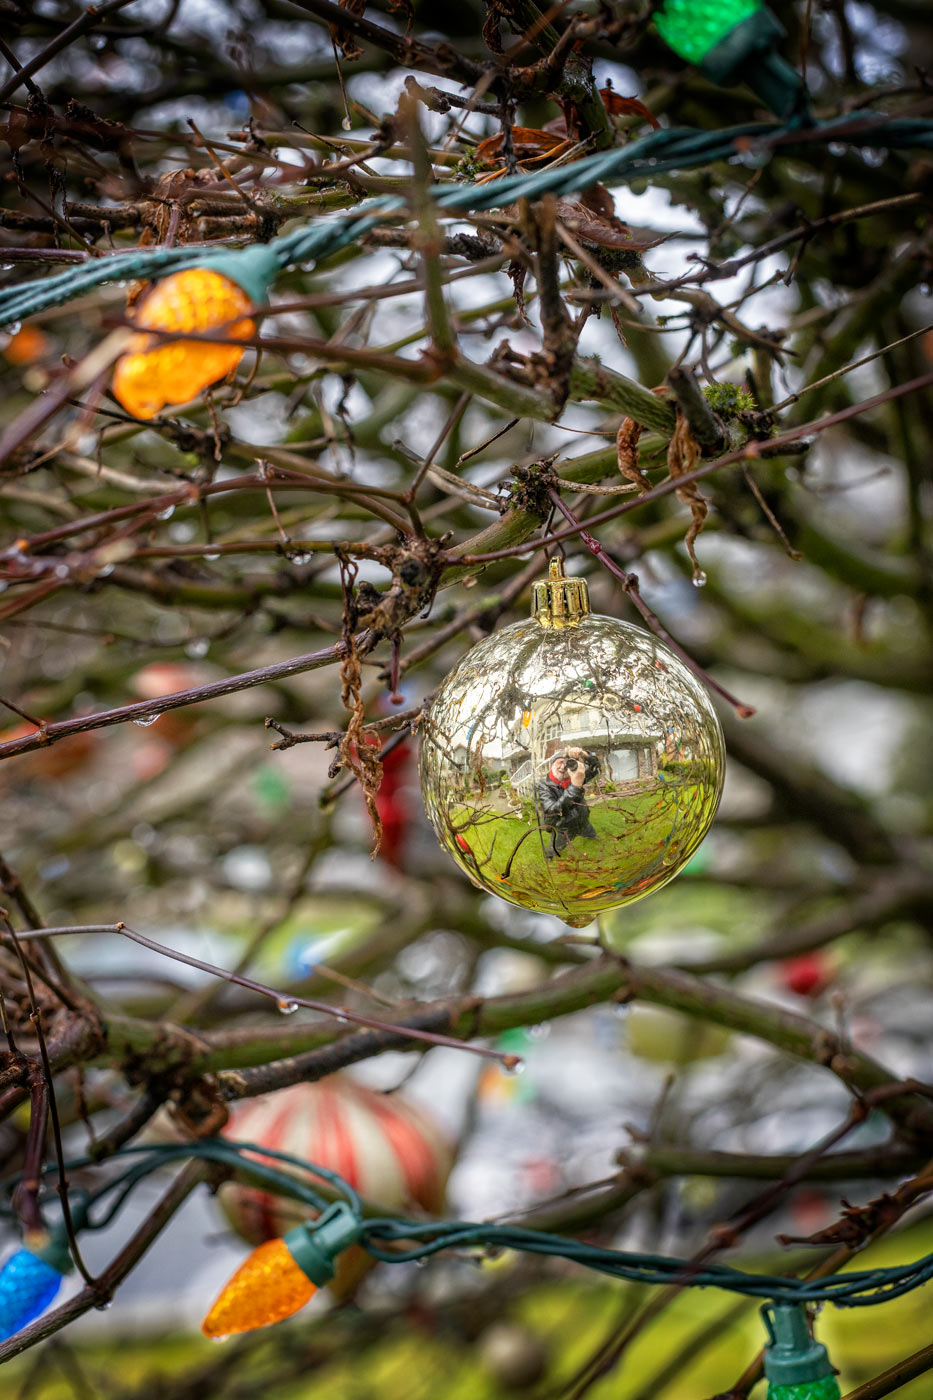
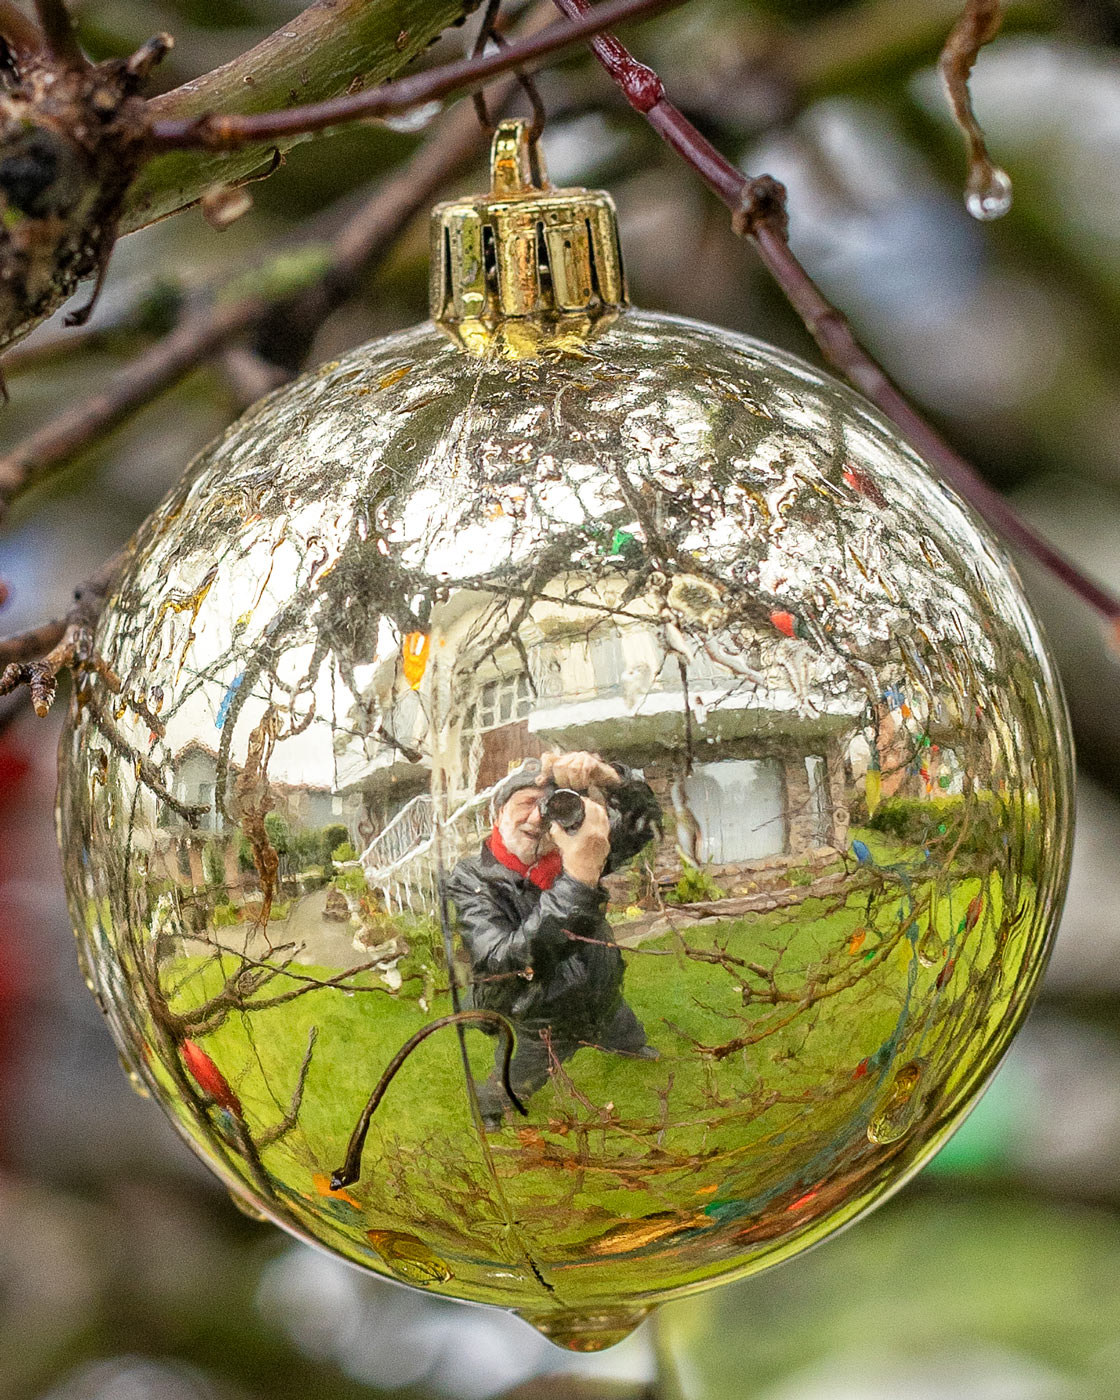
This is the full frame image of a “Christmas Selfie”. It is a ball ornament that hangs on a treet in our front yard to celebrate the Season. I have not cropped it and I have adjusted only contrast, exposure and saturation. The lens is one of my FL 50mm 1:1.4 II’s with aperture set to f/5.6.
All of the images here I took on the same walk up to the store to buy some groceries. On the way I snapped random pictures. Being such a dull day I had the exposure compensation pushed up a stop but other than that I let the camera set the shutter speed while I adjusted aperture and ISO.
As usual for Canon lenses of this period, the focus was buttery smooth and aperture settings were easy to set and held securely by positive detents. The lens was very pleasant to use.
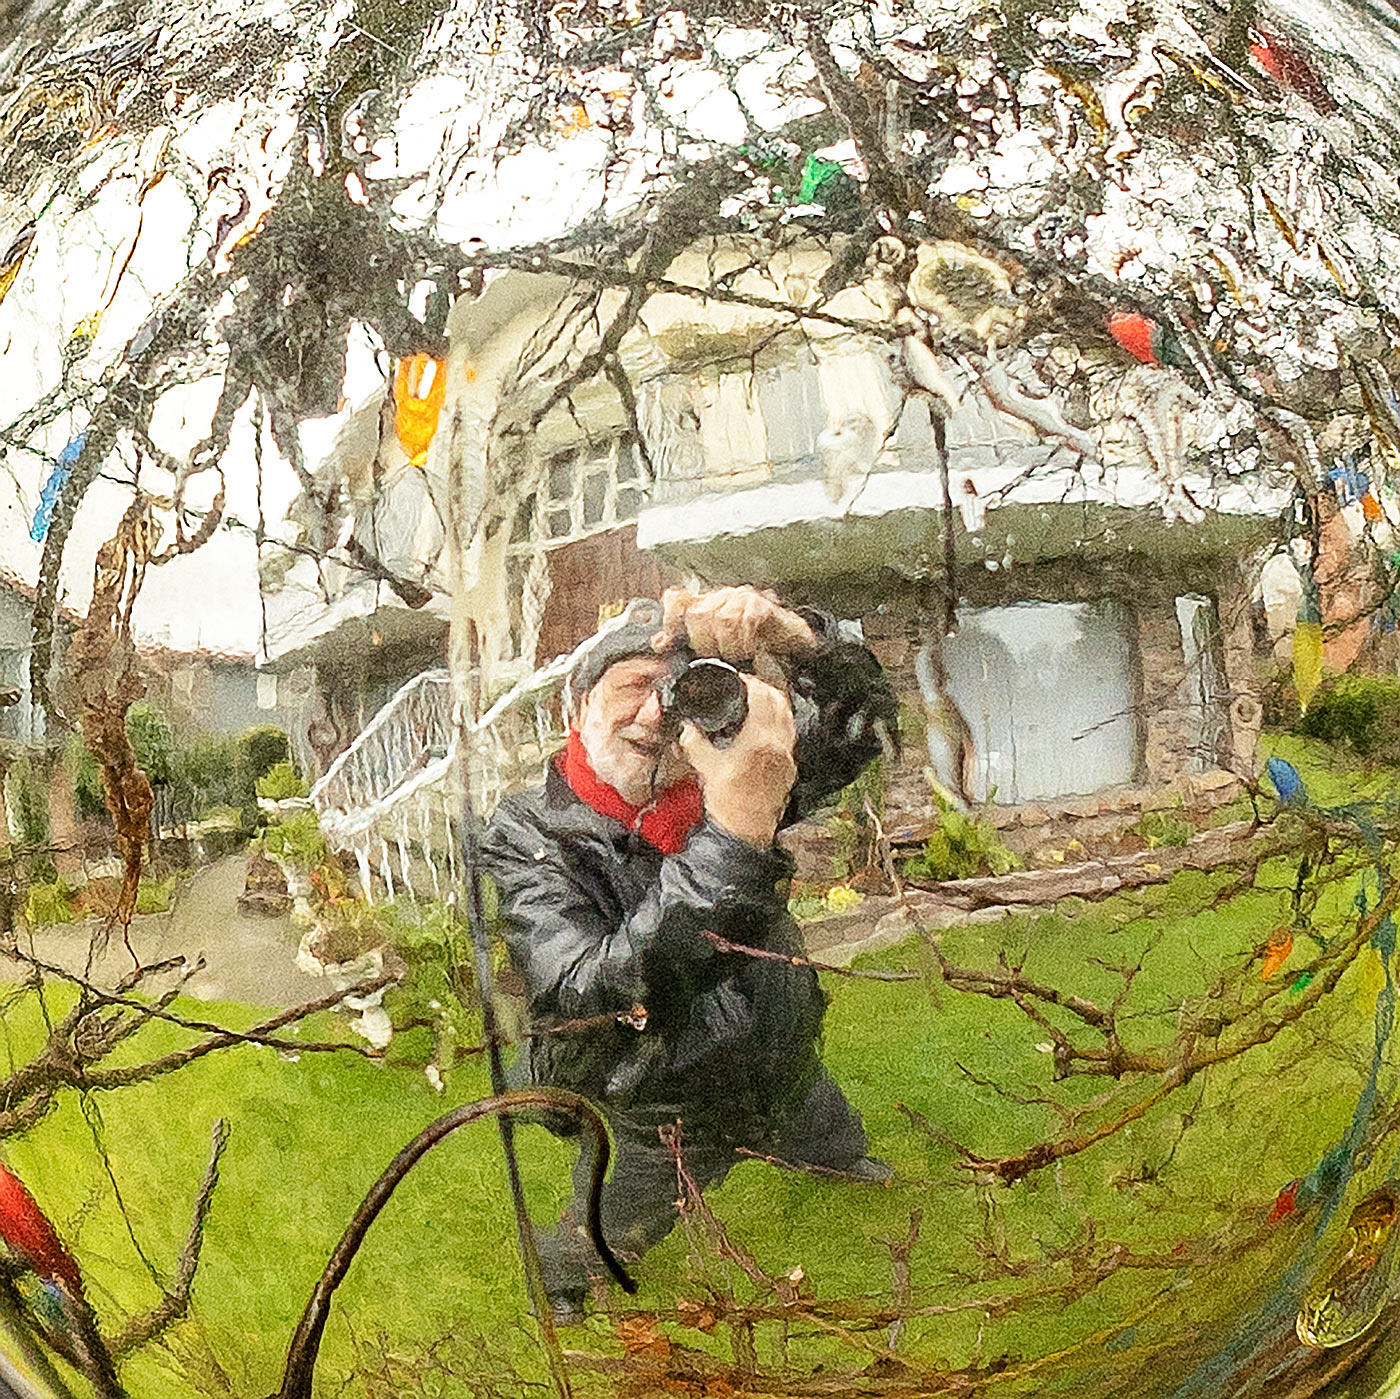
Cropping into the image further I have come to this image which I really like. I imperfections and distortions in the reflection from the Christmas Ball yield a surreal “Selfie” image that I find compelling. Not bad for a fifty year old lens.
Below is the very center of this image at 200%. I was surprised at the definition and clean edges in this closeup. You expect the center of the image to be good but this is amazing.
I know the center of an image is expected to be sharp but this is exceptional. This sample is at 200% and the edges are sharp. Three pixels to go from black to white. 3 pixels out of a 30mpx image.
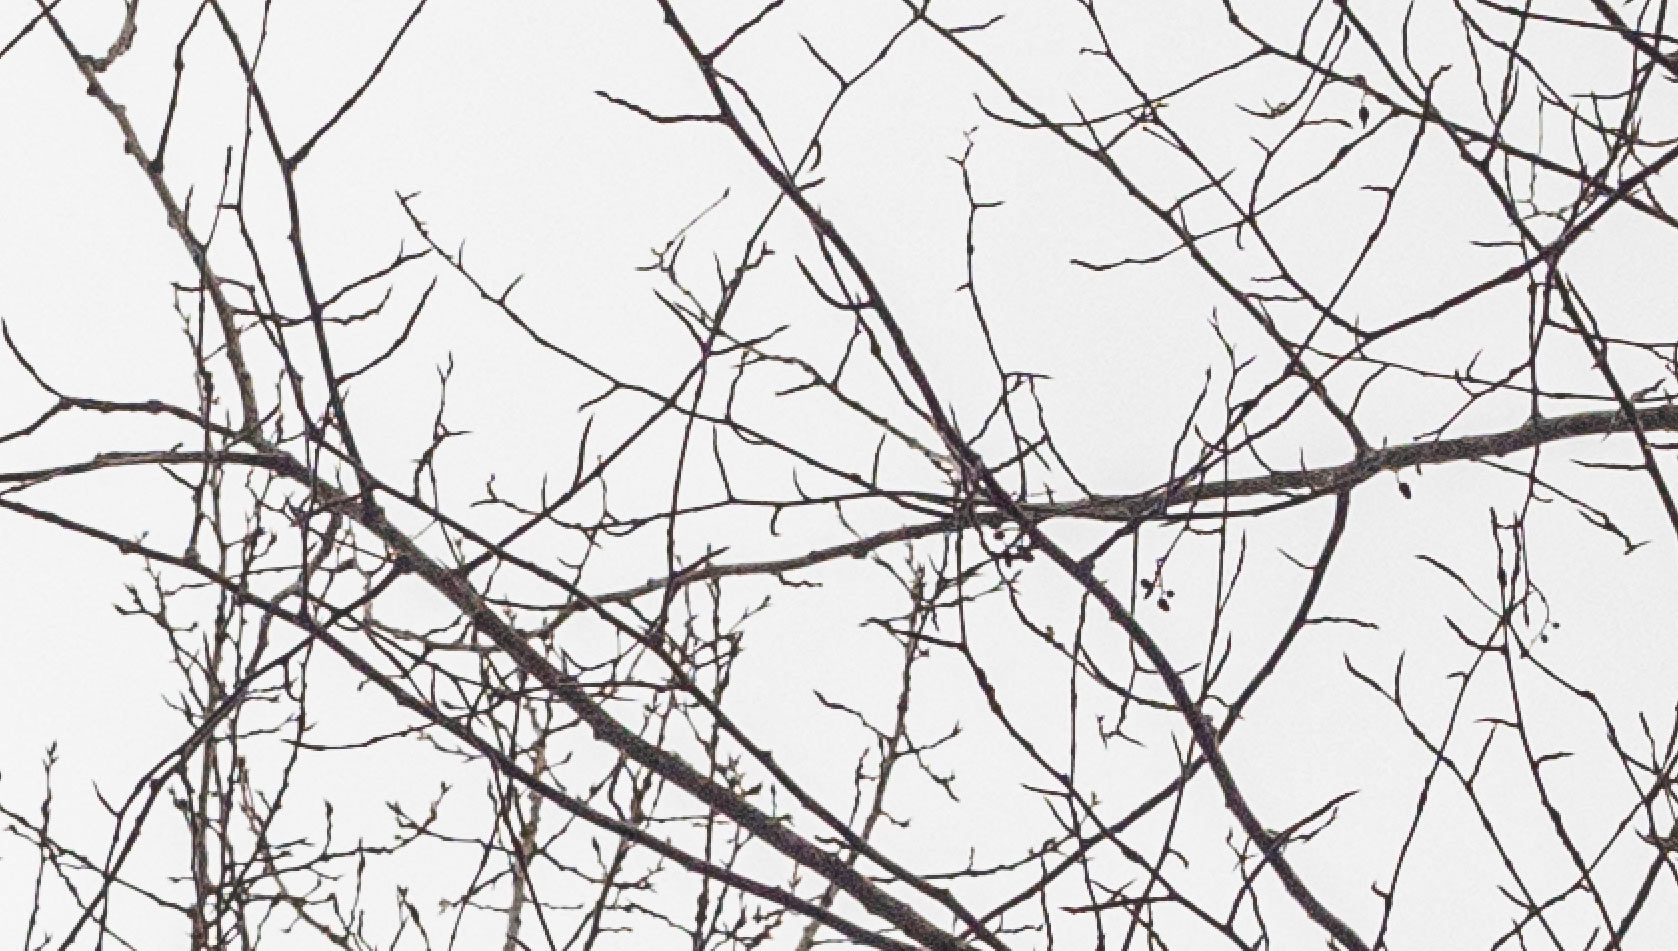
Looking at the upper left corner of the image, still at 200% we expect the sharpness to fall off, even shooting at f/11. This is where this lens really impressed me. Sharp to the very corner!
Real World Shooting with the FL 1.4
One of the most useful devices I have acquired for my hobby is an adapter allowing me to mount FL and FD lenses on my Canon R. With this one inexpensive item I have opened all of my Canon SLR lenses and Bellows Units to ongoing use.
The adapter has on it a Stop Down Ring by which I can open and close the iris from wide open to stopped down to the selected setting on the lens. I can focus wide open and then stop down for the picture. Combine this with the Canon R’s Focus Peaking feature and using these old lenses becomes very pleasant indeed.
The only feature I lack is In Body Stabilization but, for this, I will have to invest in a Canon R5 or R6. At the moment that is more than I wish to spend for this feature. But I took pictures for 50 years without without image stabilization so I am sure I shall survive.
As I write this it is December here in Vancouver and the days are usually winter grey. This makes it difficult to find interesting subjects for my tests without waiting overly long for good weather. If these images seem a bit drear you have the reason.
Same image. I have simply cropped it to encompass only the Christmas Ball ornament with my image. I rather like this.
Before I left the front yard I had my first image. We decorate a red maple in the yard each Christmas with lights and decorations as part of our Christmas Lights. I took a picture of a silver ball hanging there and when I looked at it later I realized I had taken a picture of myself.
These three pictures are of that decoration, each cropped further into the image. The last one, on the left here, is at around 400%. This lens performed very well. In fact it was better than I was expecting.
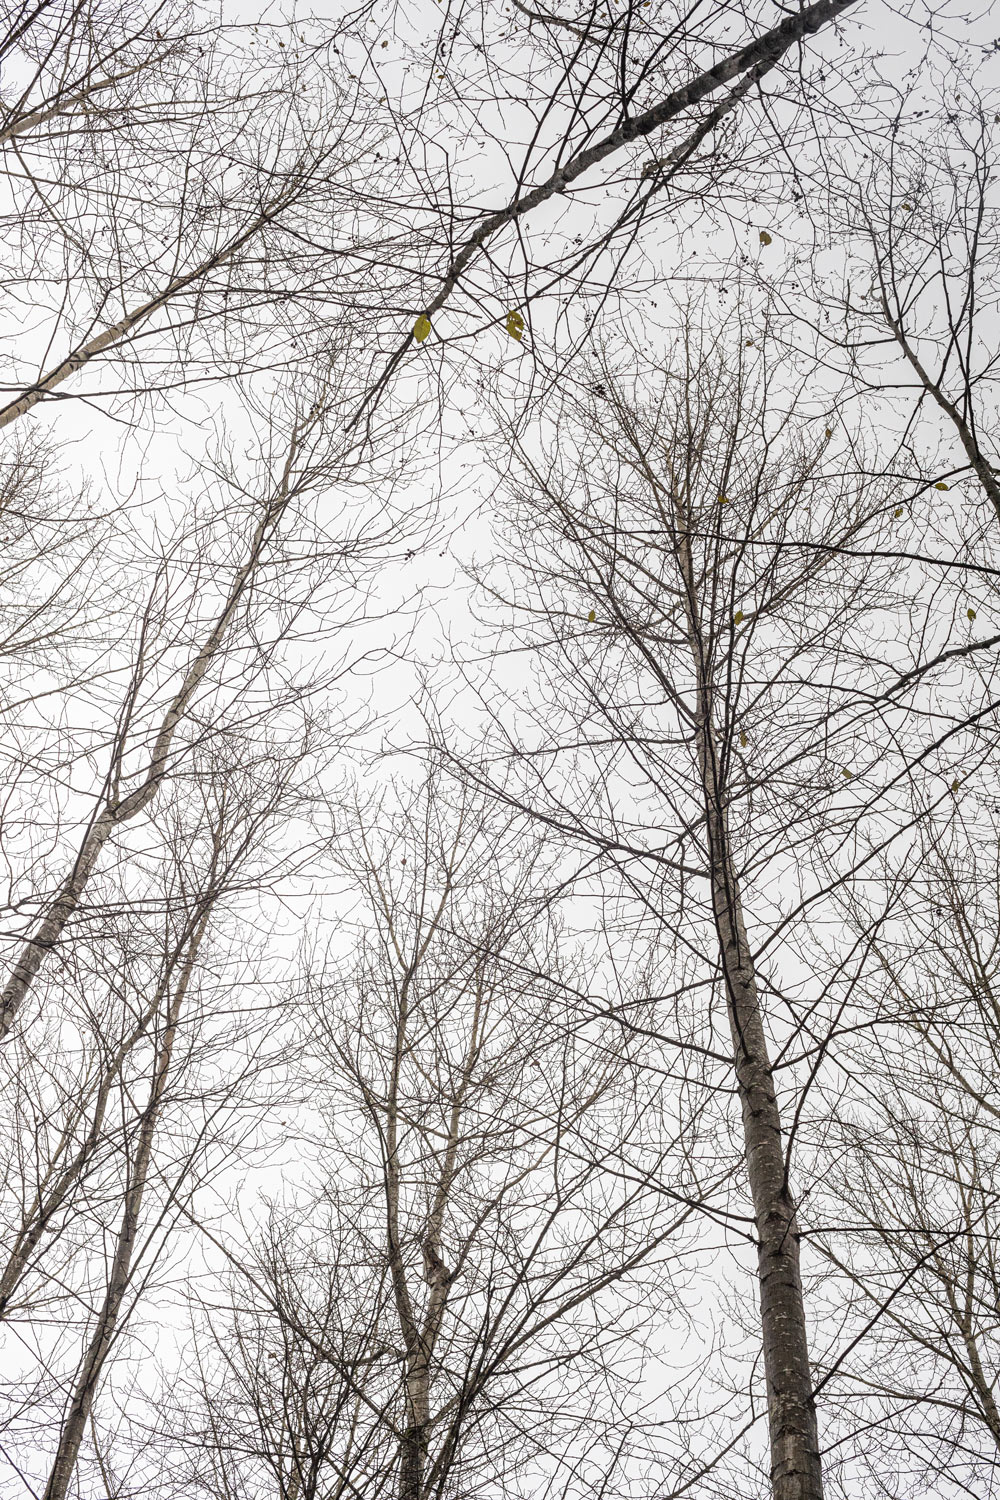
My next image came from the park near the house. There is an area with a scrubby forest growth of cottonwoods which were perfect for giving me sharp edges across the frame and all at a distance beyond 20 feet. It should be easy to have good focus right out to the edge of the photograph.
I shot the trees overhead at an ISO of 800 with the aperture set to f/11. This is not a great picture but there is much to learn here.
This overhead shot of tree branches was made at f/11 and the image is the full frame. It has been adjusted for brightness and contrast only. Sharpness has not been adjusted at all.
I did play around with photographing brick walls to check performance wide open and I can tell you that at f/1.4 this lens does vignette and sharpness in the corners falls off. And the contrast is lower than you might like. But even stopping down to f/2.0 makes a big improvement. I like to shoot at f/8 to f/11 most of the time so this is no issue. And if I was doing portraits I would prefer to be wide open for the vignette and edge softness. It saves me putting them in with Photoshop.
A cloudy day is no day to test for lens flare. But I am sure it is there at wide apertures. All wide aperture lenses have this problem and a lens shade is always recommended. As for color fringing, again a cloudy soft day is not a good day to test for that. These dark branches may have trouble against a bright blue sky. But these tests are for another day.
So can you use this lens for good photography? Absolutely! All lenses have weaknesses and being a good photographer is understanding what you are trying to do and choosing the correct equipment for the job. This lens would be right most of the time. EOS lenses may make your job easier but they will be hard pressed to do it better.
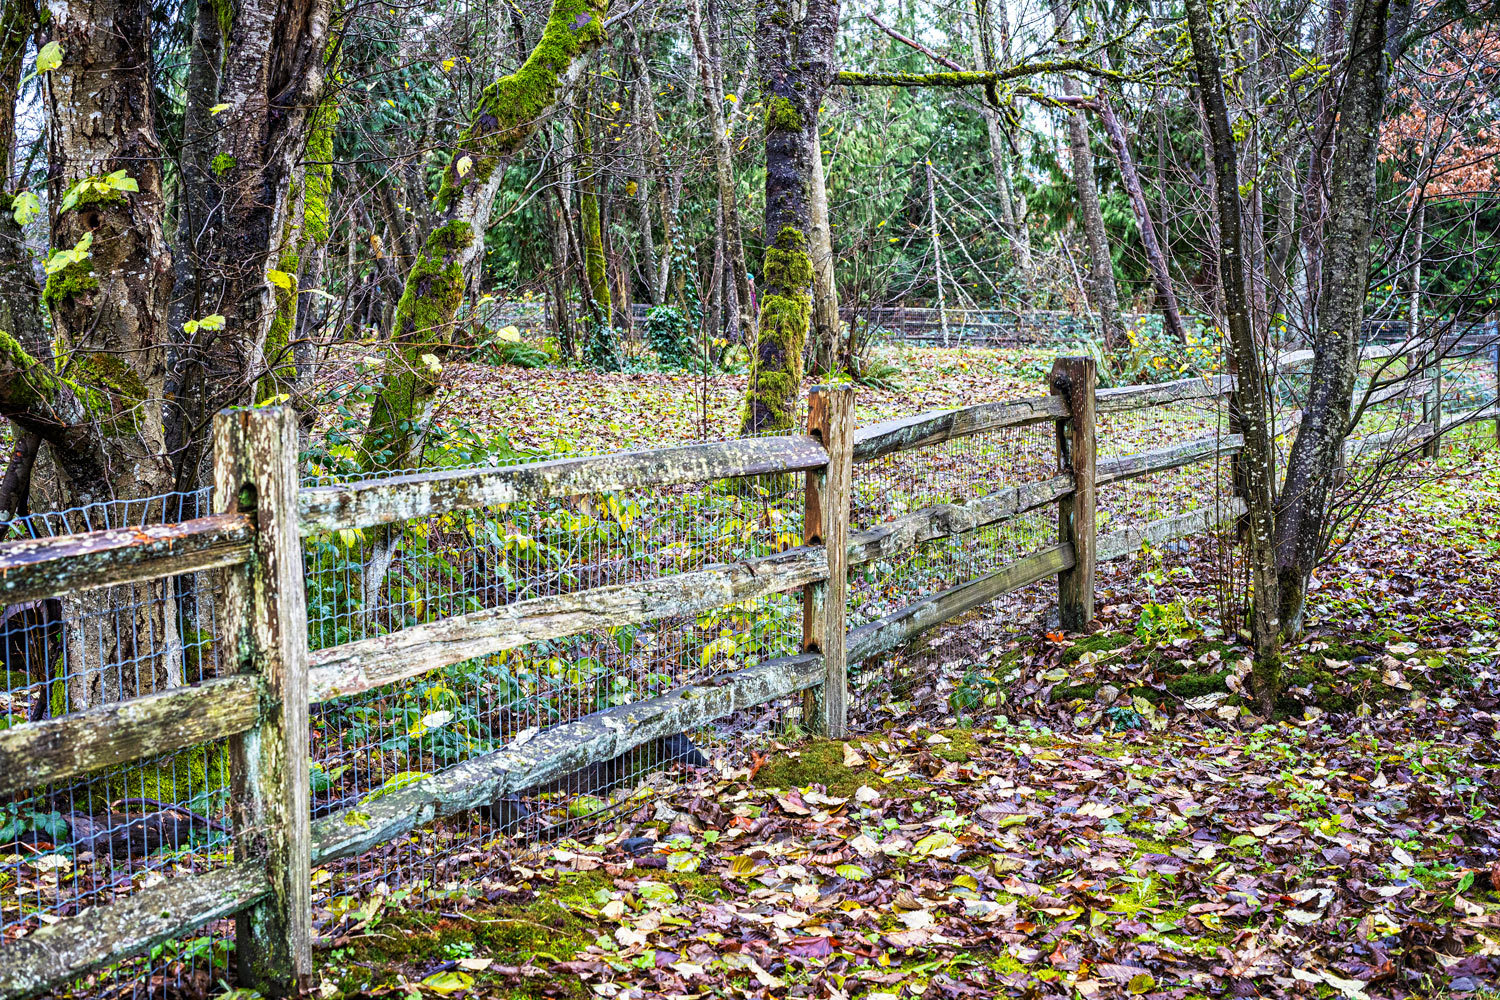
This is an image of a fence line on a dull cloudy day. And that is what it looks like. I took this on the same walk I describe above. Unlike thise above, it has been post processed and sharpened. And if you look at it closely, this lens shows itself to be a winner.
This website is the work of R. Flynn Marr who is solely responsible for its contents which are subject to his claim of copyright. User Manuals, Brochures and Advertising Materials of Canon and other manufacturers available on this site are subject to the copyright claims and are the property of Canon and other manufacturers and they are offered here for personal use only.
