Canon EF 100-400mm f/4.5-5.6L IS USM
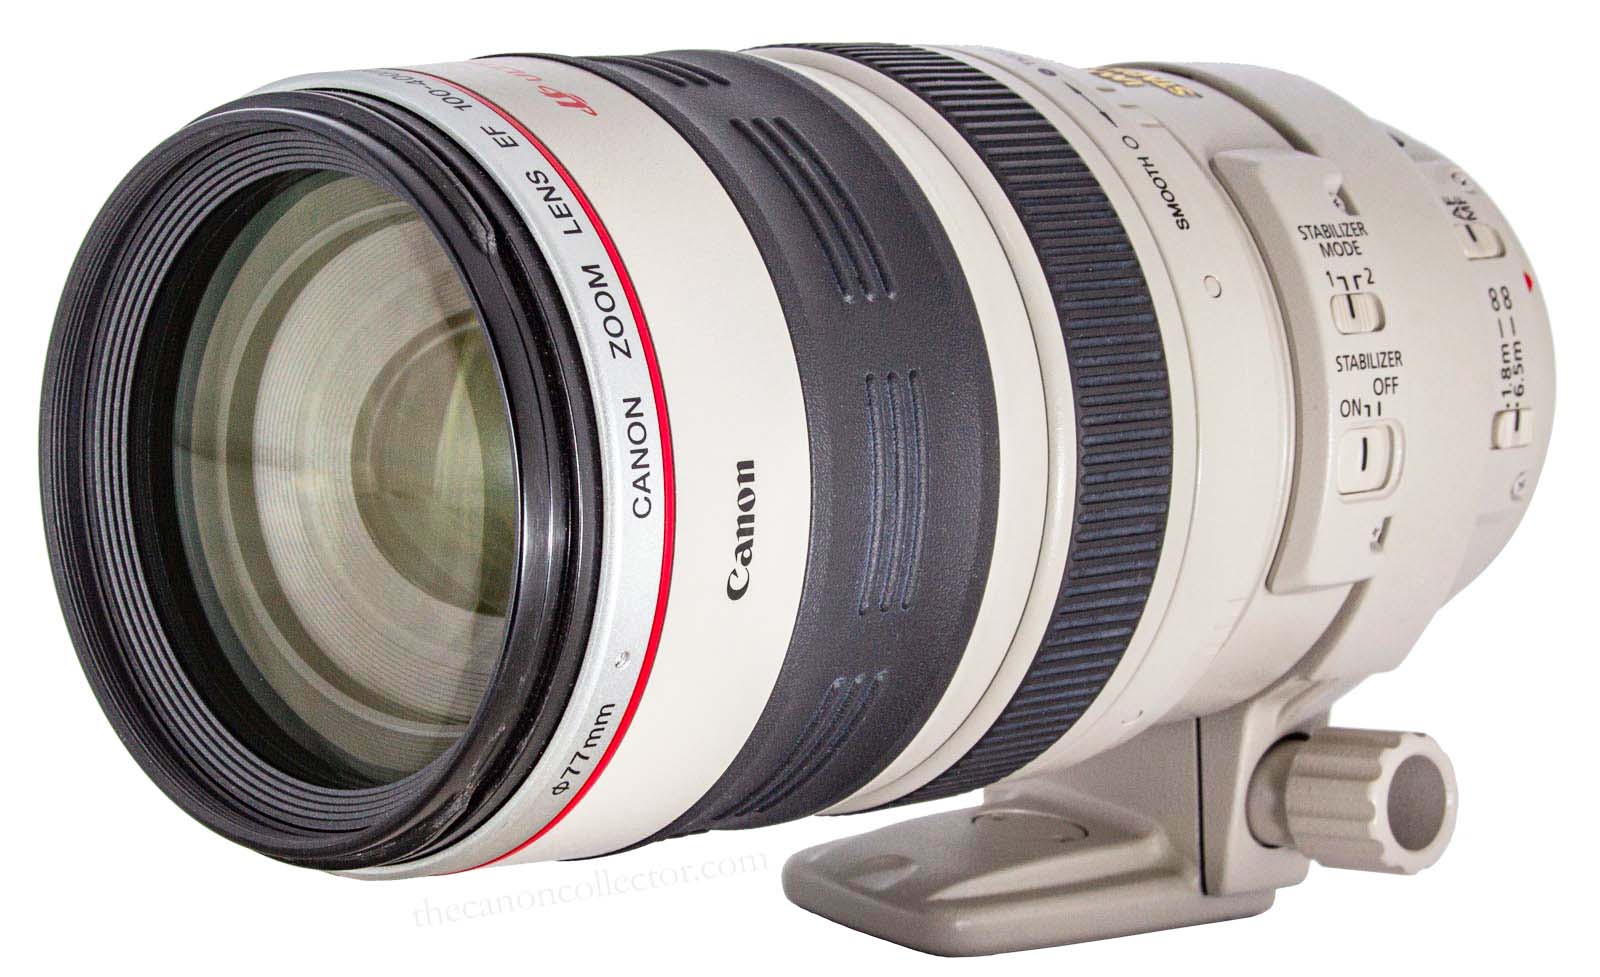
This is my EF 100-400mm f/4.5-5.6L IS USM telephoto Zoom lens Serial No. 328168.
Canon produced two 100-400mm zoom telephoto lenses. The first was the EF 100-400mm f/4.5-5.6L IS USM which was introduced in November of 1998. This is the lens above and the one this page is about. The second was the EF 100-400 f/4.5-5.6L IS USM II introduced in December of 2014. These are large heavy lenses and their focal lengths makes them specialty lenses you won’t use every day.
At a camera show some years ago I came across the first version of this lens for a very reasonable price, although that was still enough to buy three Canon rangefinder cameras! I did not buy it and after several days very much regretted that decision. About two years ago I was buying a camera from a chap and we were standing by his automobile in a mall parking lot. I asked if he had any other Canon gear for sale and he said yes and proceeded to open his trunk. There was the same lens model, the one above, and a Canon Extender 2X II to go with it. He was willing to part with them, again at a very reasonable price, and I bought both the lens and the Extender.
In the time since I have snapped a few pictures with them but never really found a use for a lens with such a long reach. There they sat, on my gear shelf, beside my 70-200mm lens.
We have a Newsletter
There is a Newsletter for thecanoncollector.com to keep you up to date on what we are posting. Try it!
This 100-400mm lens is not much larger than the 70-200mm f/2.8 lens. It is heavy to lug around all day but performance is really good.
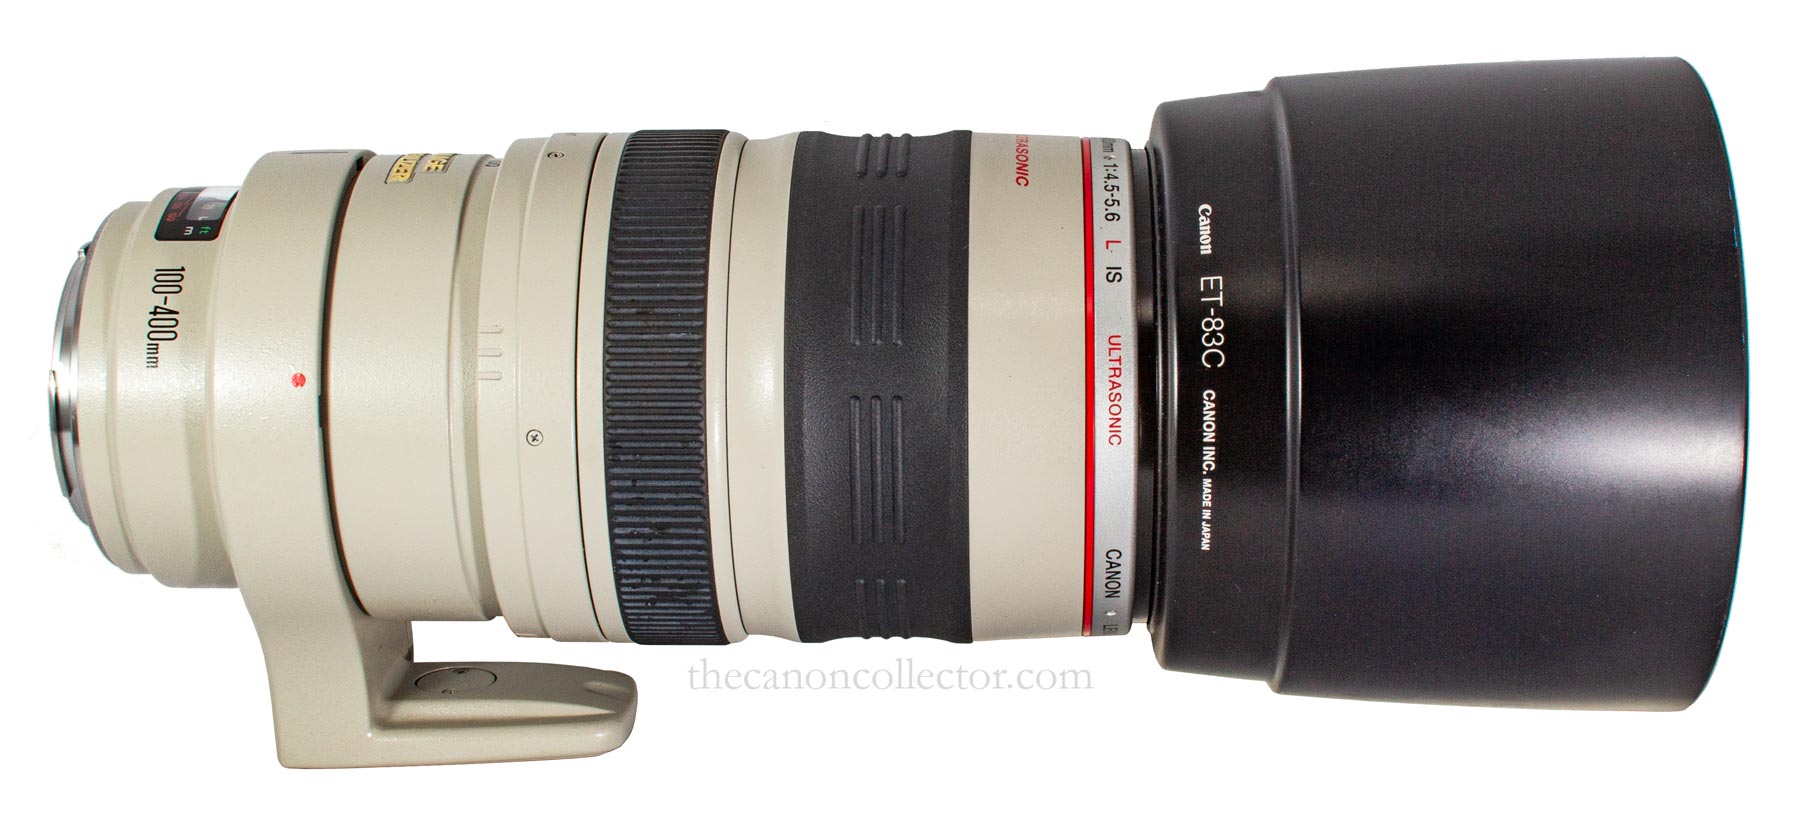
With the very deep ET-83C lens hood this lens is much longer. It is a very effective lens shade and is excellent at protecting the front element of the lens and keep ing stray finger off it. Awkward to use but essential!
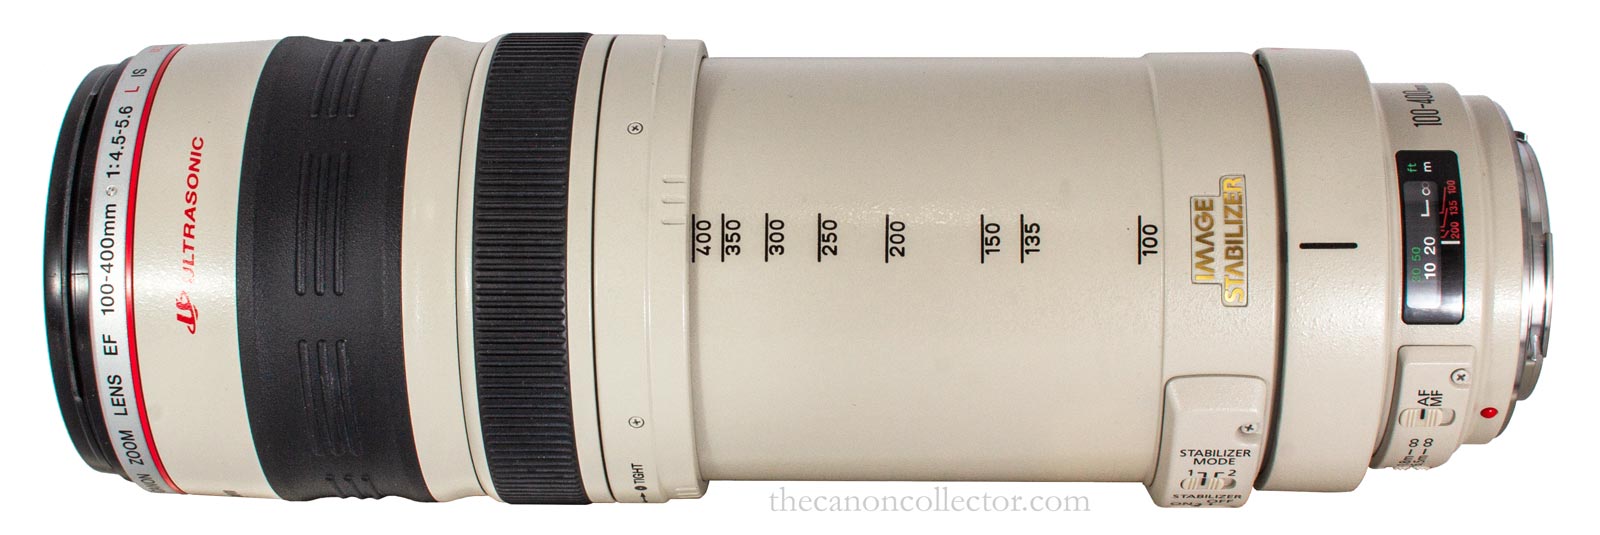
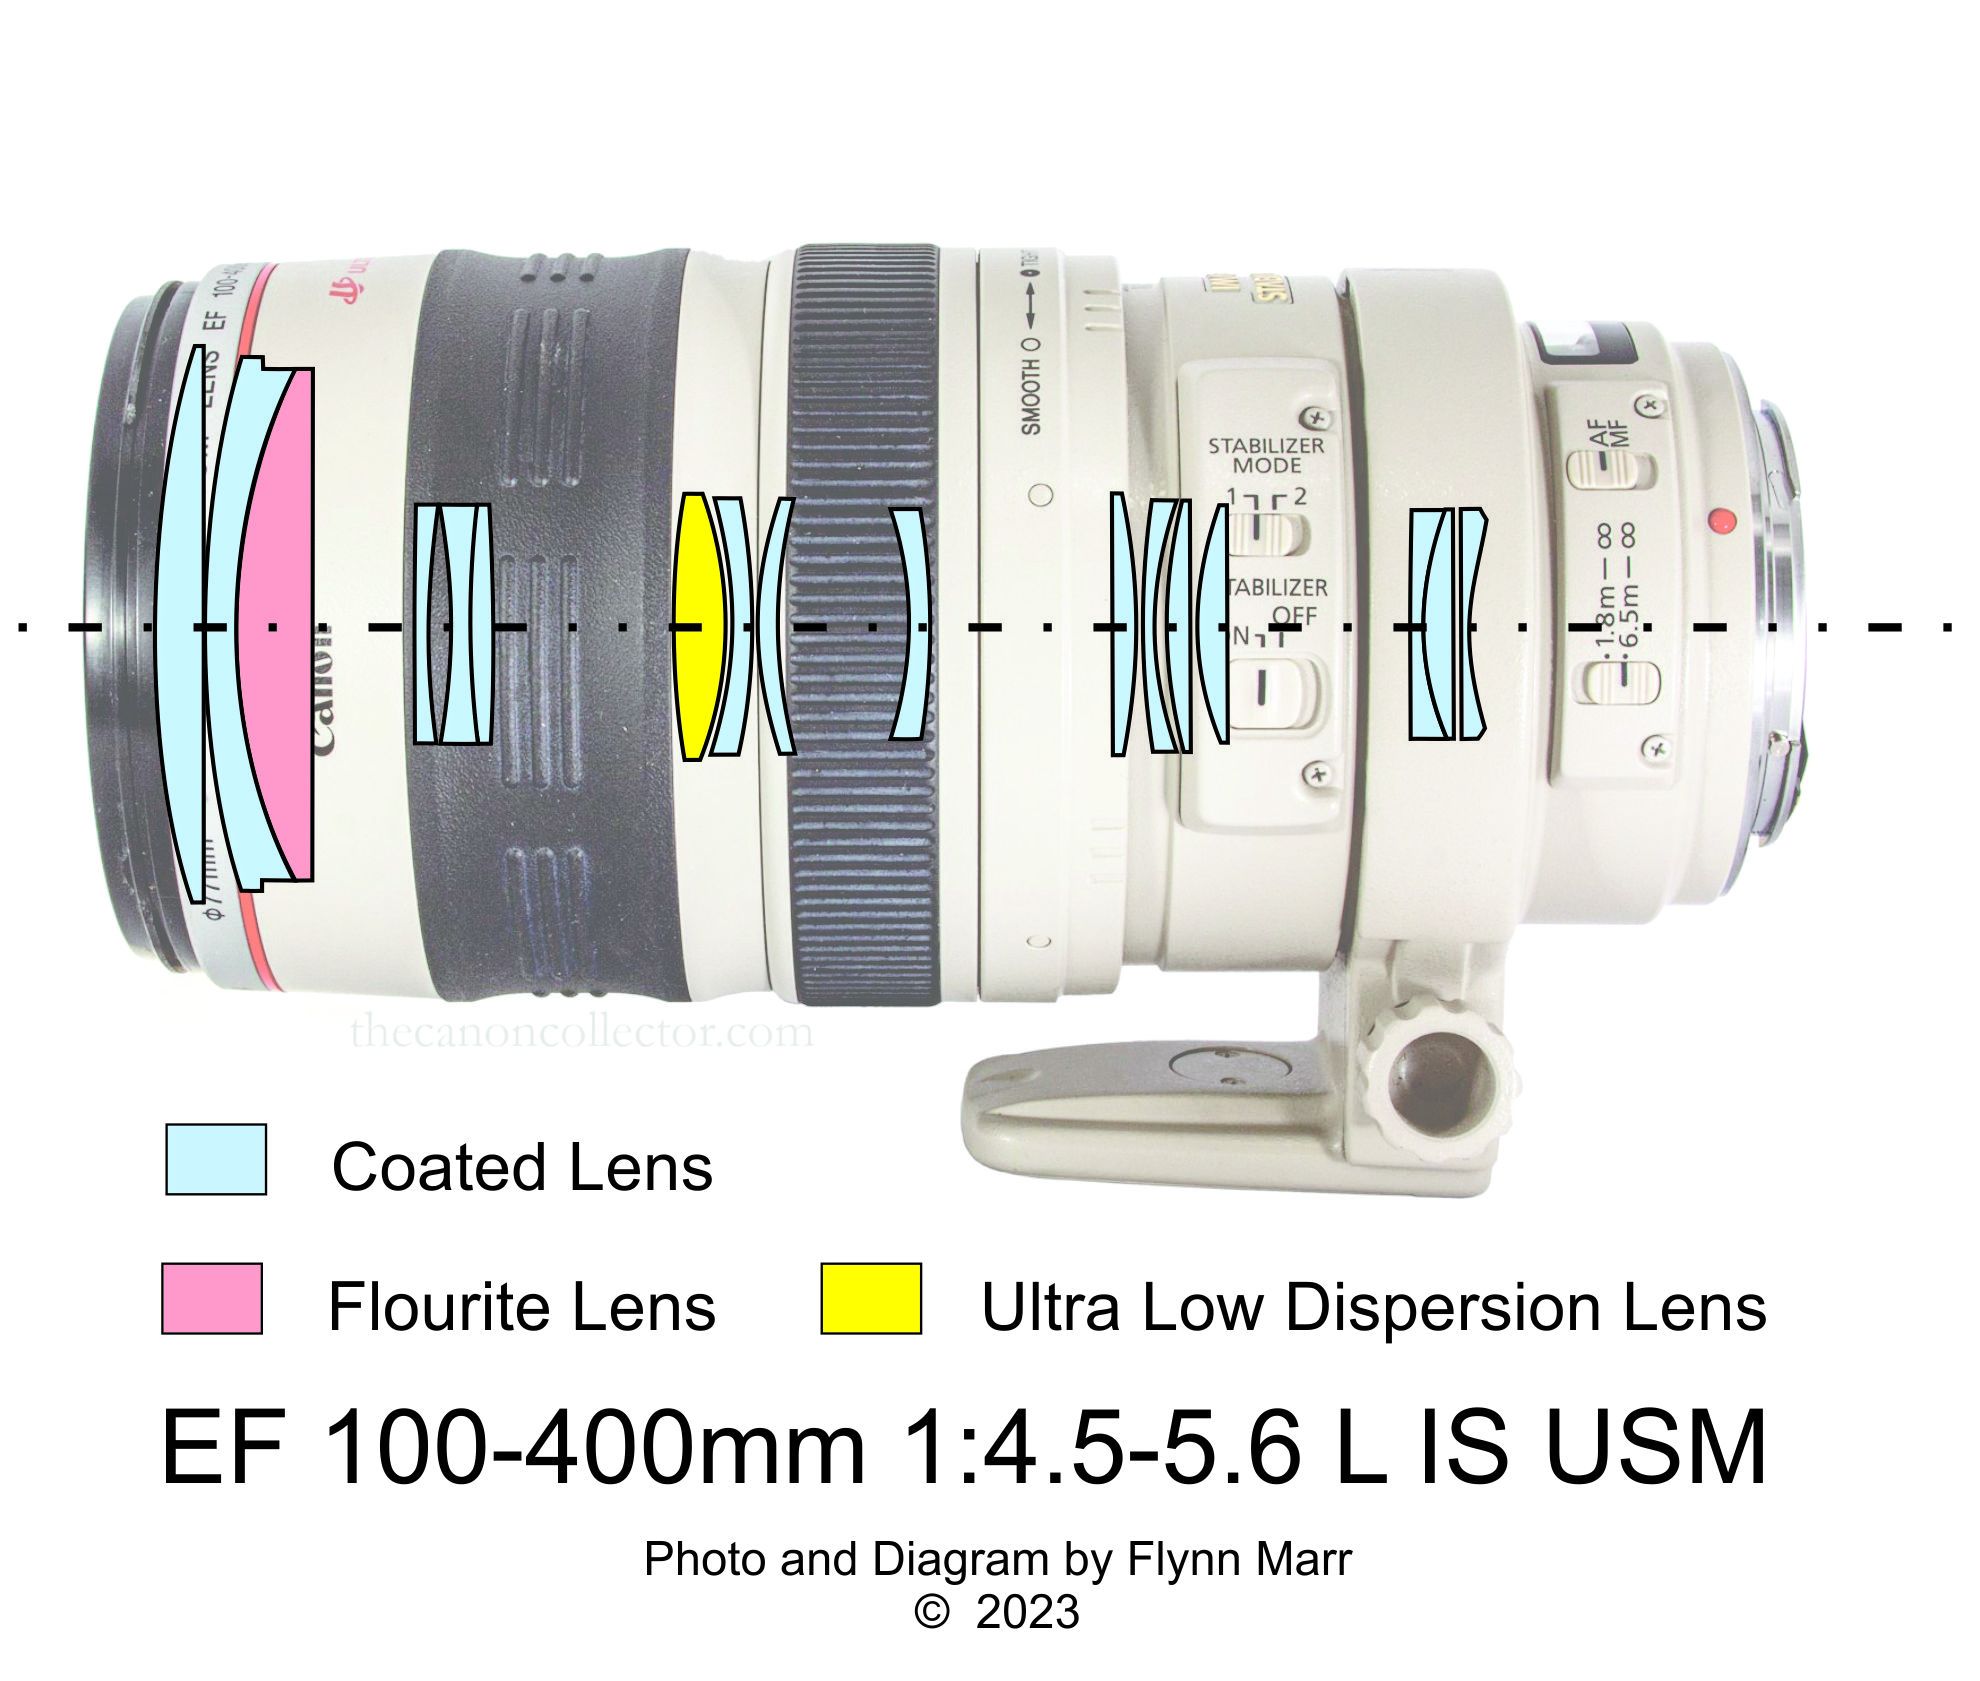
The EF 100-400mm f/4.5-5.6L IS USM was introduced in November of 1998. It is composed of 17 elements arranged into 14 groups. The iris has 8 blades and its minimum aperture is f/32-38. There is one flourite element and one UD (ultra low dispersion) element.
Zooming is accomplished by pushing or pulling on the front portion of the lens barrel which will move out as the focal length increases and in as it decreases. This front portion can fall forward if the lens is tilted down so a lock ring is provided to increase the force required to operate the zoom or prevent it altogether.
When the lens was released Canon bodies were having
problems with focusing at f/5.6 and higher because positive focus required lots of light. Since that time camera bodies have gotten better and the Canon R can focus at f/11, albeit more slowly and less reliably, which becomes important as we shall see.
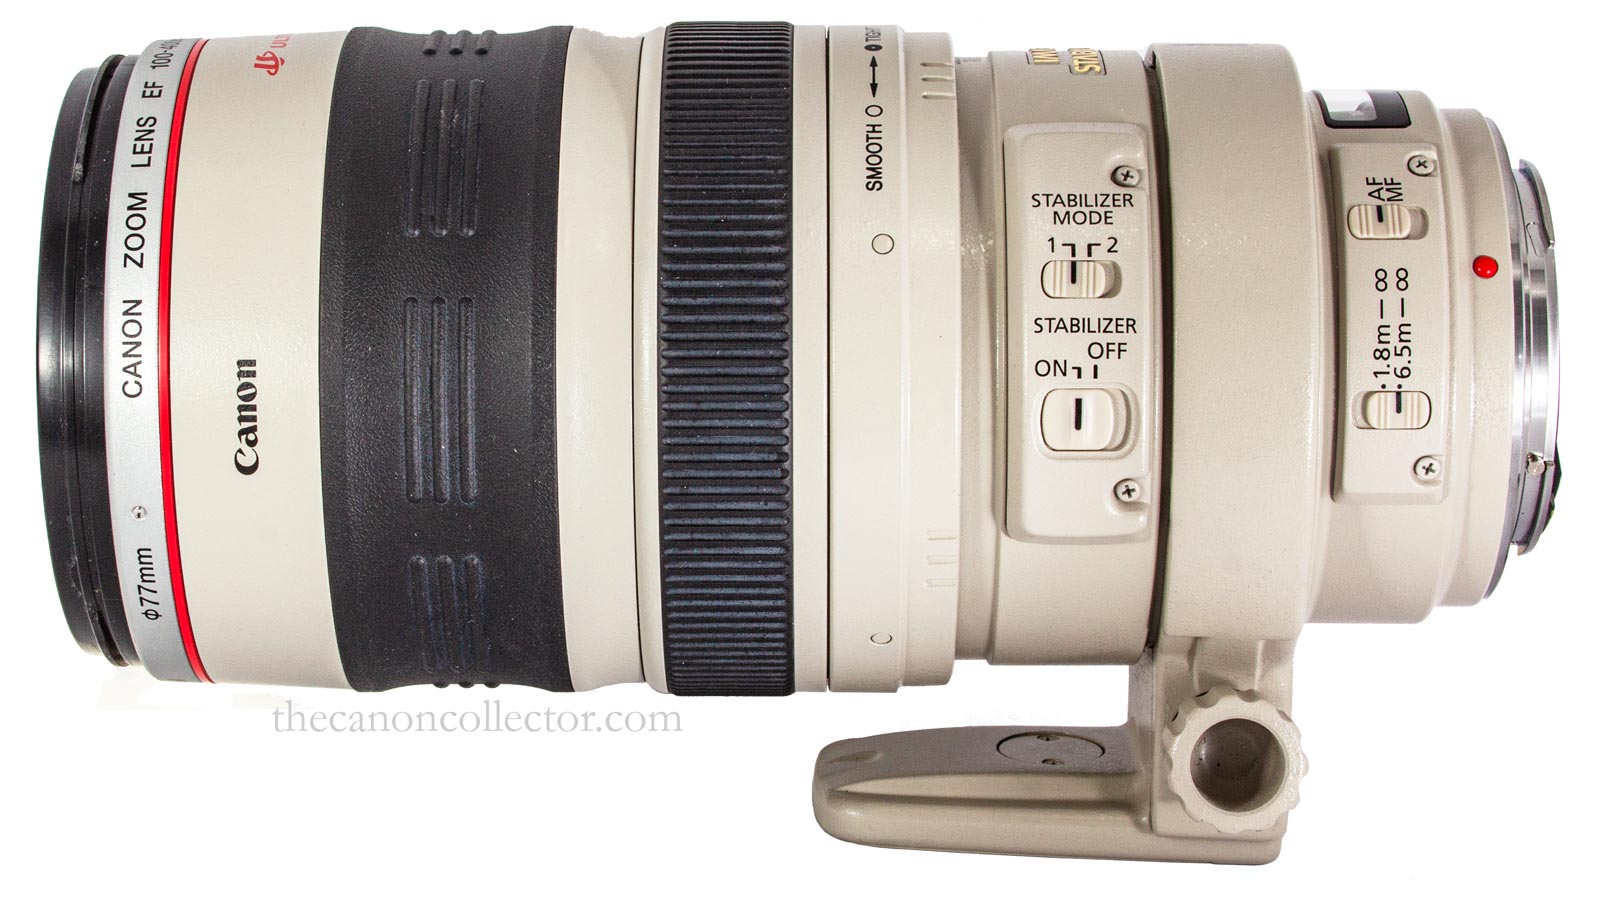
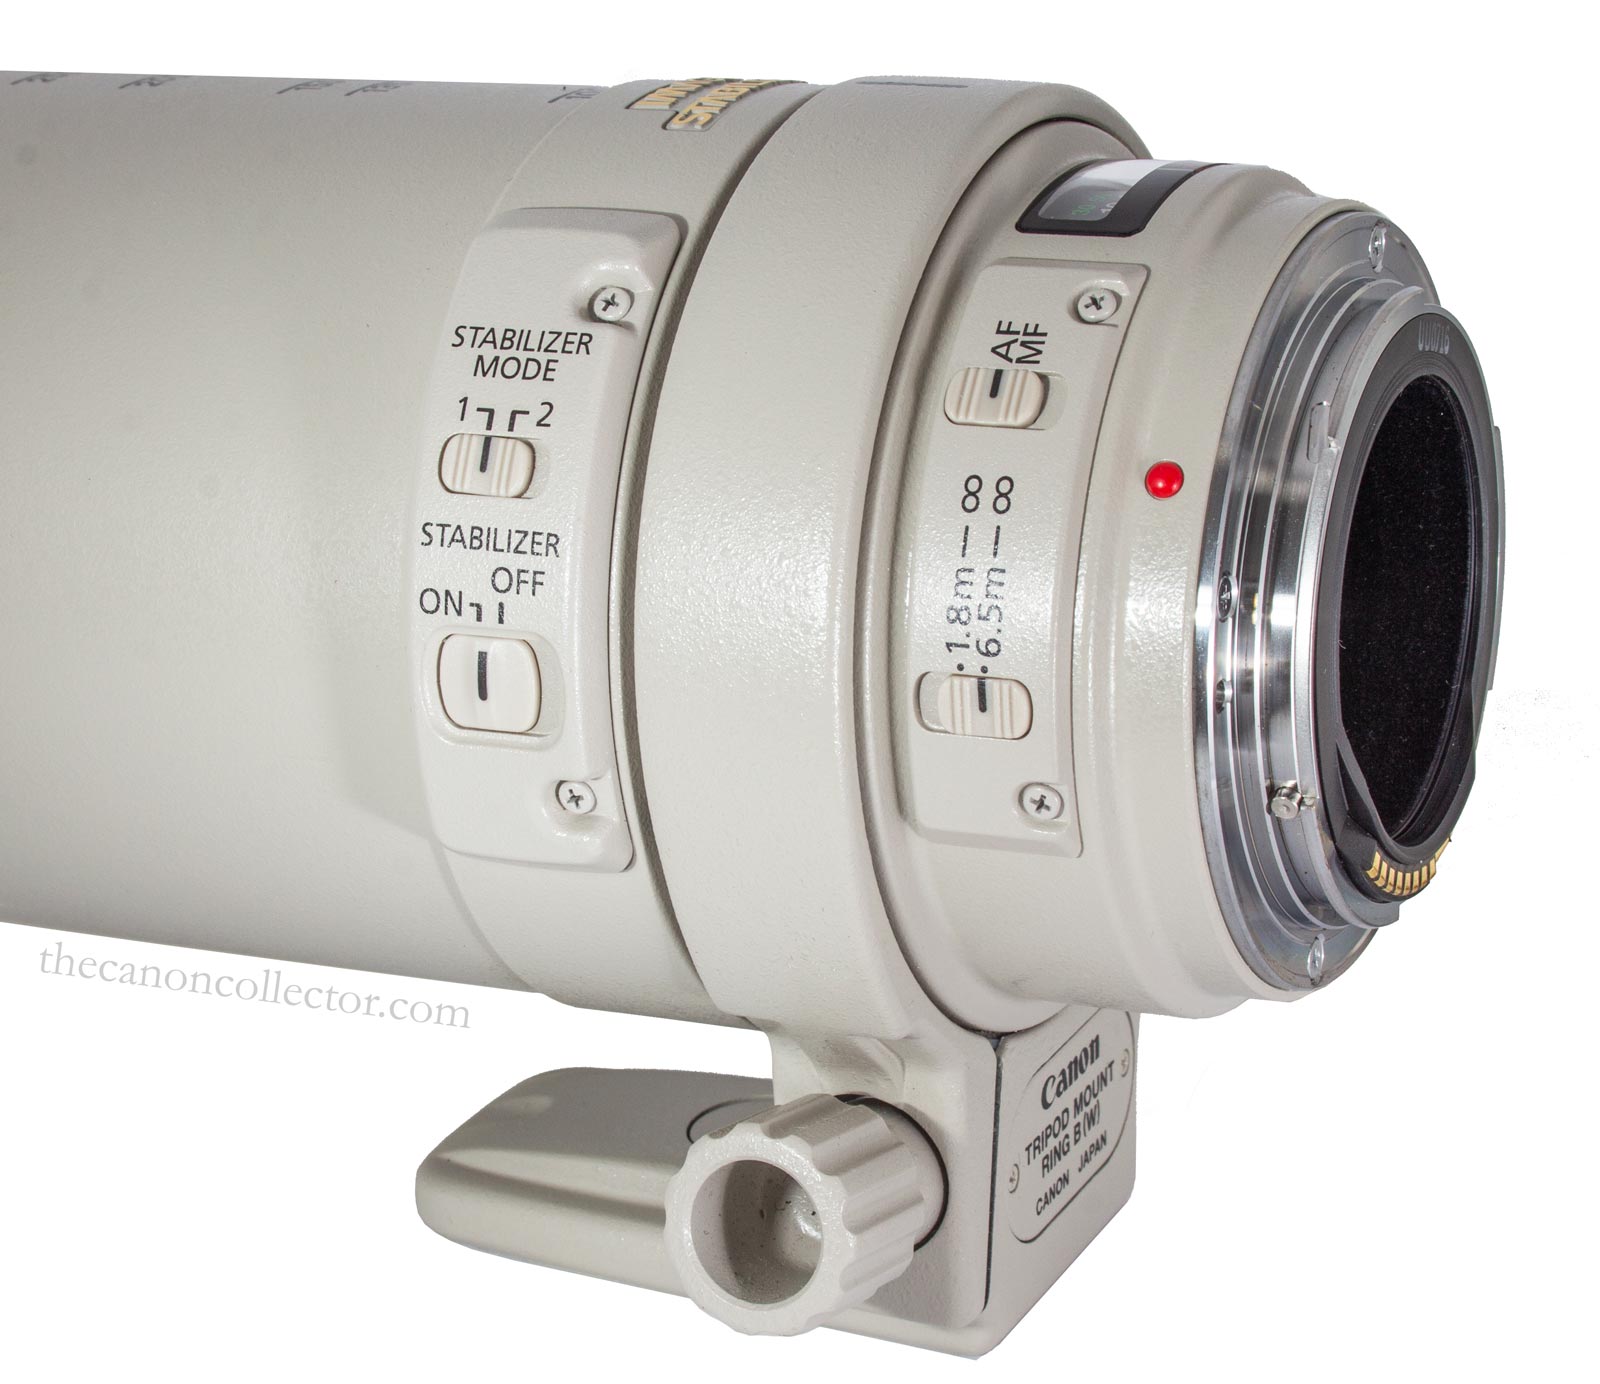
Both the Auto Focus and Image Stabilization features can be turned on and off and they each have two settings. The tripod mounting foot should be used on a tripod. The lens is too heavy to rely on the tripod mount socket in the camera body.
Of course the Auto-Focus can be turned on and off but the focal range can also be set. The first range is 1.8 meters to infinity which is the whole range of the lens. A second setting allows you to restrict that range to 6.5 meters to infinity. That second setting is provided because the focus will be faster and there will be less “hunting” for correct focus.
Image stabilization can also be turned on or off. If the lens is used on a tripod IS should be turned off. Similarly, if you are shooting high speed action you will use a high shutter speed and IS can be turned off which will make the camera faster to focus.
There are two IS settings. Setting 1 corrects vibrations in all directions. This is most useful for still subjects. Setting 2 is for panning subjects in motion. It only corrects vertical movements for subjects moving horizontally and horizontal movement for subjects moving vertically.
For a deeper discussion of the function of this lens have a look at the Manual which you can find below.
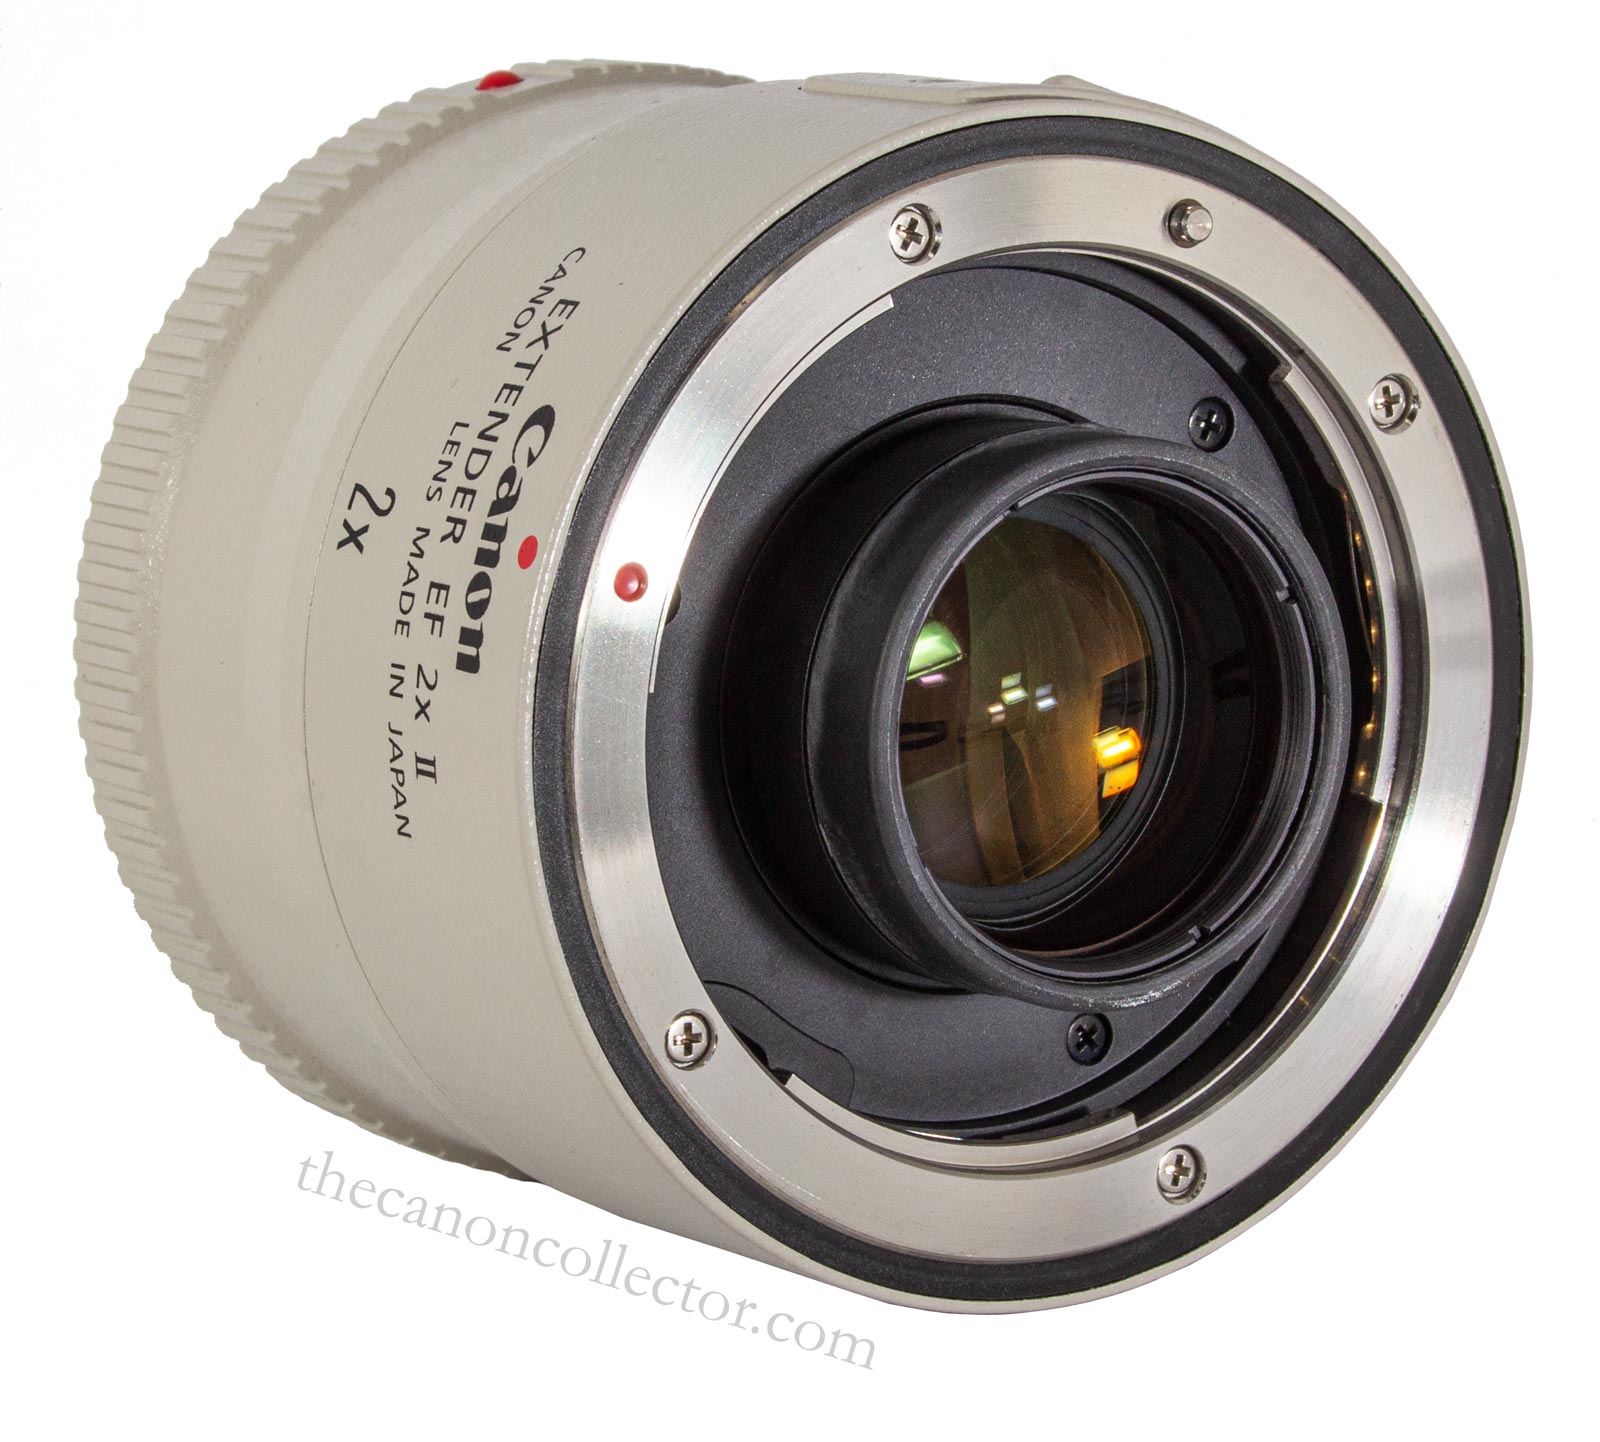
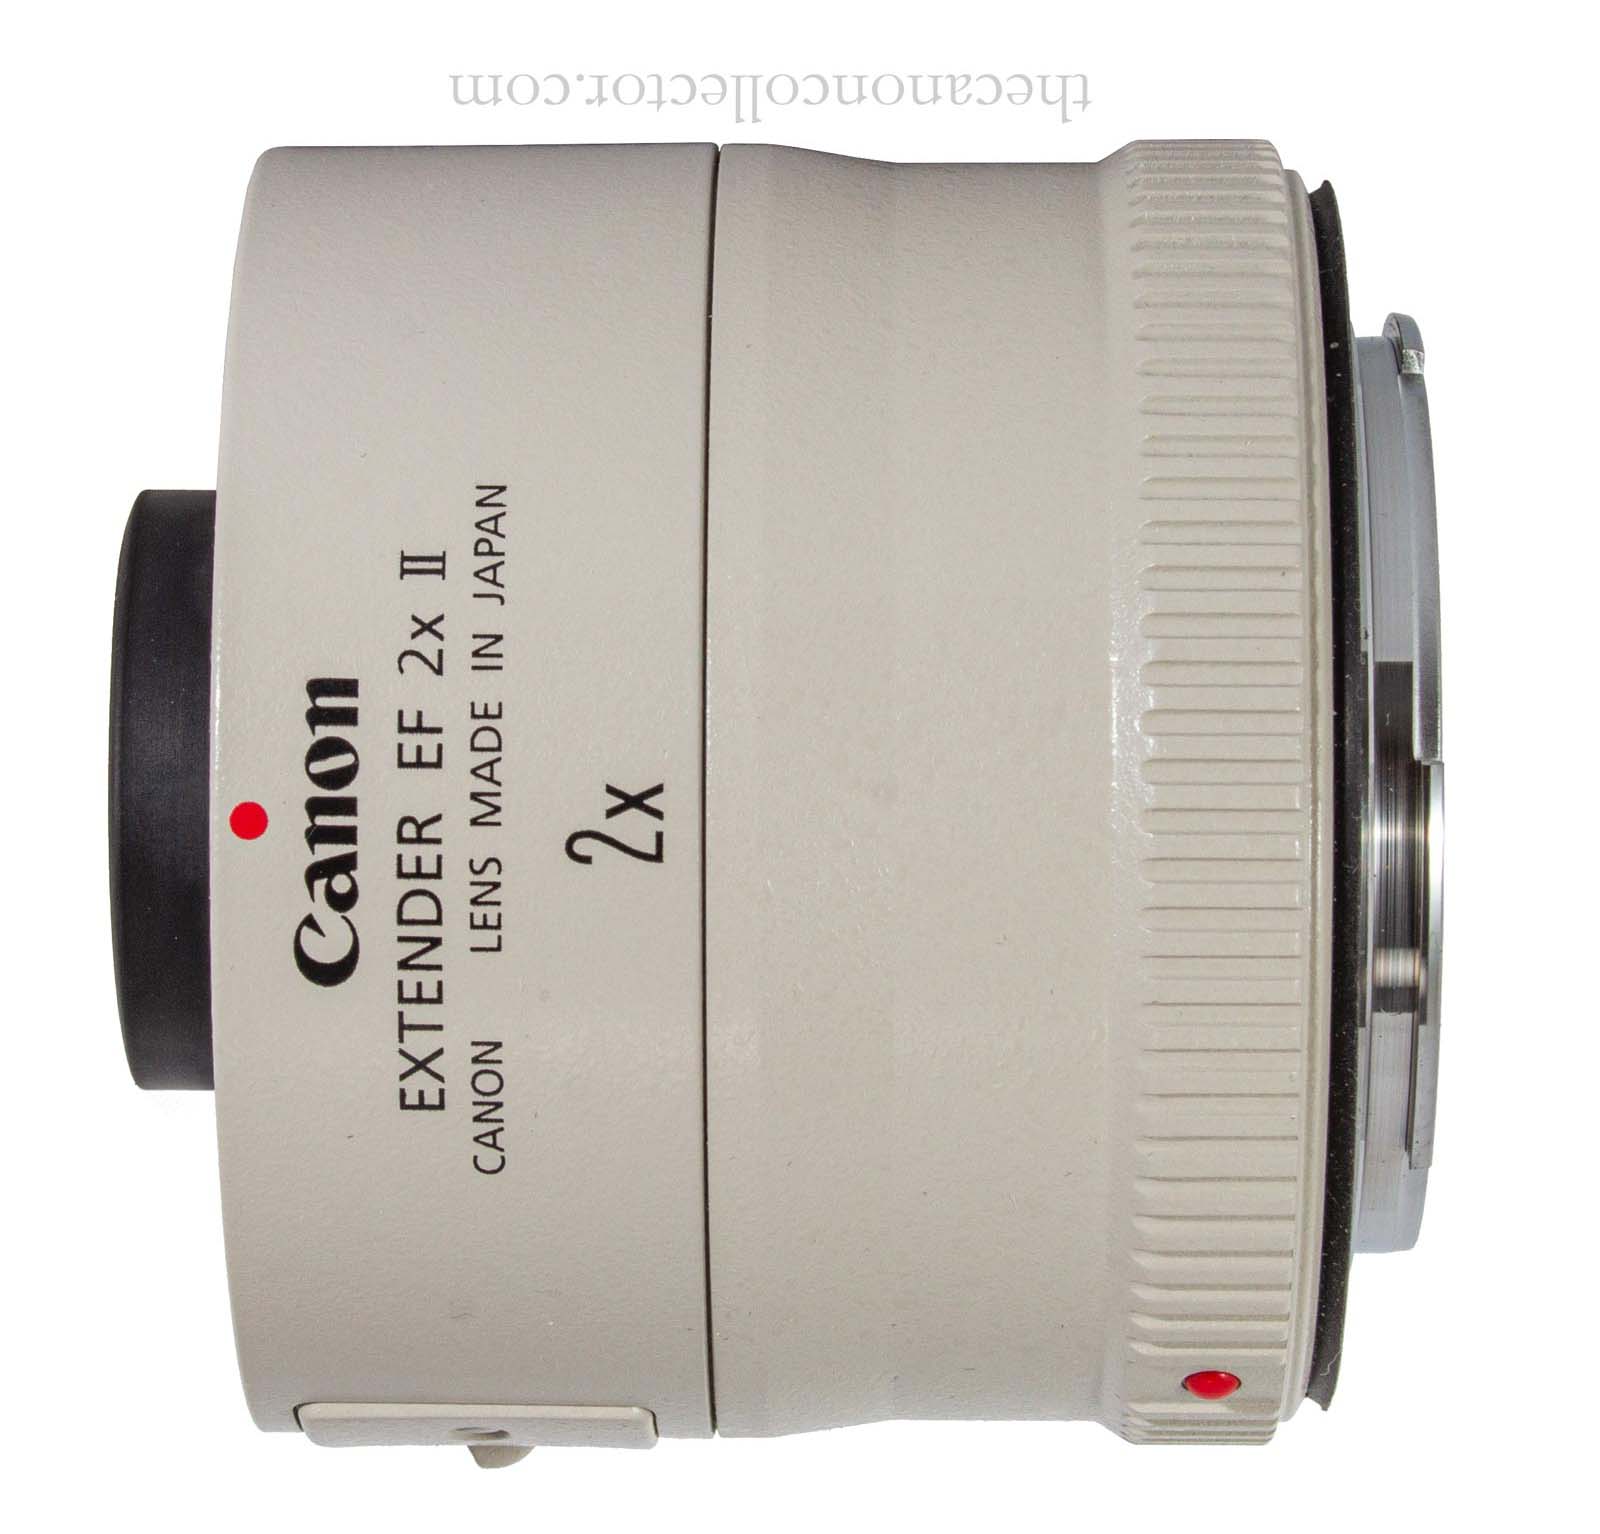
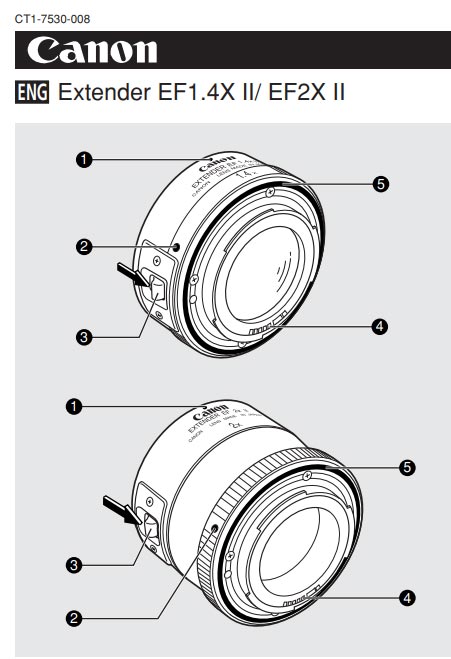
This is the “Lens End” of the Extender No. 93687. Note the protruding lens housing that extends into the lens body.
Before we leave this discussion of the 100-400mm lens, we have to talk about the Extender 2x II that I bought with it. We have already discussed FD Extenders and this EF Extender works in exactly the same way. It is inserted between camera and lens and it increases the focal length of the lens.
There are two extenders, the 1.4x and the 2x. The first increases the focal length by 50% but it costs the lens one full stop, so an f/5.6 lens becomes an f/8 lens. The second doubles the focal length but this costs 2 full stops. This means that my 100-400mm lens is no longer f/4.5 – 5.6 but is now f/9.5 – 11.
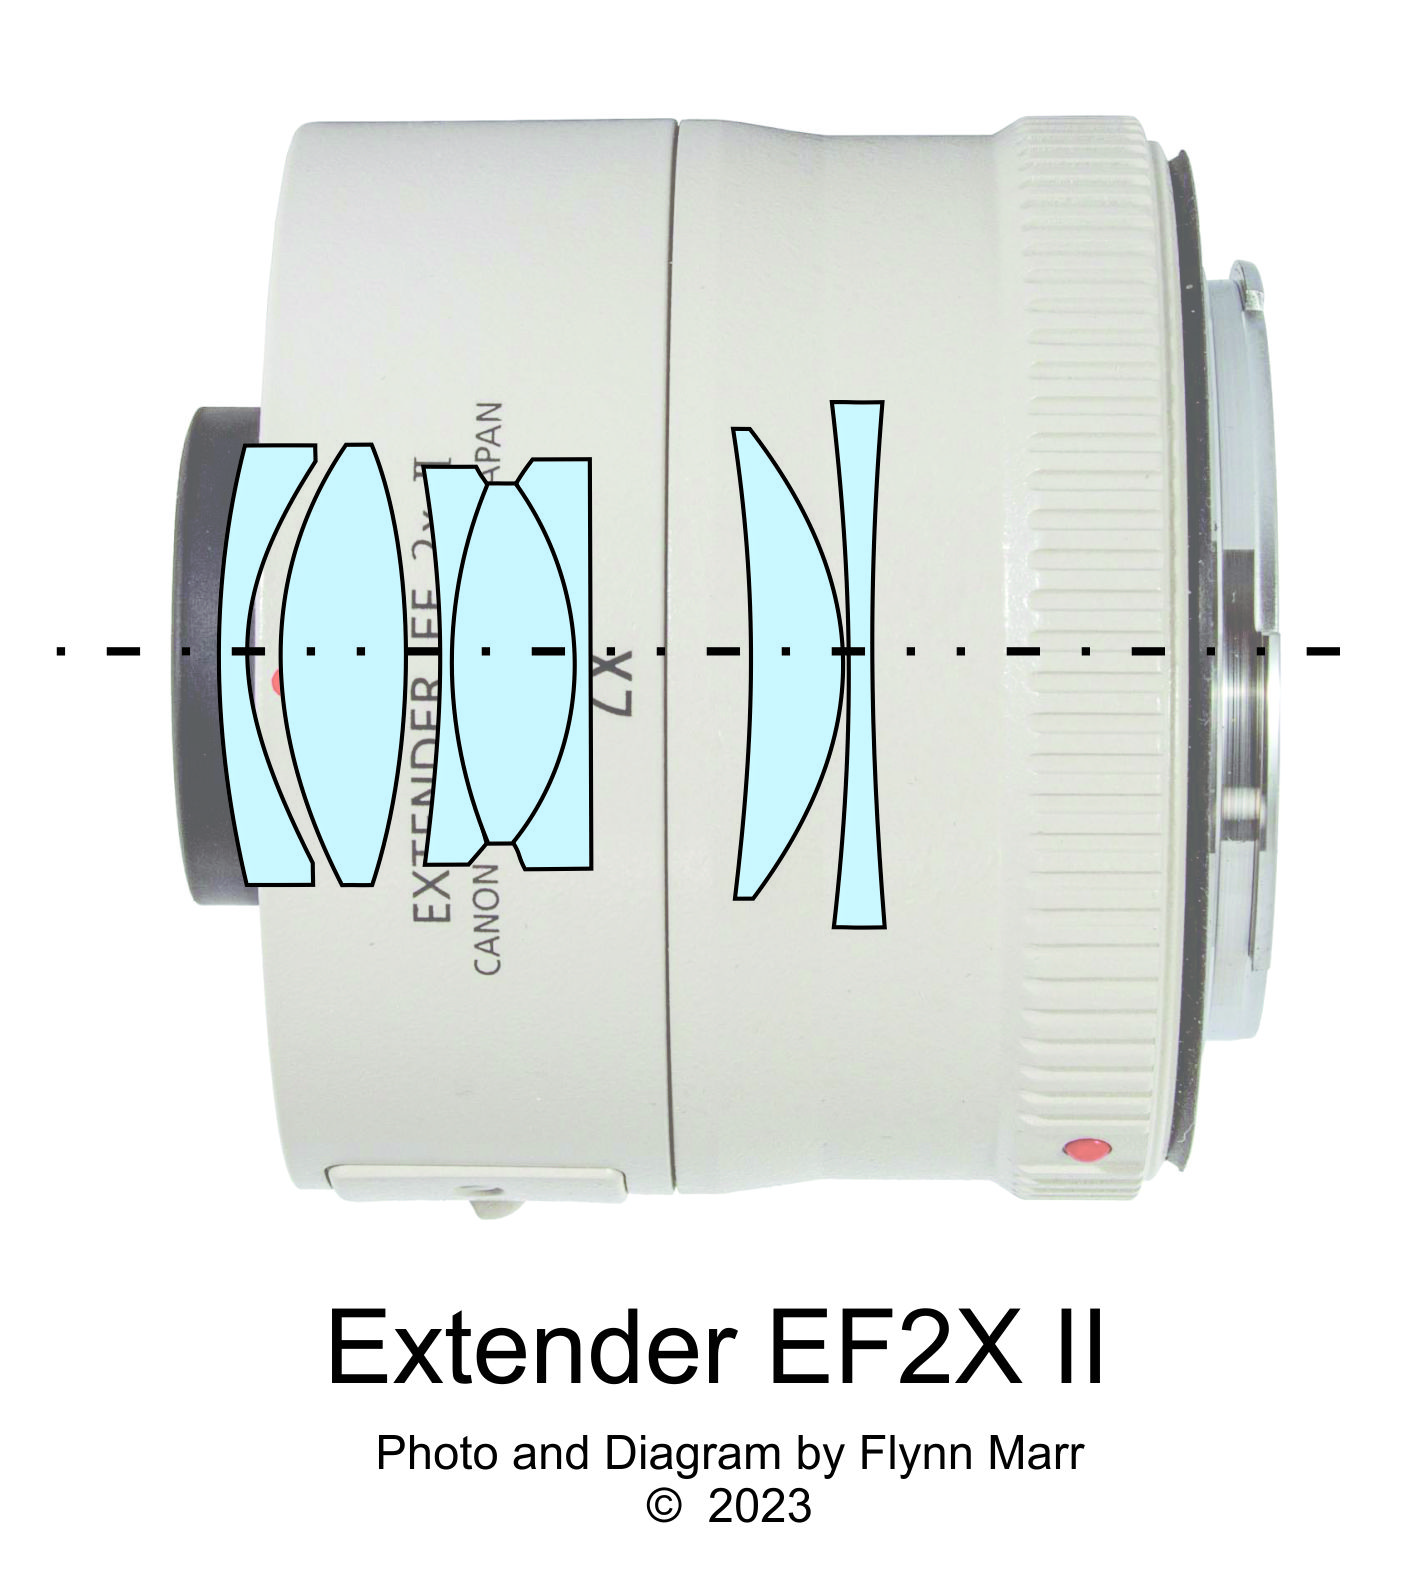
Care should be taken when trying to mount this Extender on a lens. The front element on the “Lens End” of the Extender is in a housing that sticks into the back end of the lens where it could impact the rear element. Only mount the extender on the lenses listed in the Extender Manual. Otherwise be very careful!
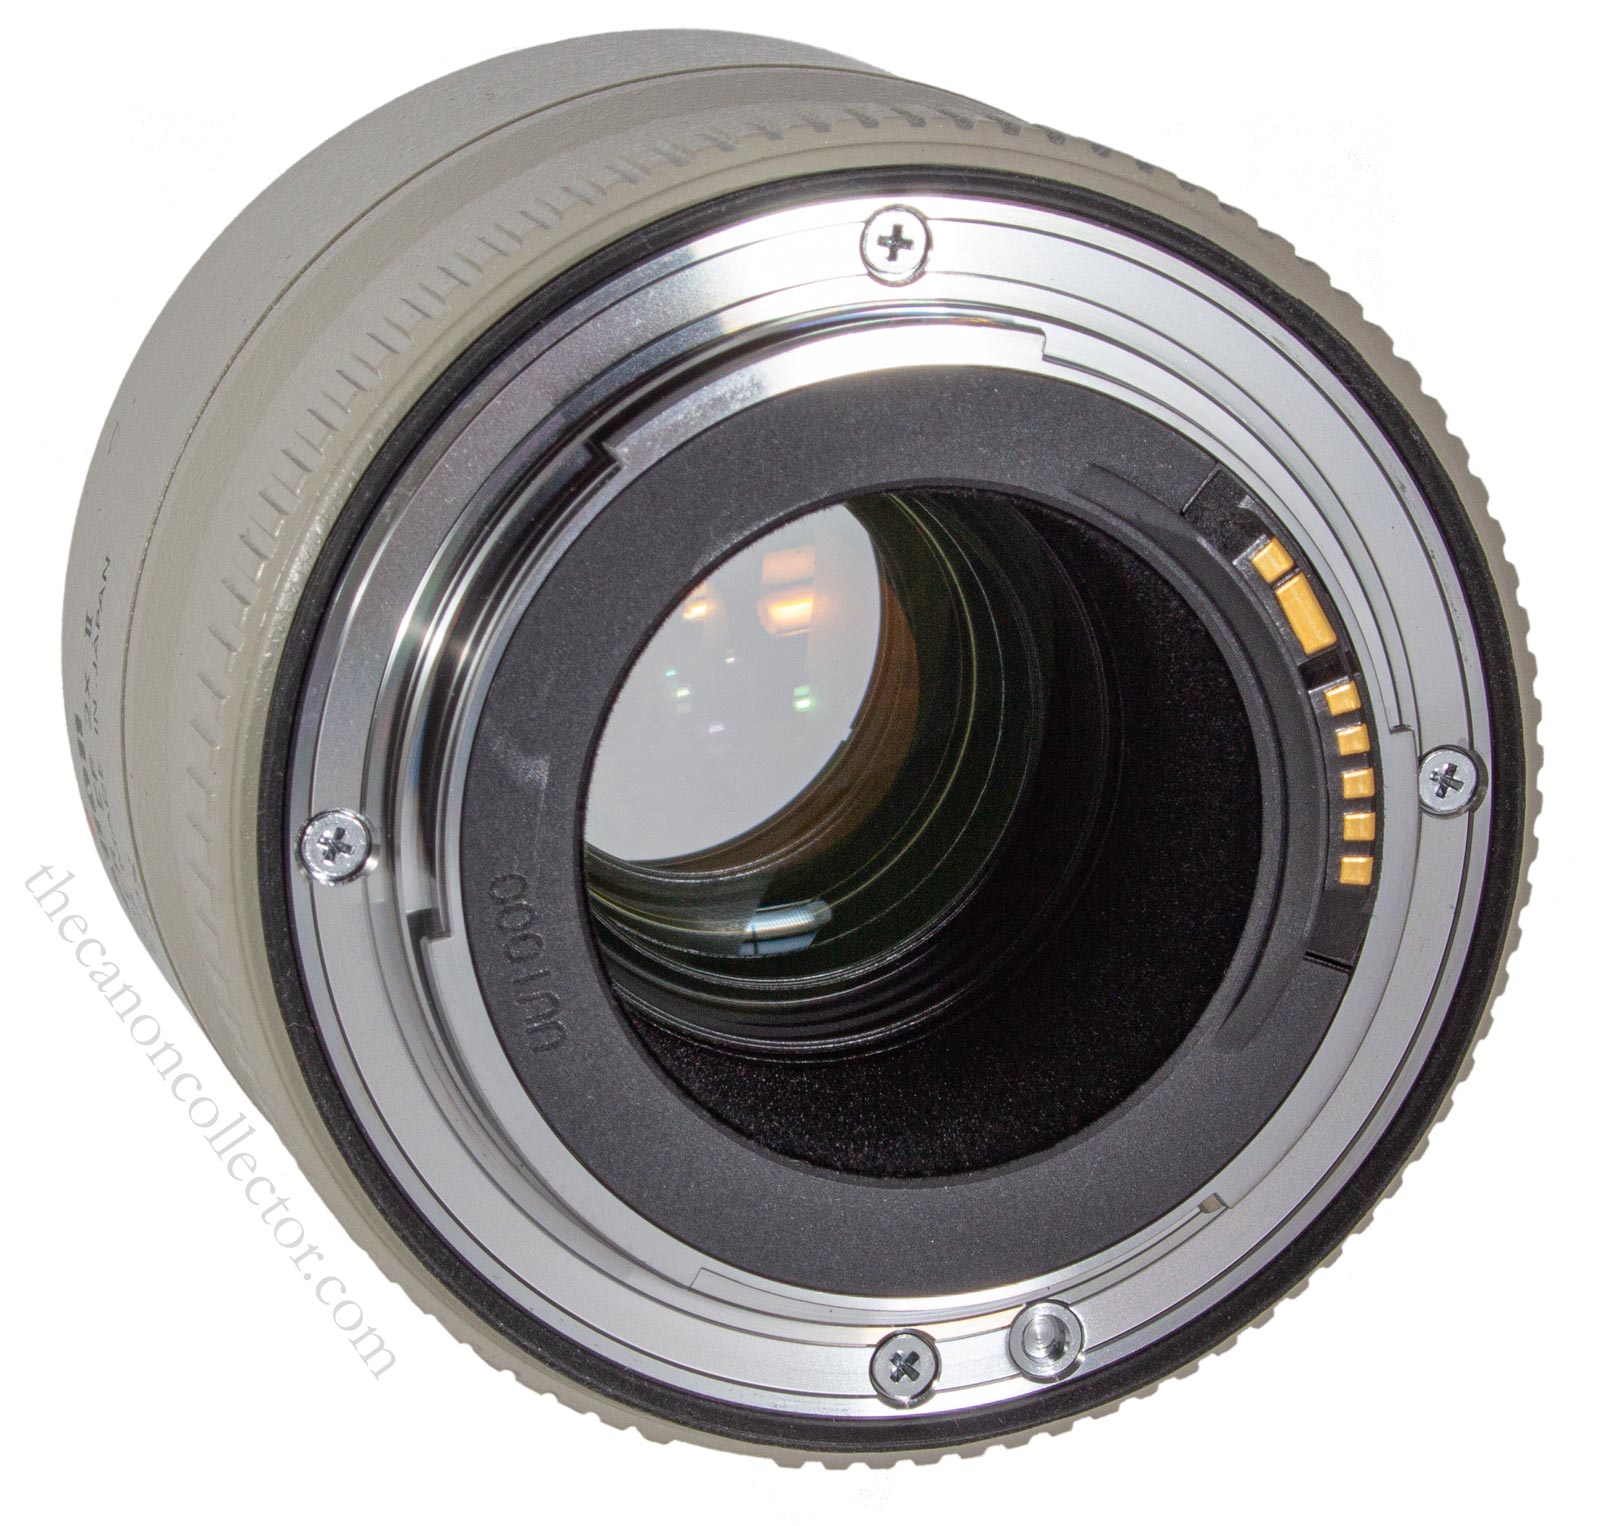
The “Camera End” of the Extender. The electrical contacts allow EF funcionality of the lens as usual including AF and IS.
The protruding lens housing on the left side, the “Lens End”, is obvious in this image. Be careful when mounting it on a lens.
With the Extender mounted between lens and camera all of the EF functions of the lens operate as intended with modern cameras. However, with the lens fully extended to 800mm the f/stop is f/11. When introduced in 2001 most DSLR’s could not focus at f/11 so this lens extender was not universally useful. But, thankfully, cameras have improved through the years and the R series appear to be fine at this aperture.
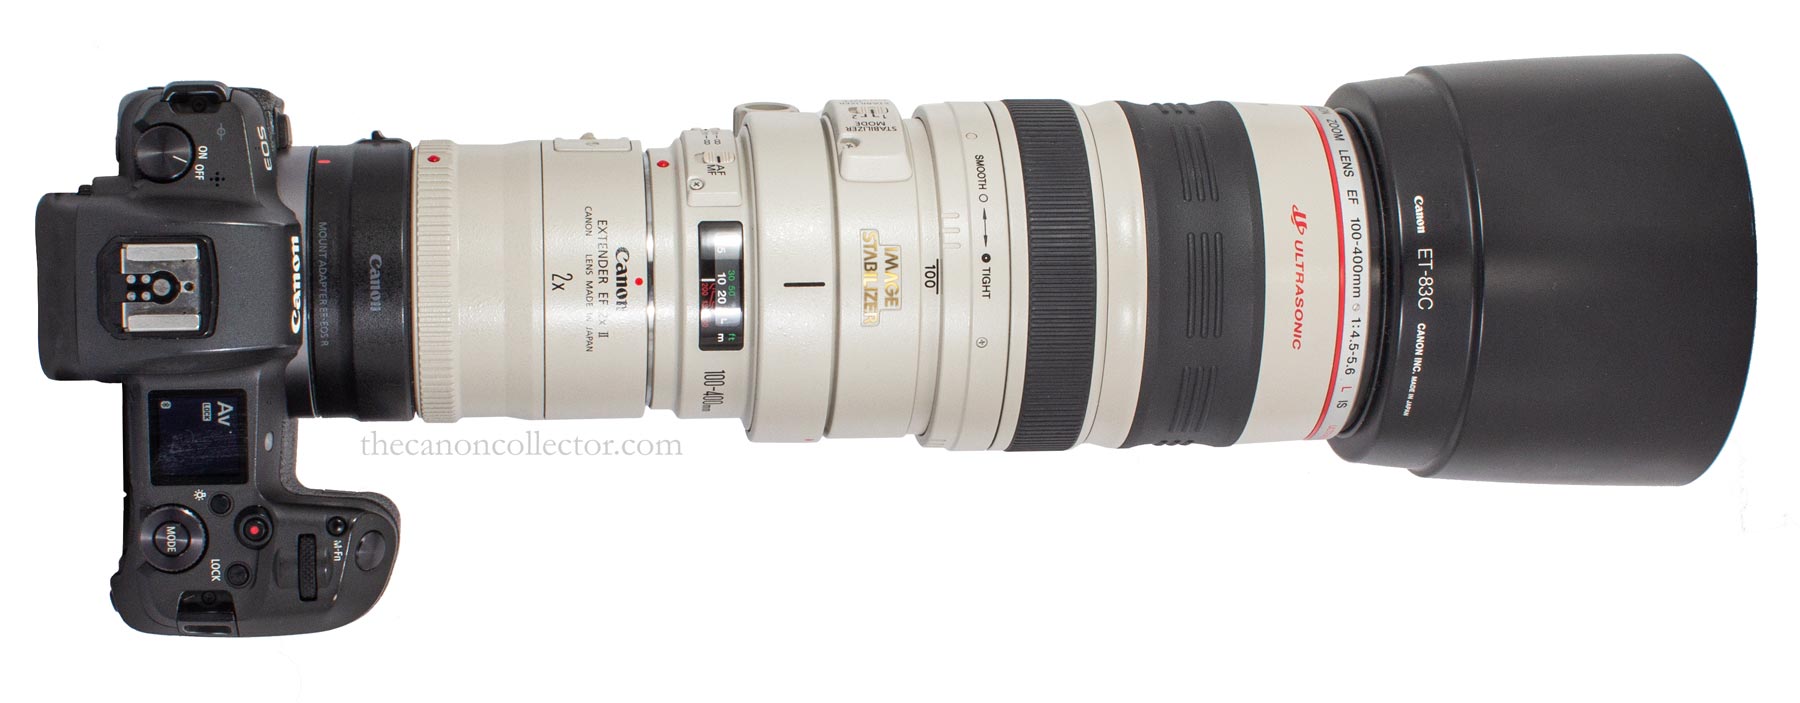
This is the EF 100-400 f/4.5-5.6L IS USM lens with the Extender EF 2X II all mounted on my EOS R camera with EF to RF adapter. This results in an f/9.5-11 camera. Fortunately the Canon R is able to focus at f/11.
Shooting with the 100-400mm
We have a lot to unpack here! I know very little abut shooting with very long lenses and when I began with this one I realized how much I had to learn. To begin at the beginning, I had the lens sitting on my shelf and had no real use for it, if I was to be totally honest. And then came the Abbotsford Airshow, to be held on the weekend of the 12th of August. The this airshow is a large affair, one of the largest in Canada, held over three days and it usually excellent both on the ground and in the air.
Several years ago, 2019 to be exact, was the last time I went to this airshow and I had found that my 70-200mm f/2.8 was totally inadequate for the flyng displays. But this year, it would be different. However, I was worried that I did not know how best to use my new lens.
As chance would have it, I found on KelbyOne.com, a site I belong to, an instruction course on how to shoot an airshow. Was that an eye opener! It went over shutter settings, exposure, auto-focus settings, and I learned things about the features on my Canon R that I did not know about. It was really well done.
By another stroke of luck, about three weeks before the Abottsford Airshow there was a smaller air show at the Boundary Bay Airport just south of Vancouver which would be perfect to try out what I had learned.
My first takeaway from my day at Boundary Bay is that carrying this lens around all day is work! This is a heavy lens and not only do you have to carry it but you have to hold it up to your eye. It is difficult after several hours. And I made the mistake of not taking water and food. I thought I would rely on concession stands but they were so crowded that to wait for them would have interfered too much with my primary goal: to take pictures of airplanes. So, just a word to the wise.
Secondly, I like the push-pull zoom. At long focal lengths a subject as small as an airplane can be hard to find. But it is simple to pull back on the zoom to make the field of view as big as possible and when you find your subject you simply push forward to zoom in. I know some people prefer the rotary zoom control but I found “push-pull” very easy to use.
Air Turbulence
As I was taking pictures and reviewing them in-camera I was not happy with the results. The images were not sharp and often the camera was having trouble focusing. I was actually wondering if the lens was at fault. So I took several test pictures to try and find out what was going on. I took the Exrtender 2X II off the lens, set it at 400mm,
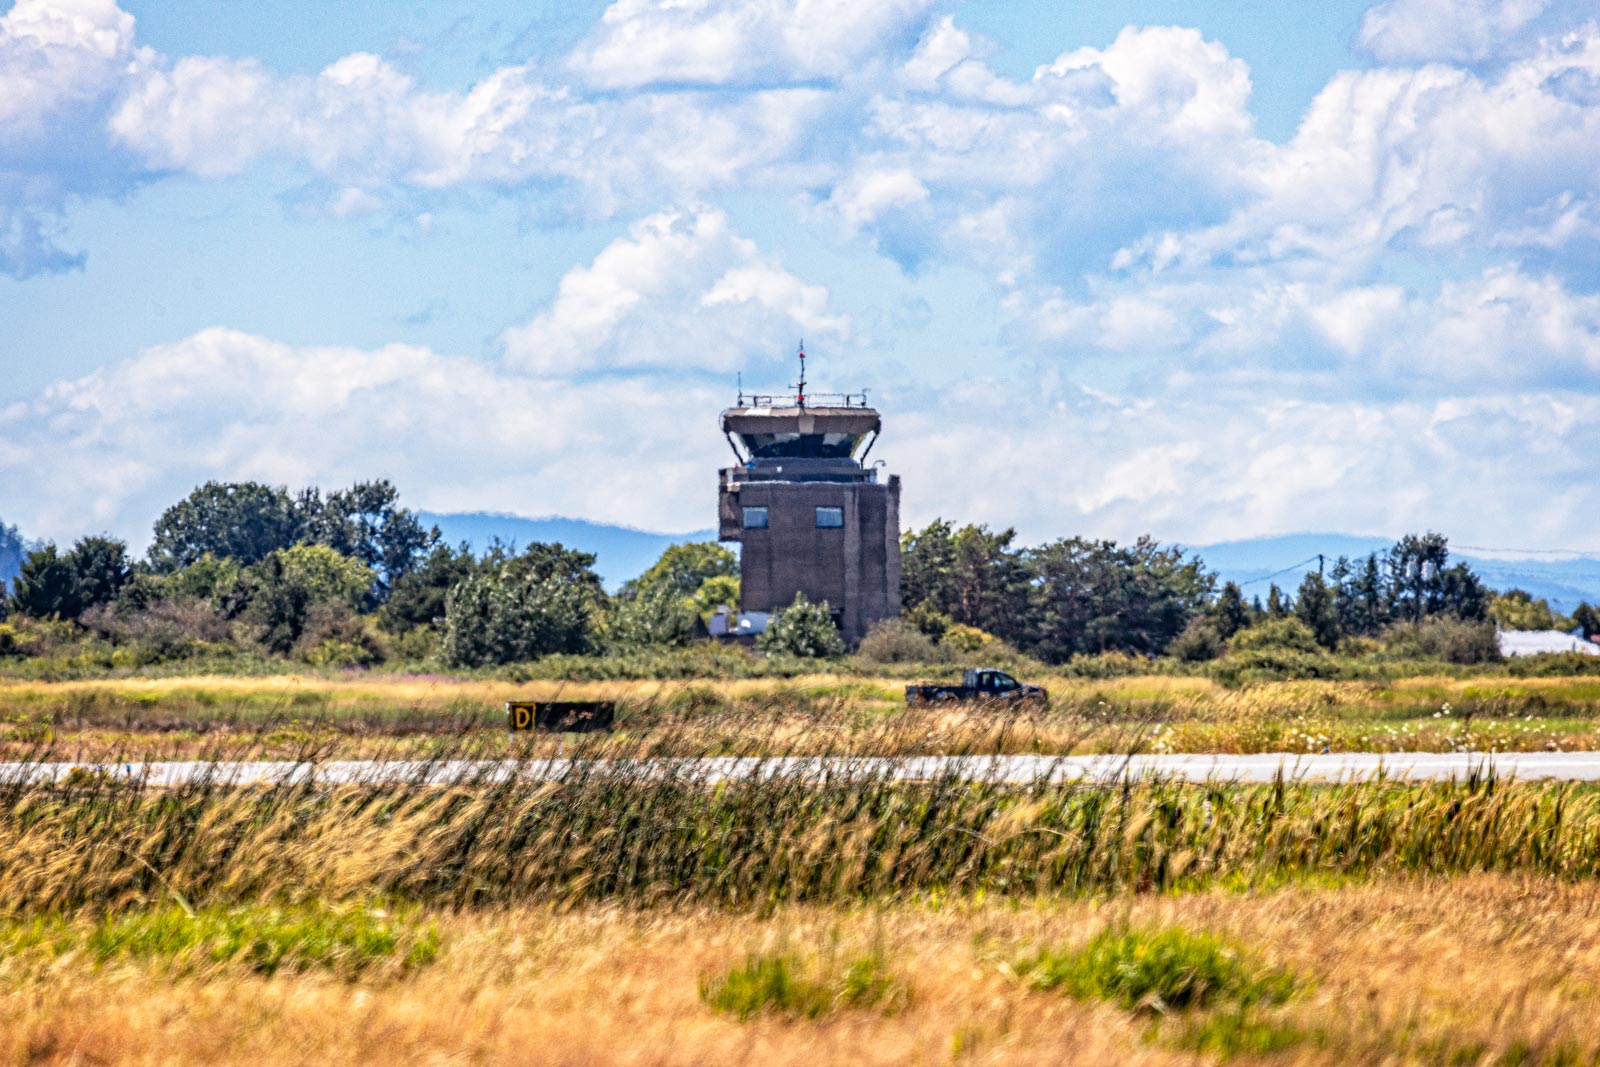
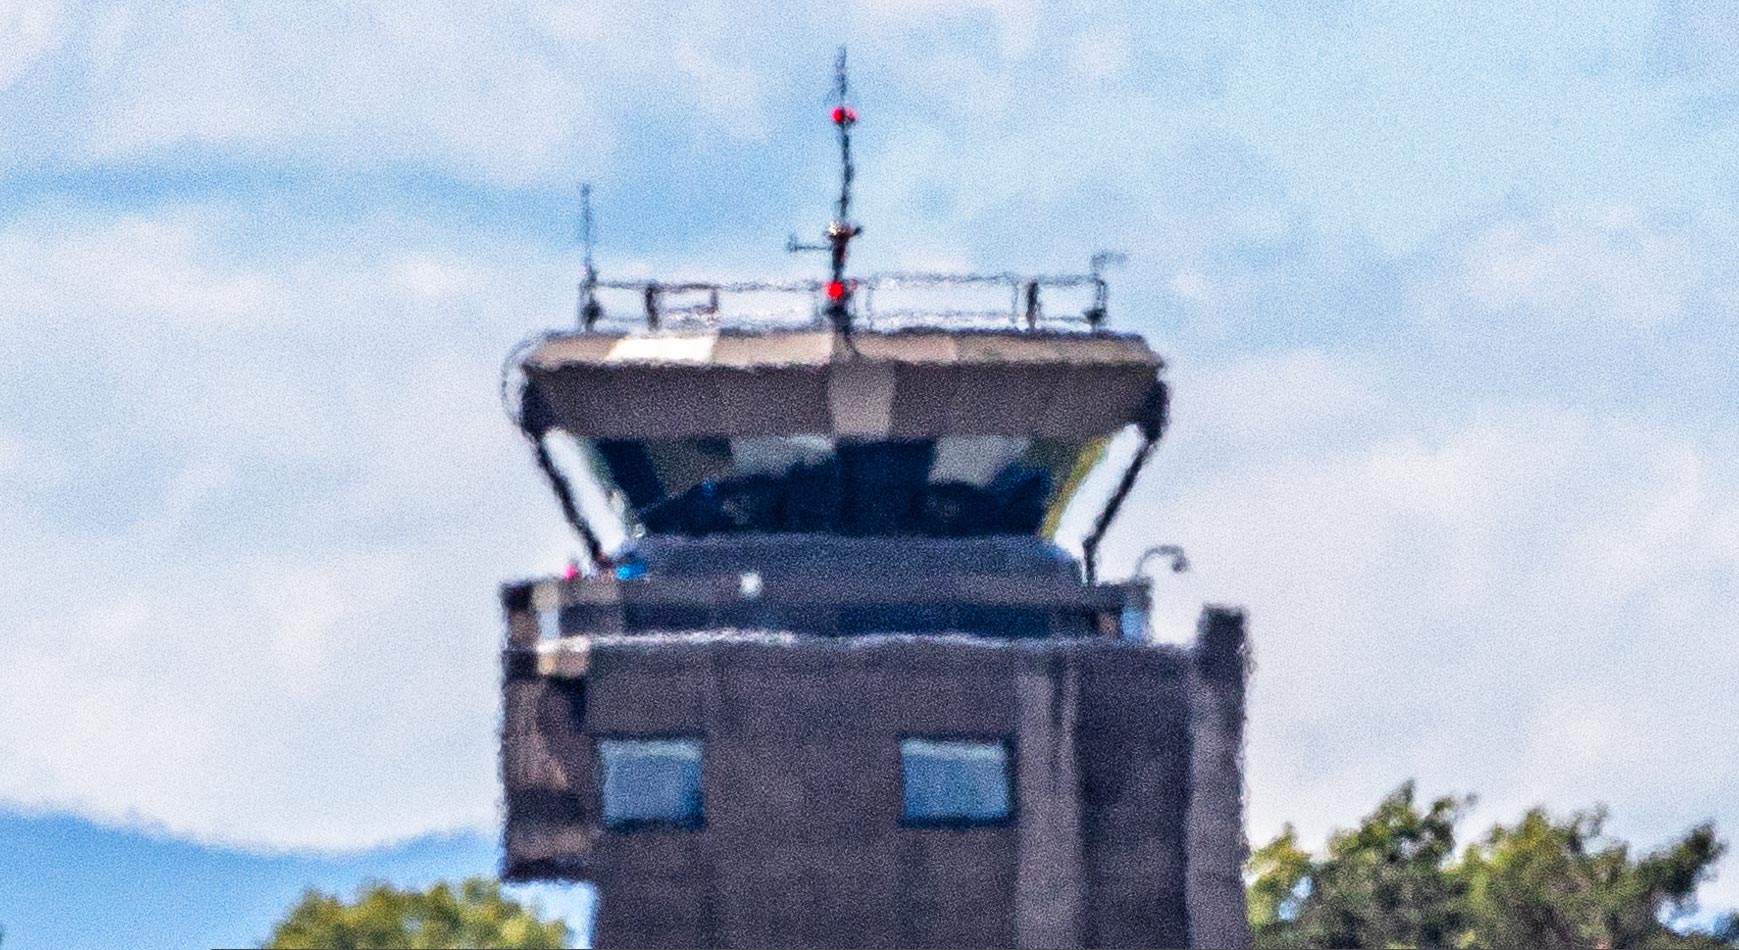
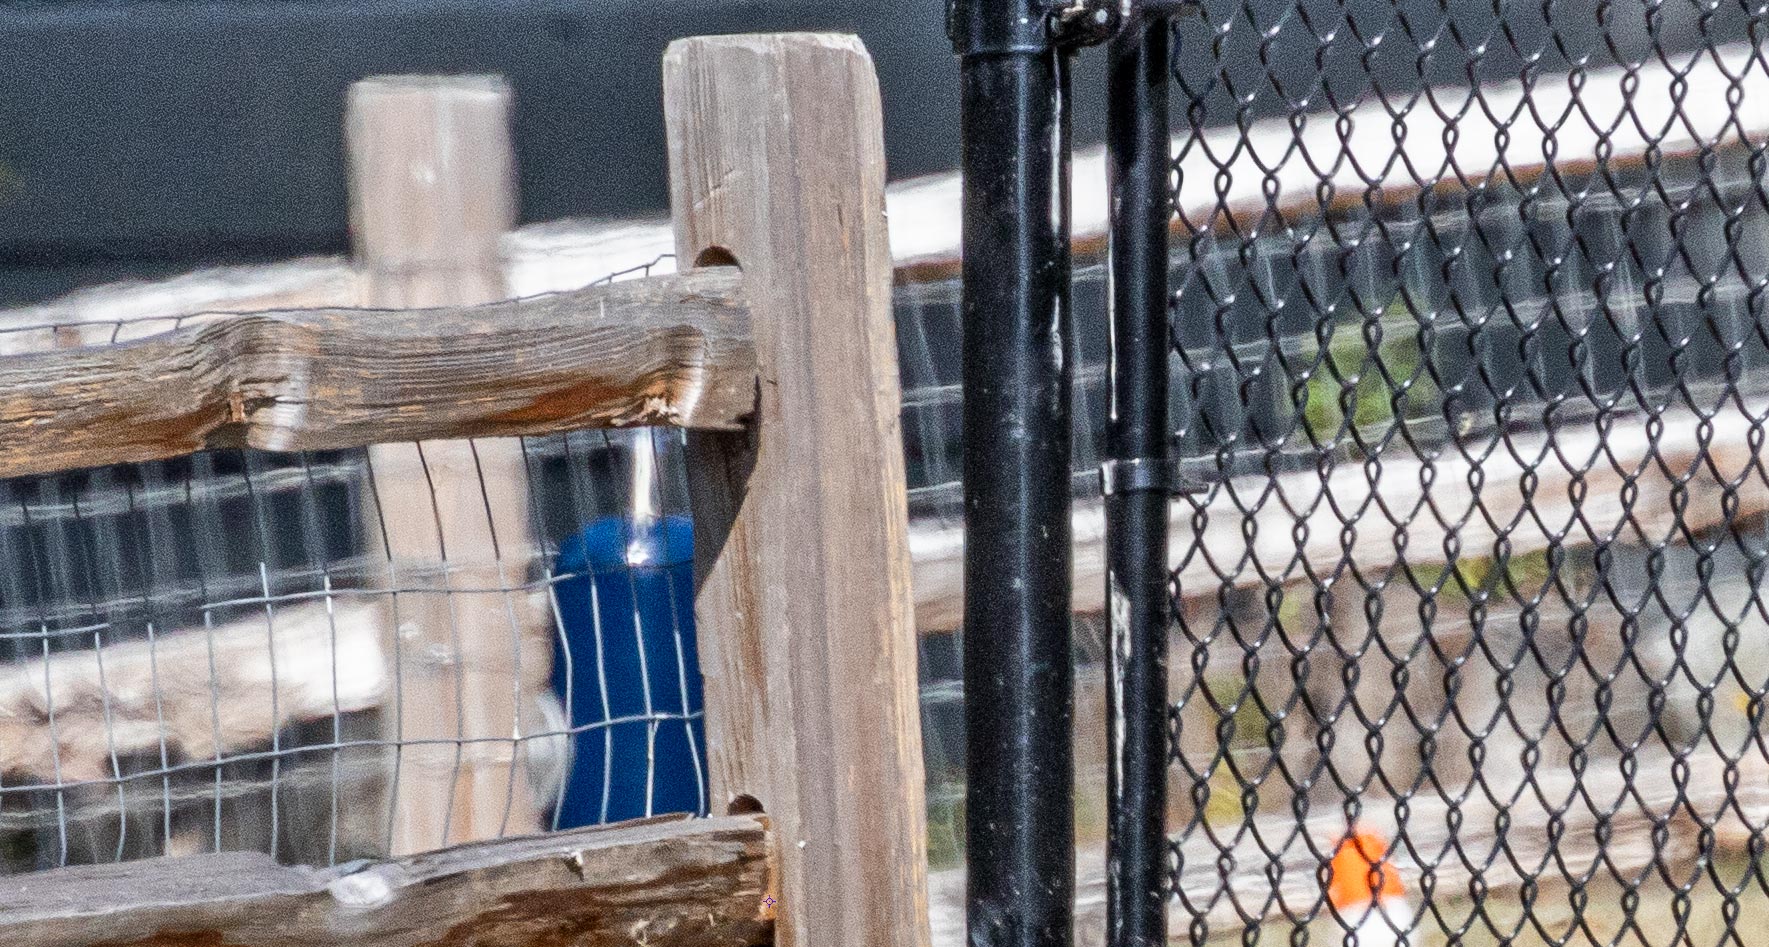
and aimed my camera across the field at the control tower which was on the far side. And even on the small screen on the camera I could see that the image was distorted. Any straight lines were curvey and jagged. There was a shimmer to them that I recognized. It was air turbulence.
Air being heated on the hot runways was rising and causing turbulence which was clearly visible. It was worse looking low across the airport than looking up at the flying aircraft. But all images were being effected.
I carried on through the day shooting several hundred pictures and when I went home I examined the photographs and looked up all I could find on the phenomenon.
Using my 100-400 without the Extender 2x and set at 400mm this is the image I took of the control tower on the far side of the airport. Note I was shooting low over the hot runways of the airport.
The index of refraction of air varies with air temperature. Ideally when you take a picture the air temperature from your camera to your subject will not vary. However, if you have concrete runways heating in the mid day sun they will heat the air close to the ground and this air will rise causing ripples and swirls of hotter and cooler air above them. In the result you have varying and shifting air of differing indexes of refraction bending and twisting the light travelling to your lens. The result is seen in the above two photos. You get out of focus images and a degradation in auto focus effectiveness.
There is not much you can do about this phenomenon. However you can try to work around it.
1. Try to get as close to your subject as possible. The longer the light path the worse the effect.
2. Avoid shooting over surfaces that have been heated by the sun; your car’s hood, a beach, runways and the like.
3. Shoot when the sun has not been heating things such as in early morning or late evening.
4. Shooting up is better than across a hot surface. As the hot air rises it mixes with the surrounding air and
tempurature becomes more uniform.
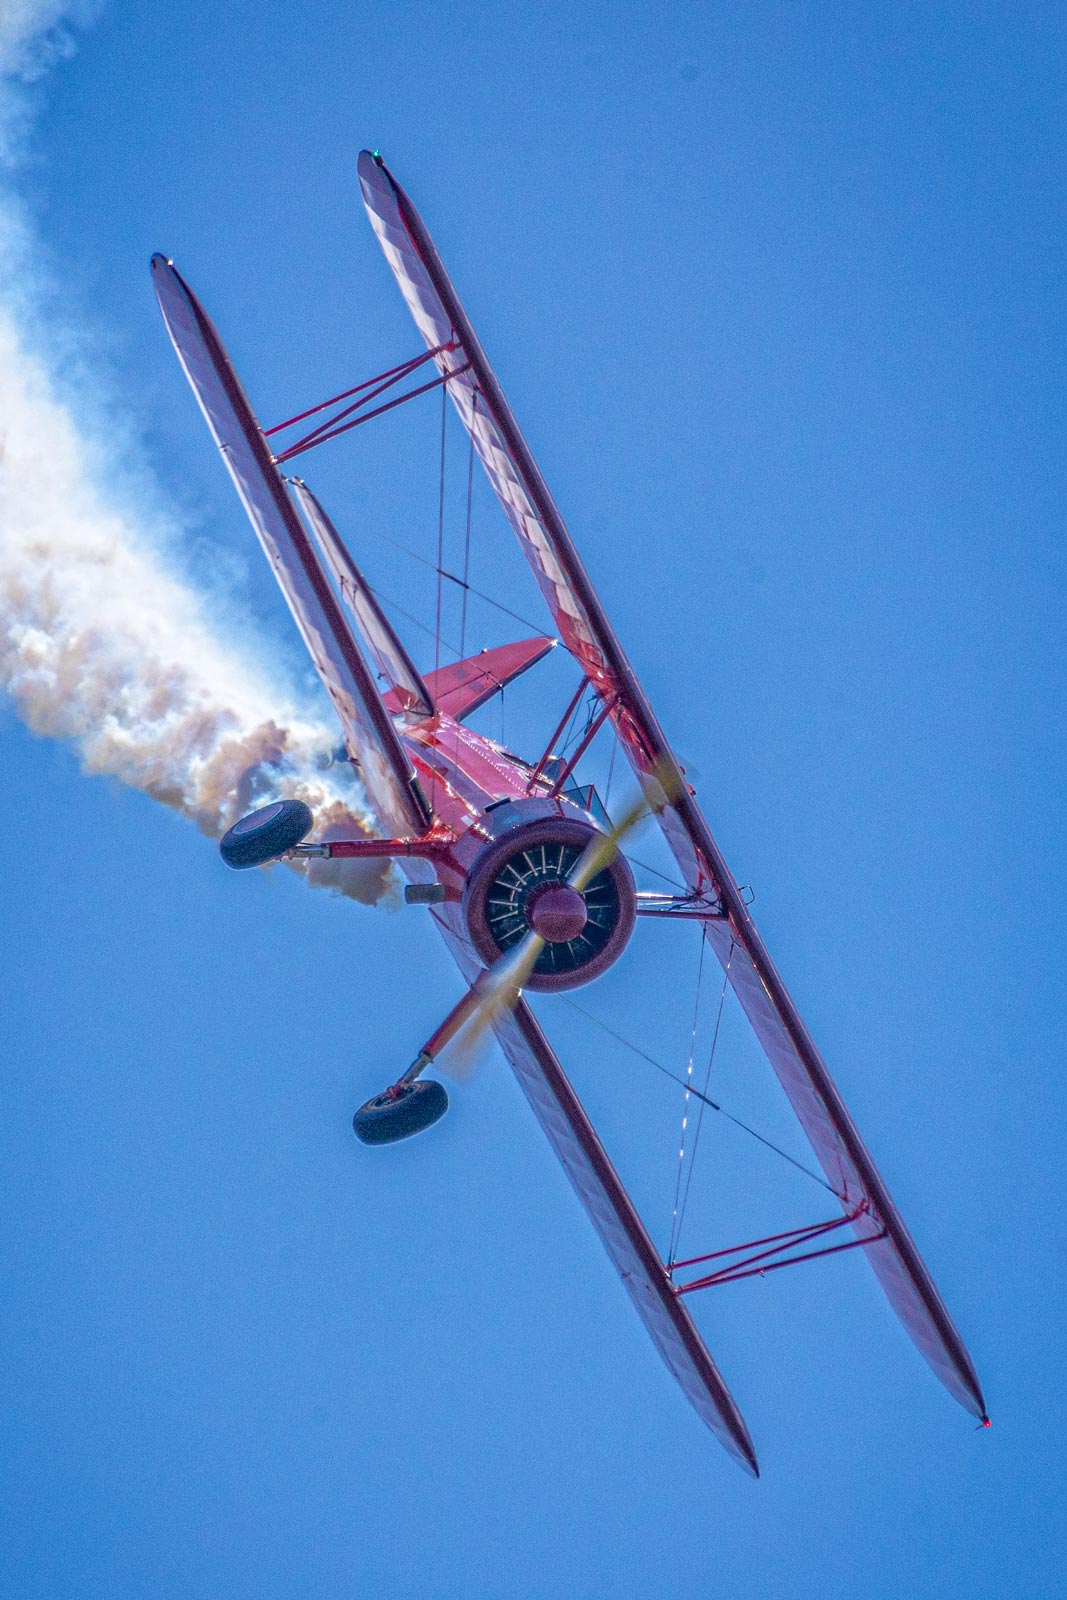
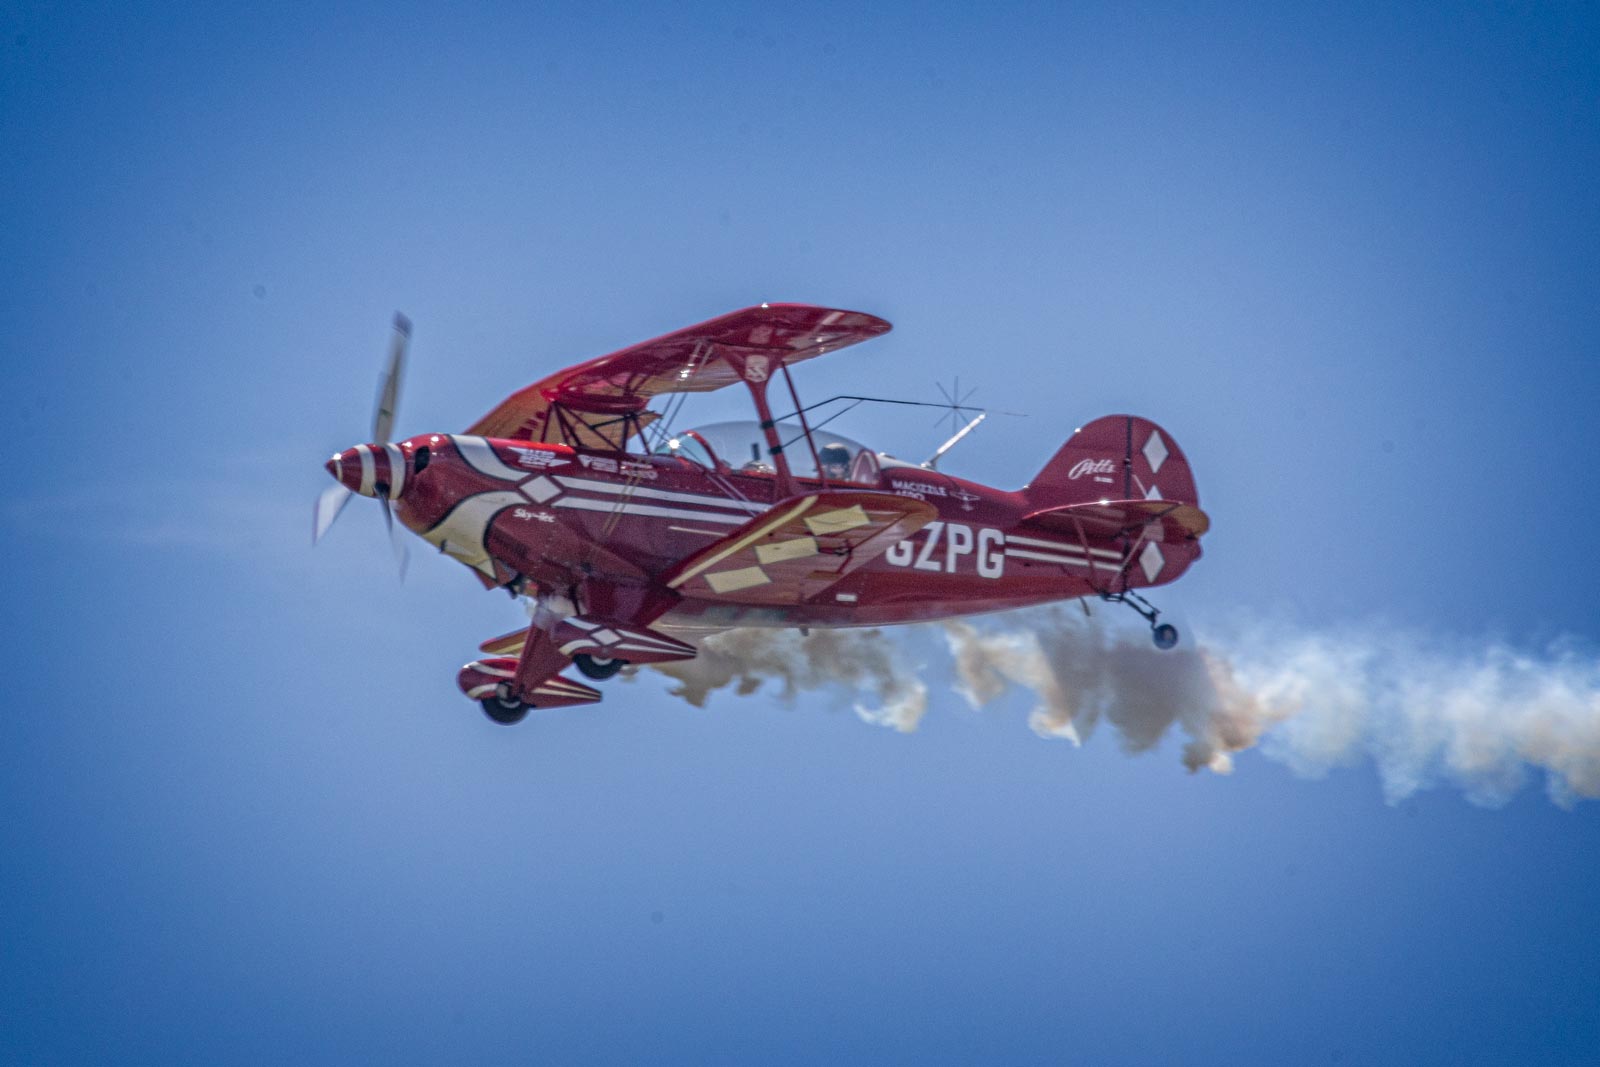
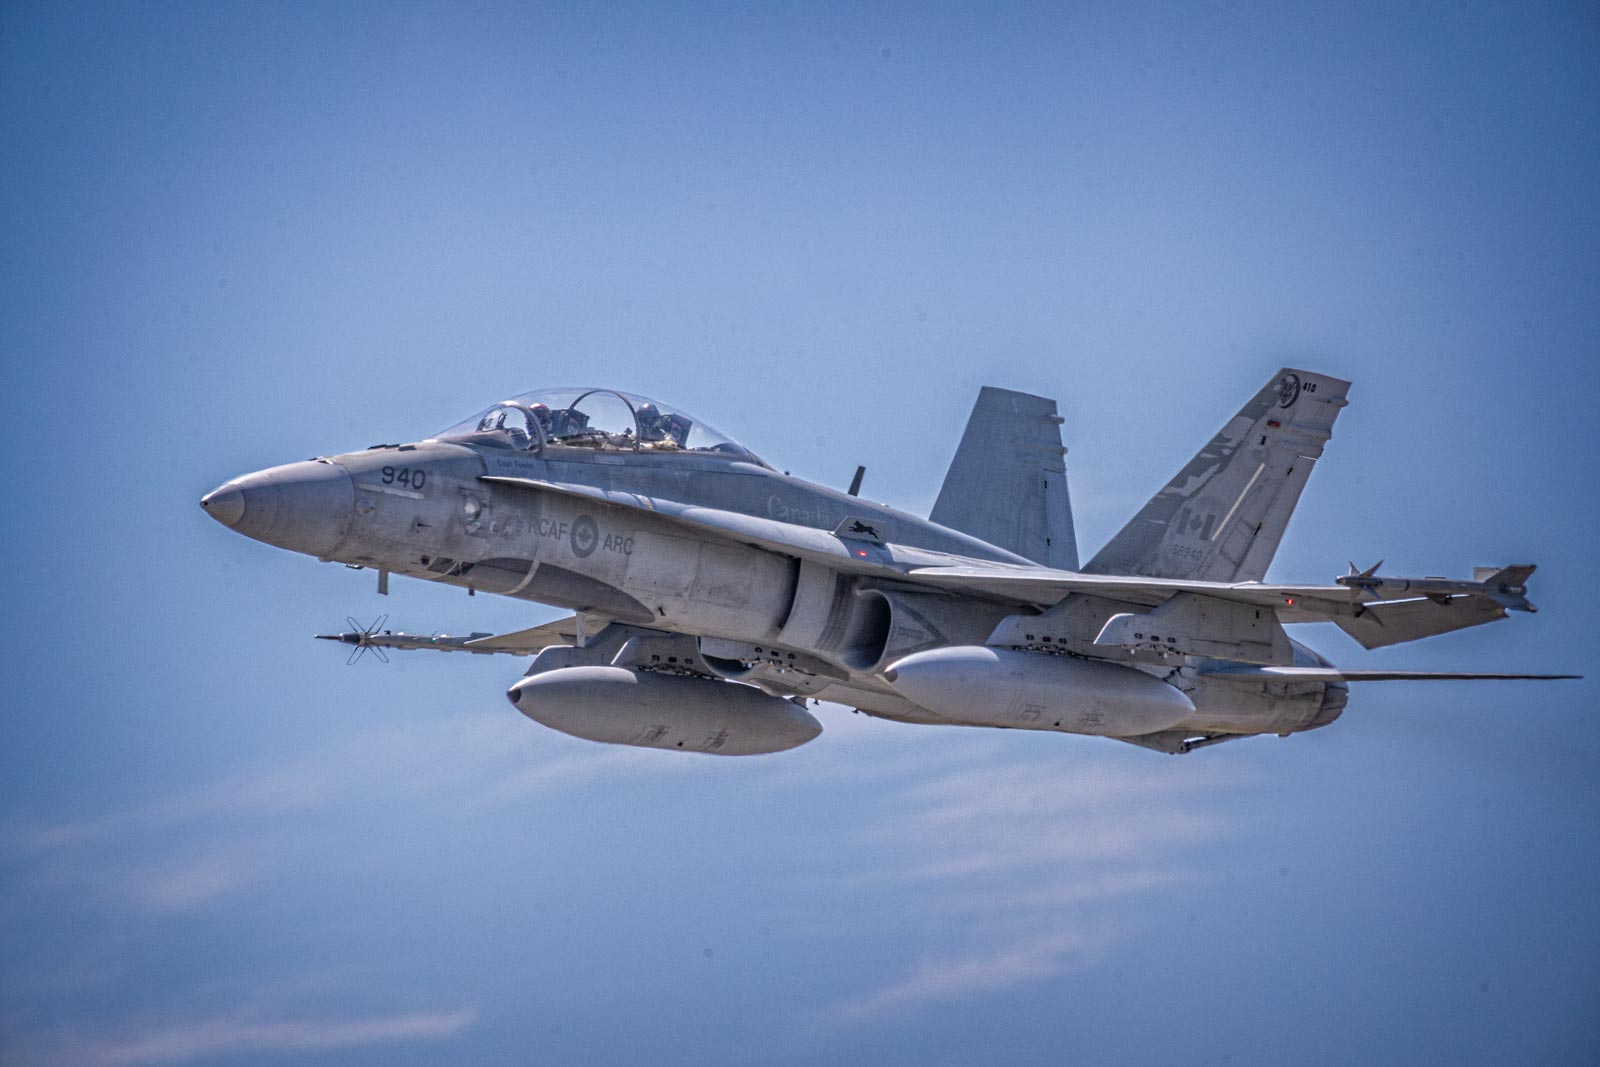
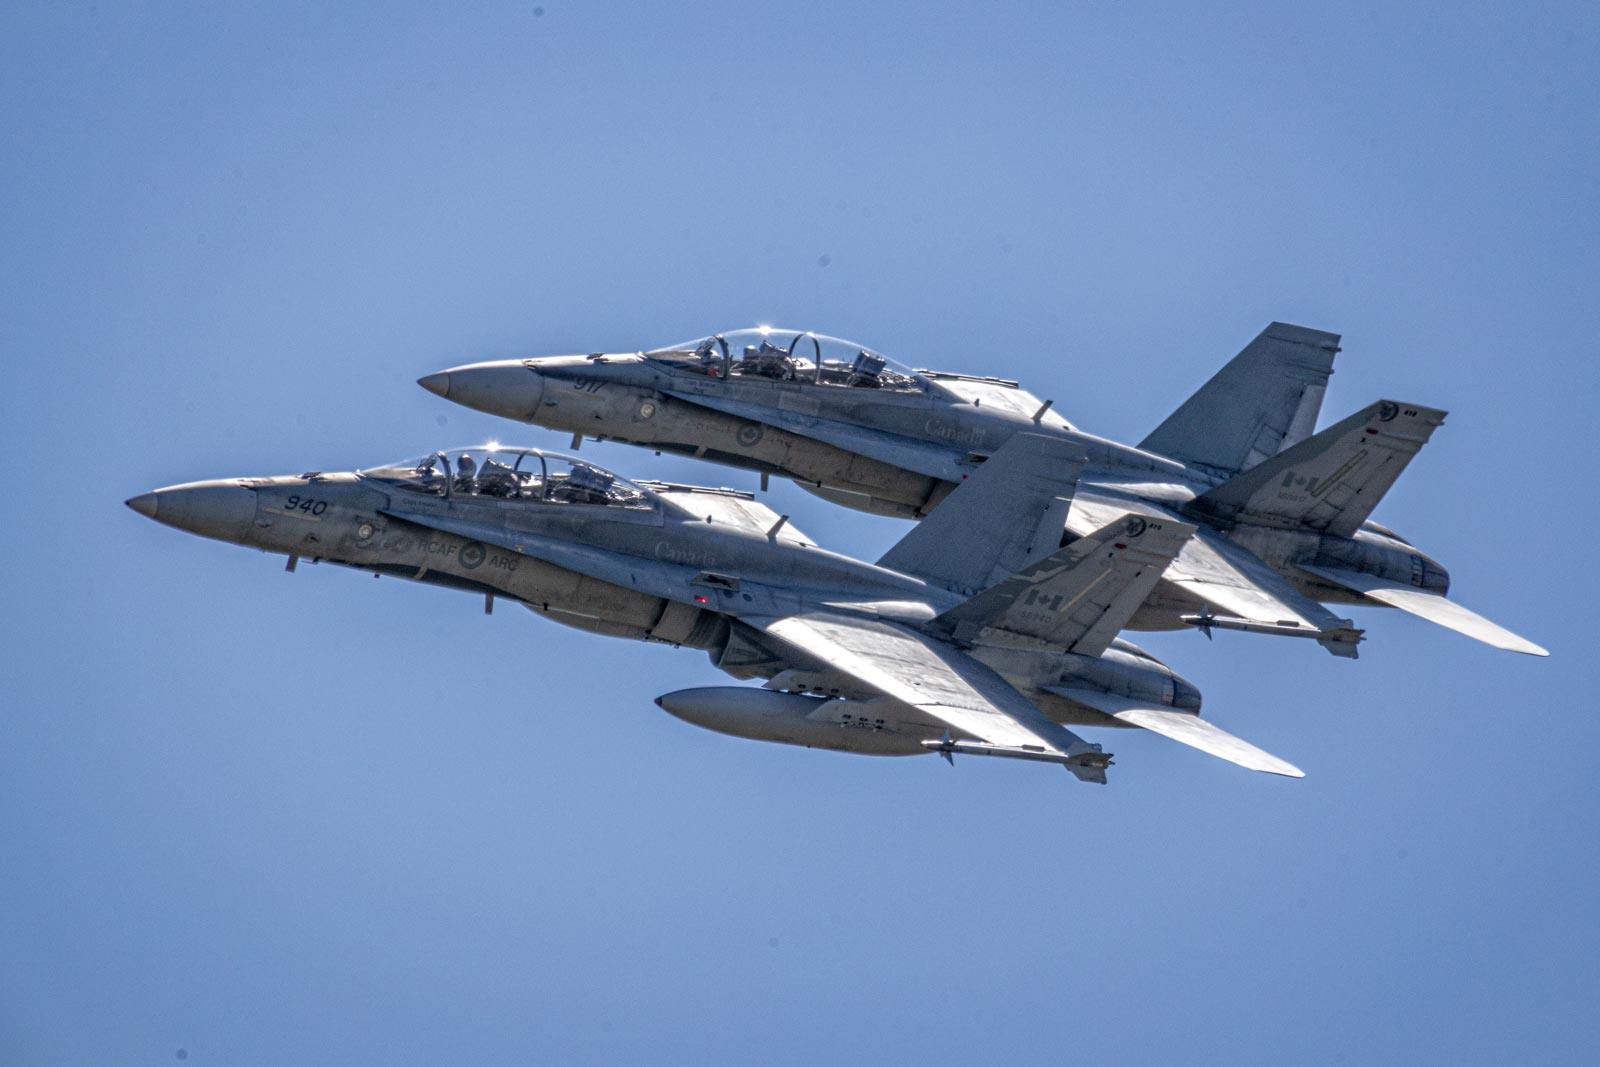
Some of my pictures did work out and a few of them are below. Suitable post processing did prove to be valuable. Unfortunately, about half of my images were deleted as unusable.
Canadian CF-18 Hornets taken with the 100-400mm zoom lens plus the Extender 2X II. Exposure was 1/500th at f11 which is wide open at this focal length.
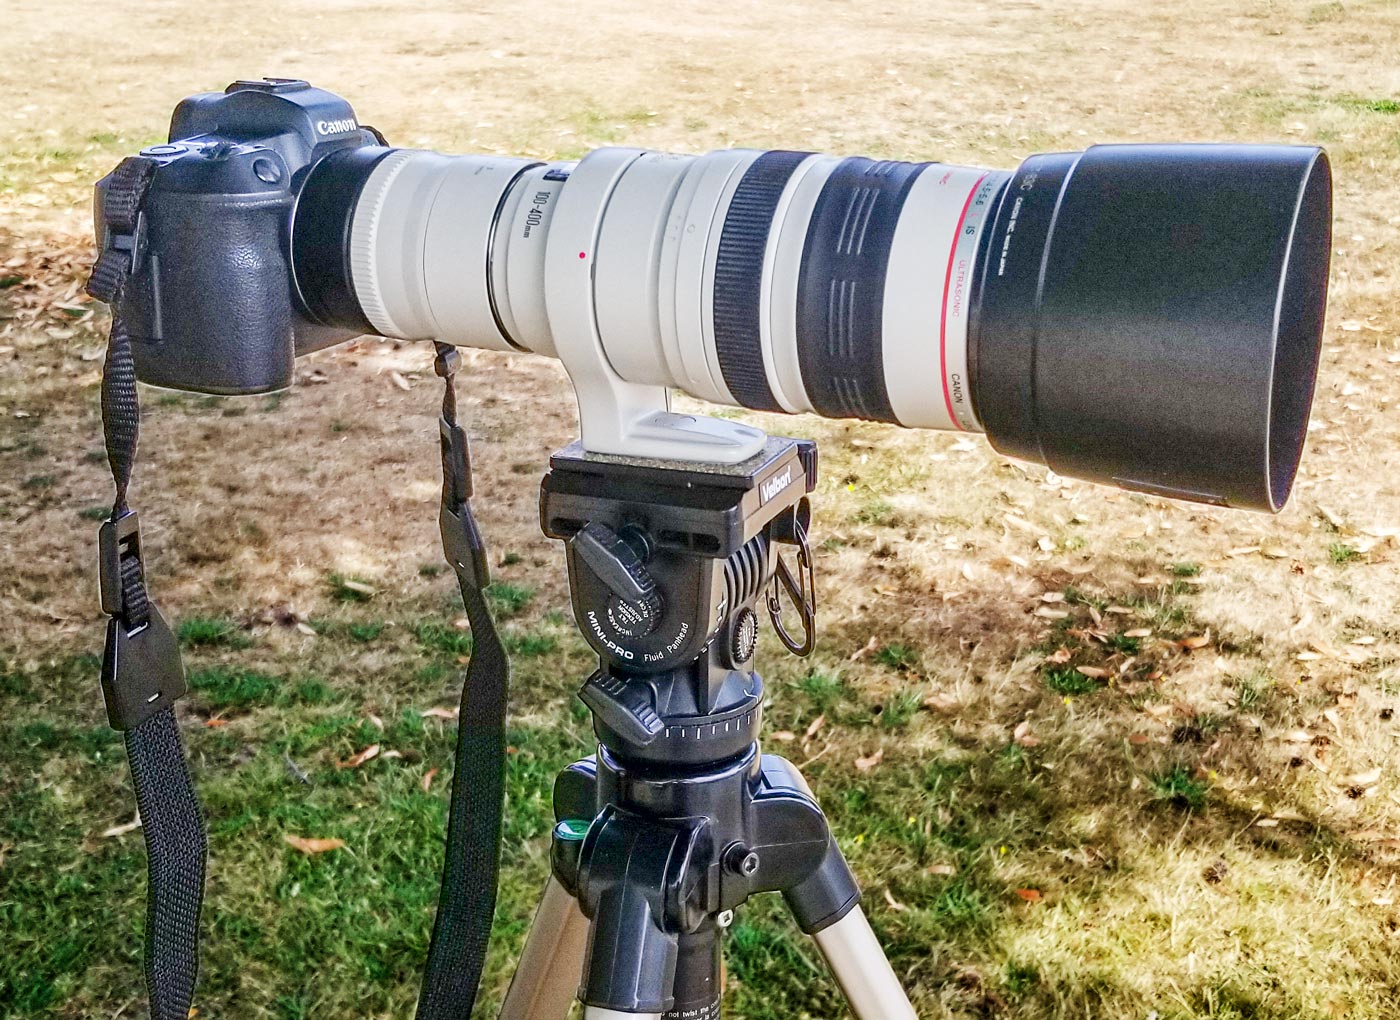
This is the setup I used at home to further test my lens and extender. They are mounted on my Canon R mirrorless camera.
More Testing at Home
I learned a great deal at the Boundary Bay Airshow and I am looking very forward to the Abbotsford show which is next weekend, as I write this. However, I was not satified that I knew enough about my lens. More testing was needed to give me confidence that I knew and understood it fully. And so, out to the local park to take several test shots.
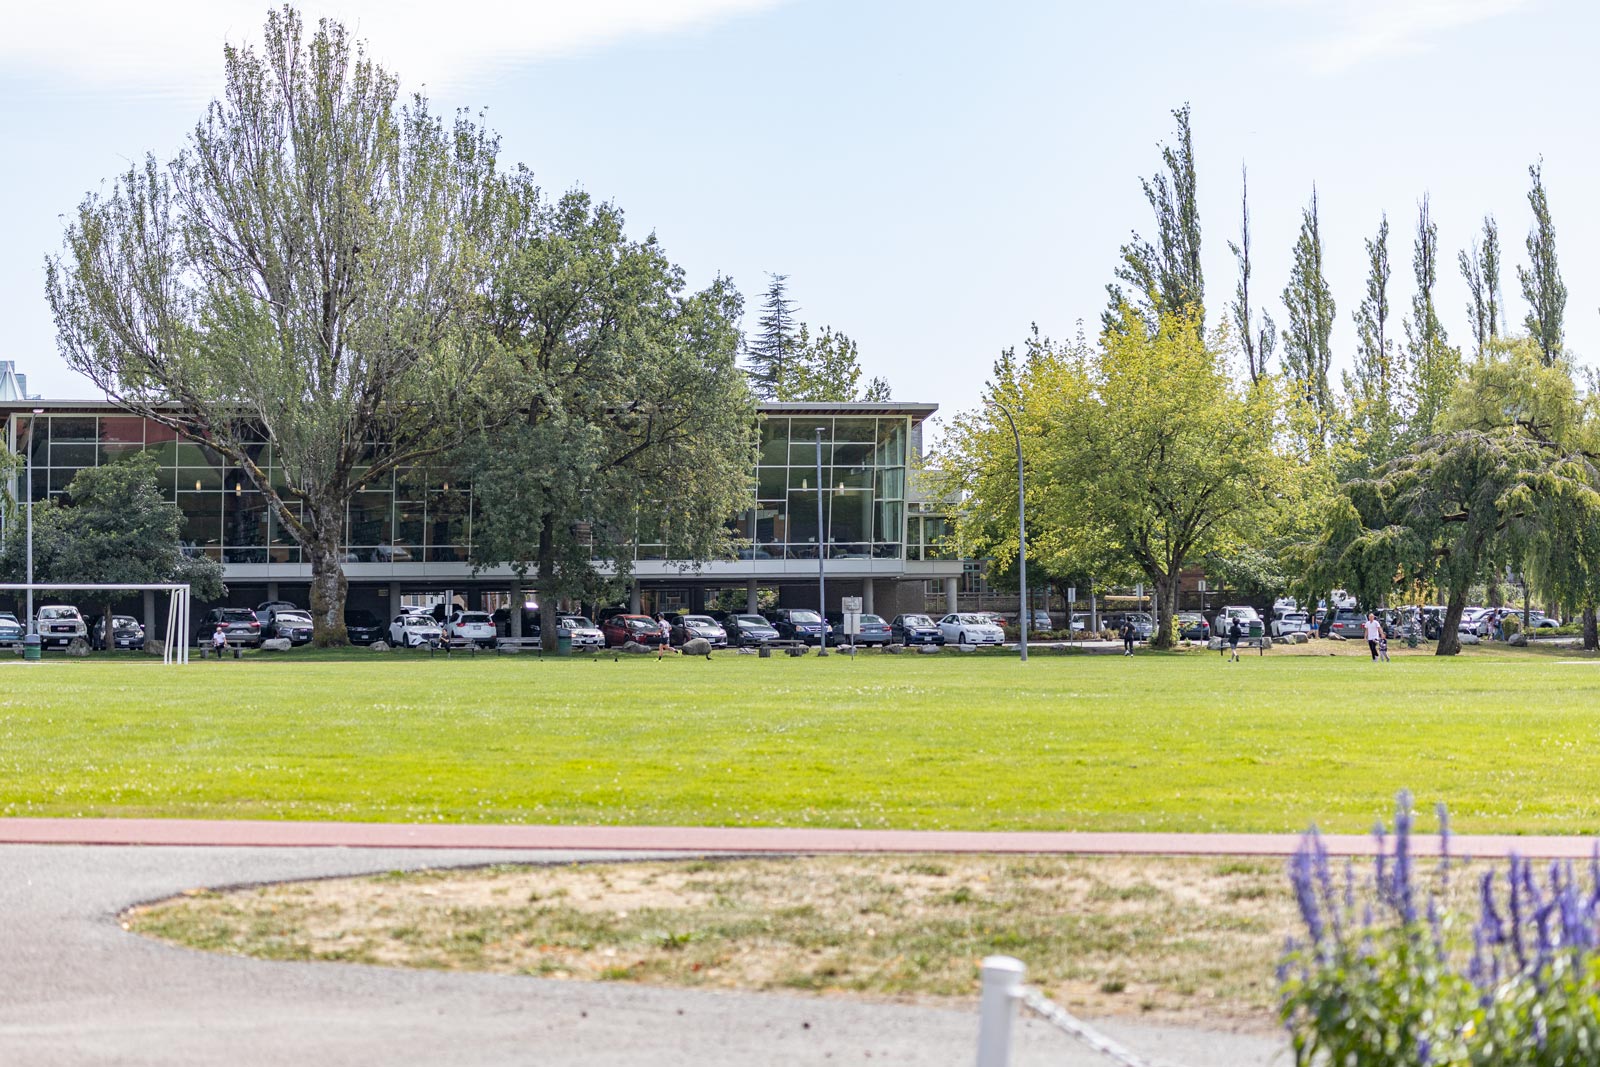
I mounted my 100-400 on a tripod using the foot on the lens and then took images at various focal lengths. It was a cloudy bright day and I was shooting across a grass field. The air was reasonably still.
However, there was a light breeze and it was enought to shake the camera. The tripod was not sturdy enough for a little wind. So, next lesson: use a substantial tripod.
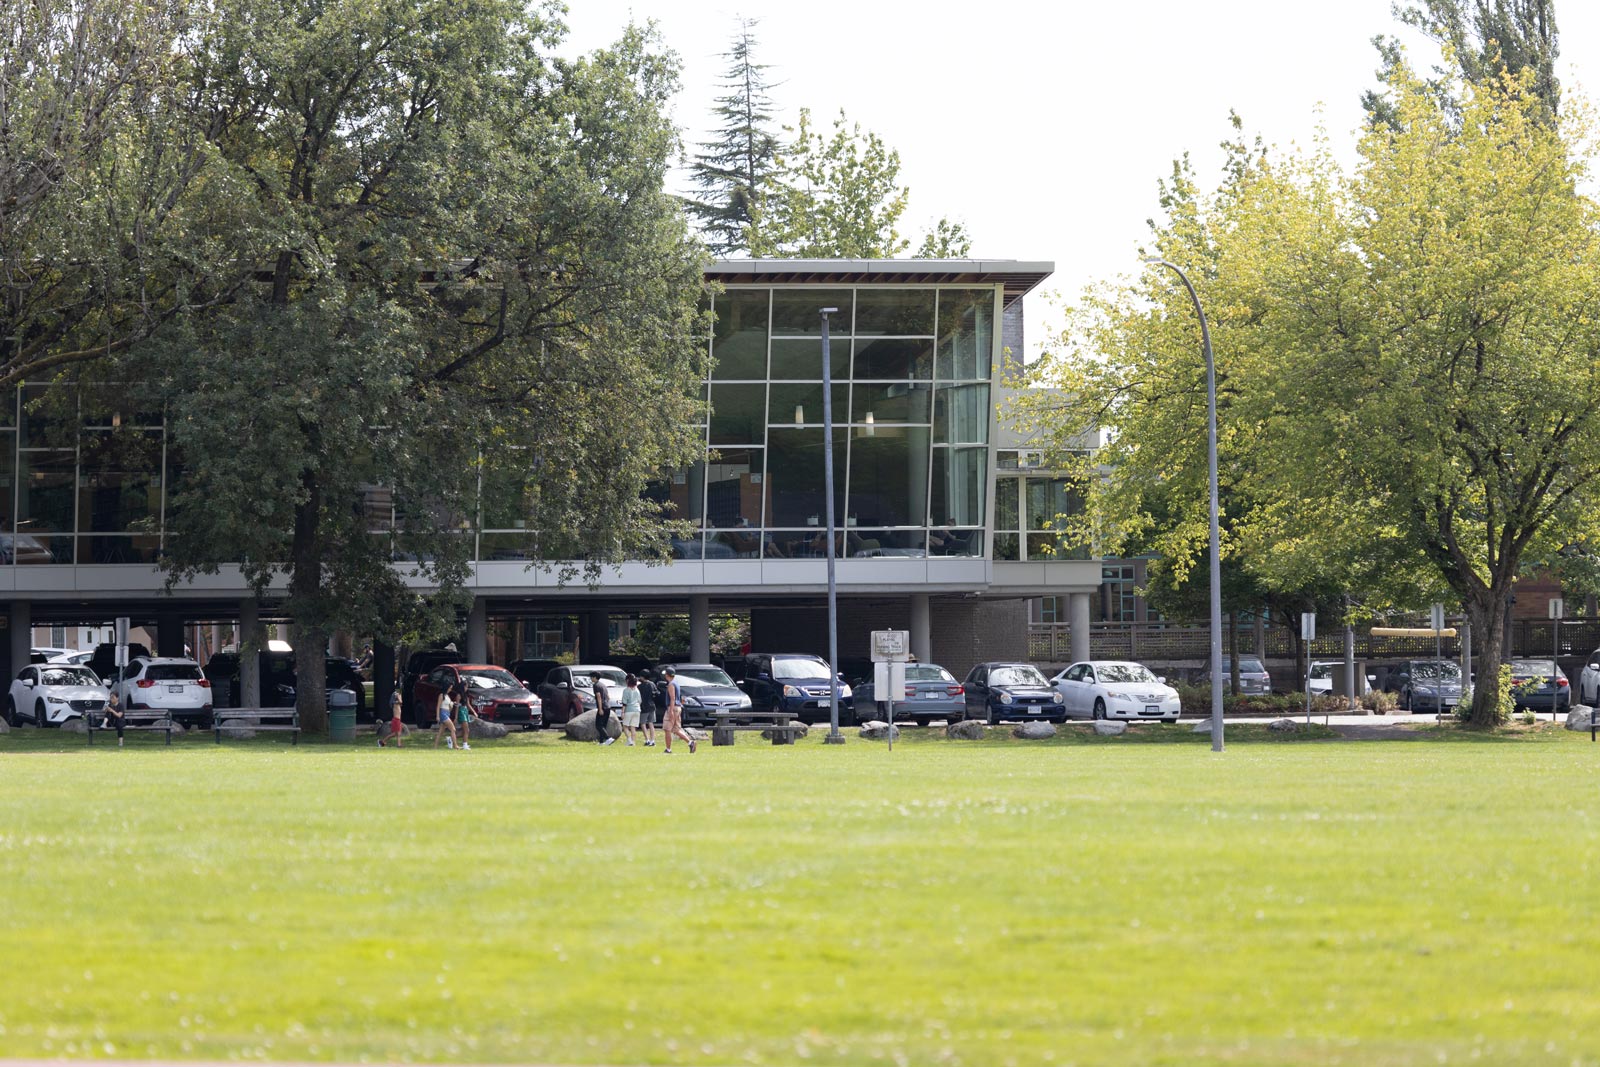
The images below are all at maximum aperture for the indicated focal length. The images are just as they came from the camera with no post processing. As with all lenses, they would be sharper and with better contrast as they were stopped down.
100mm
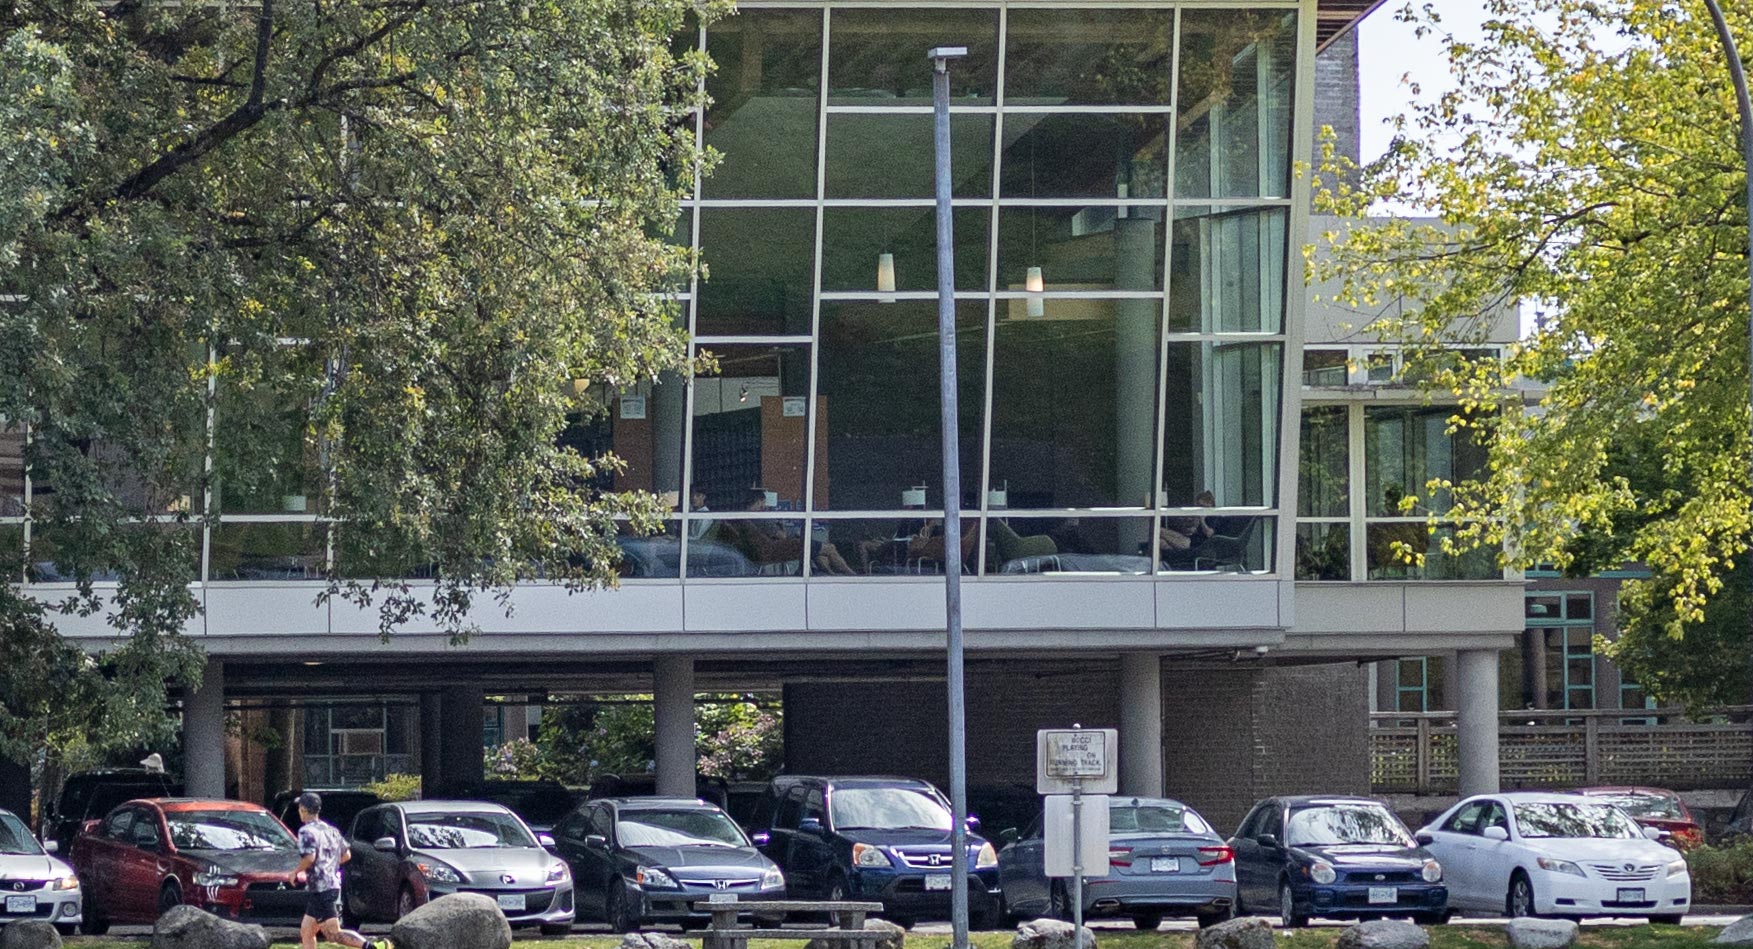
On the left, full frame image with lens without Extender set to 100mm. 1/2000th at f/4.5 ISO 400. On the right is the center of the image at 100% showing excellent definition.
200mm
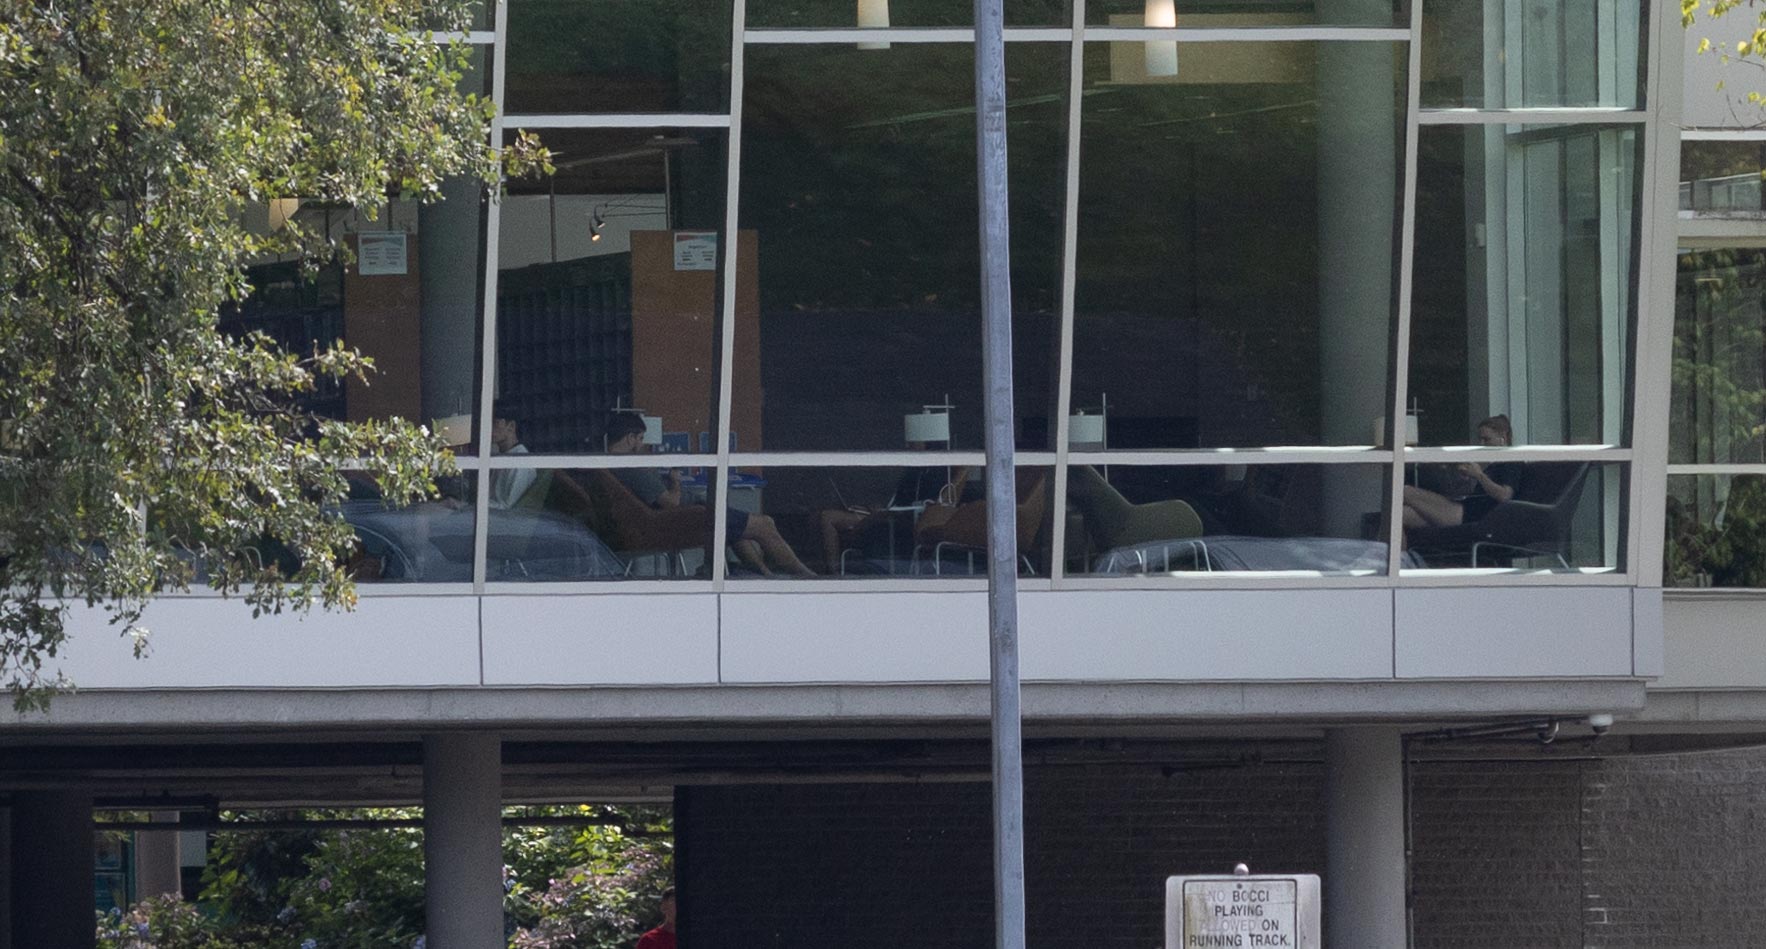
On the left, full frame image with lens without Extender set to 200mm. 1/1000th at f/4.5 ISO 400. On the right is the center of the image at 100% showing excellent definition.
400mm
On the left, full frame image with lens without Extender set to 100mm. 1/200th at f/5.6 ISO 400. On the right is the center of the image at 100% showing excellent definition.
800mm
On the left, full frame image this time with lens and the 2X Extender set to 800mm. 1/500th at f/11 ISO 1600. On the right is the center of the image at 100%. Some definition is lost due to the increase in the ISO setting but I wanted a reasonably fast shutter speed because of the wind moving the camera.
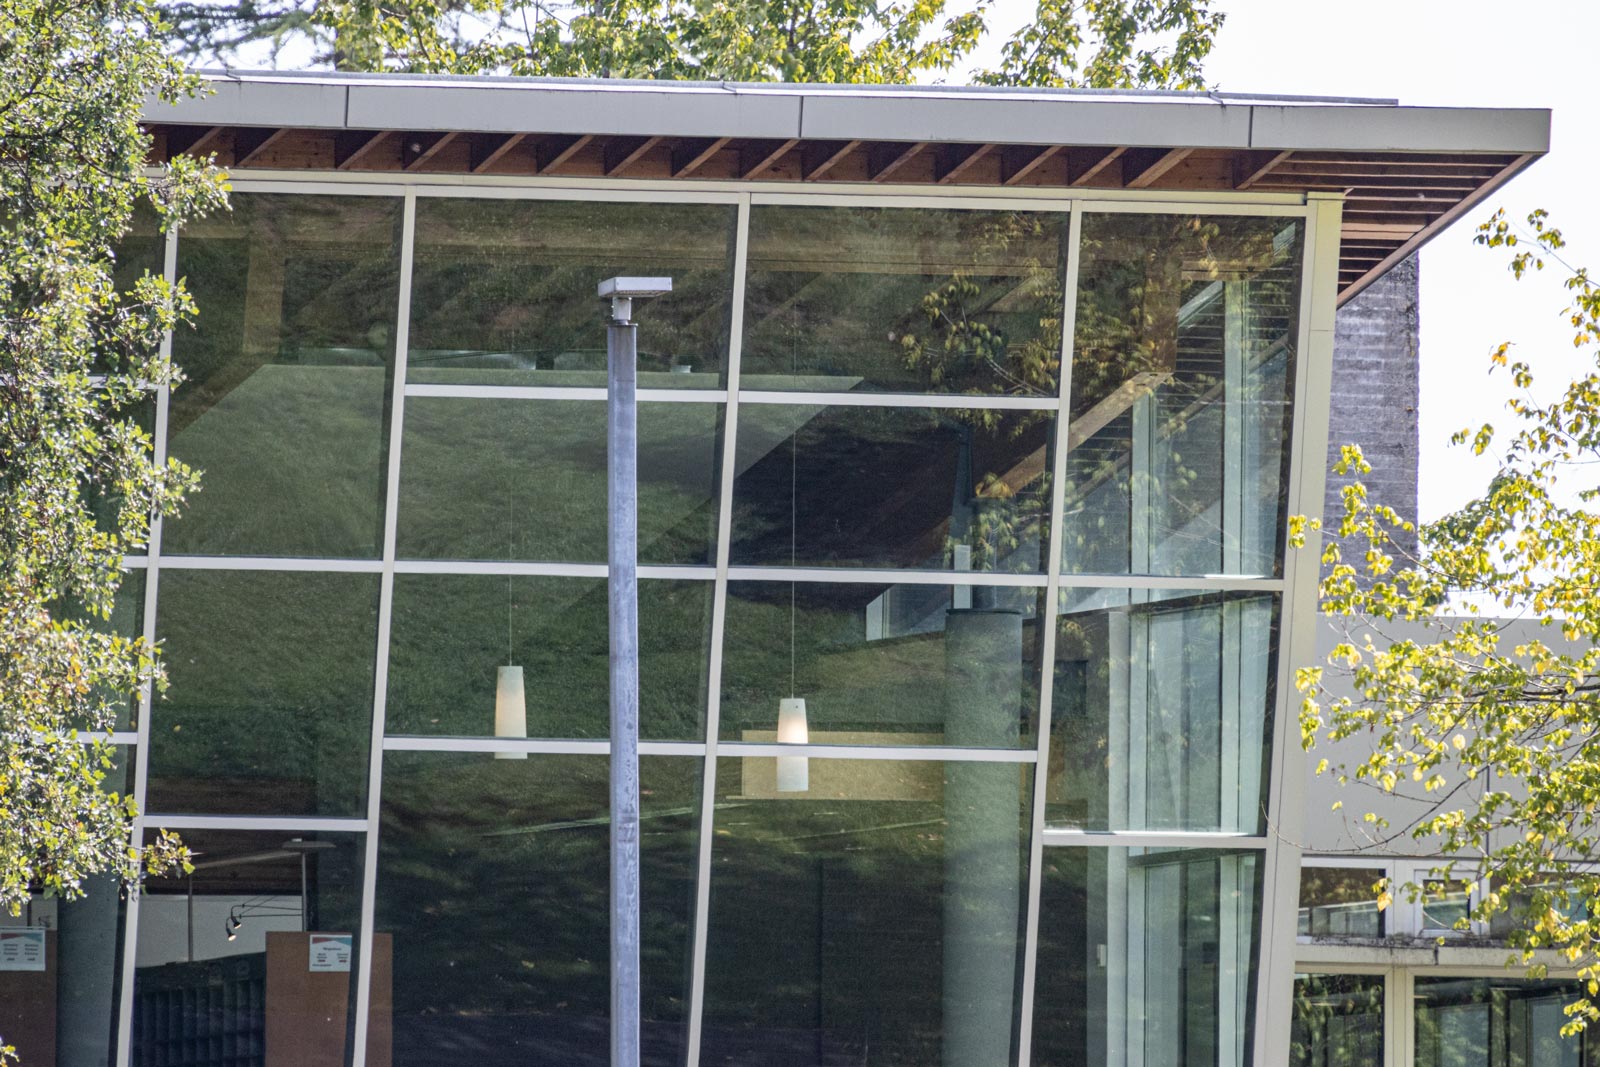
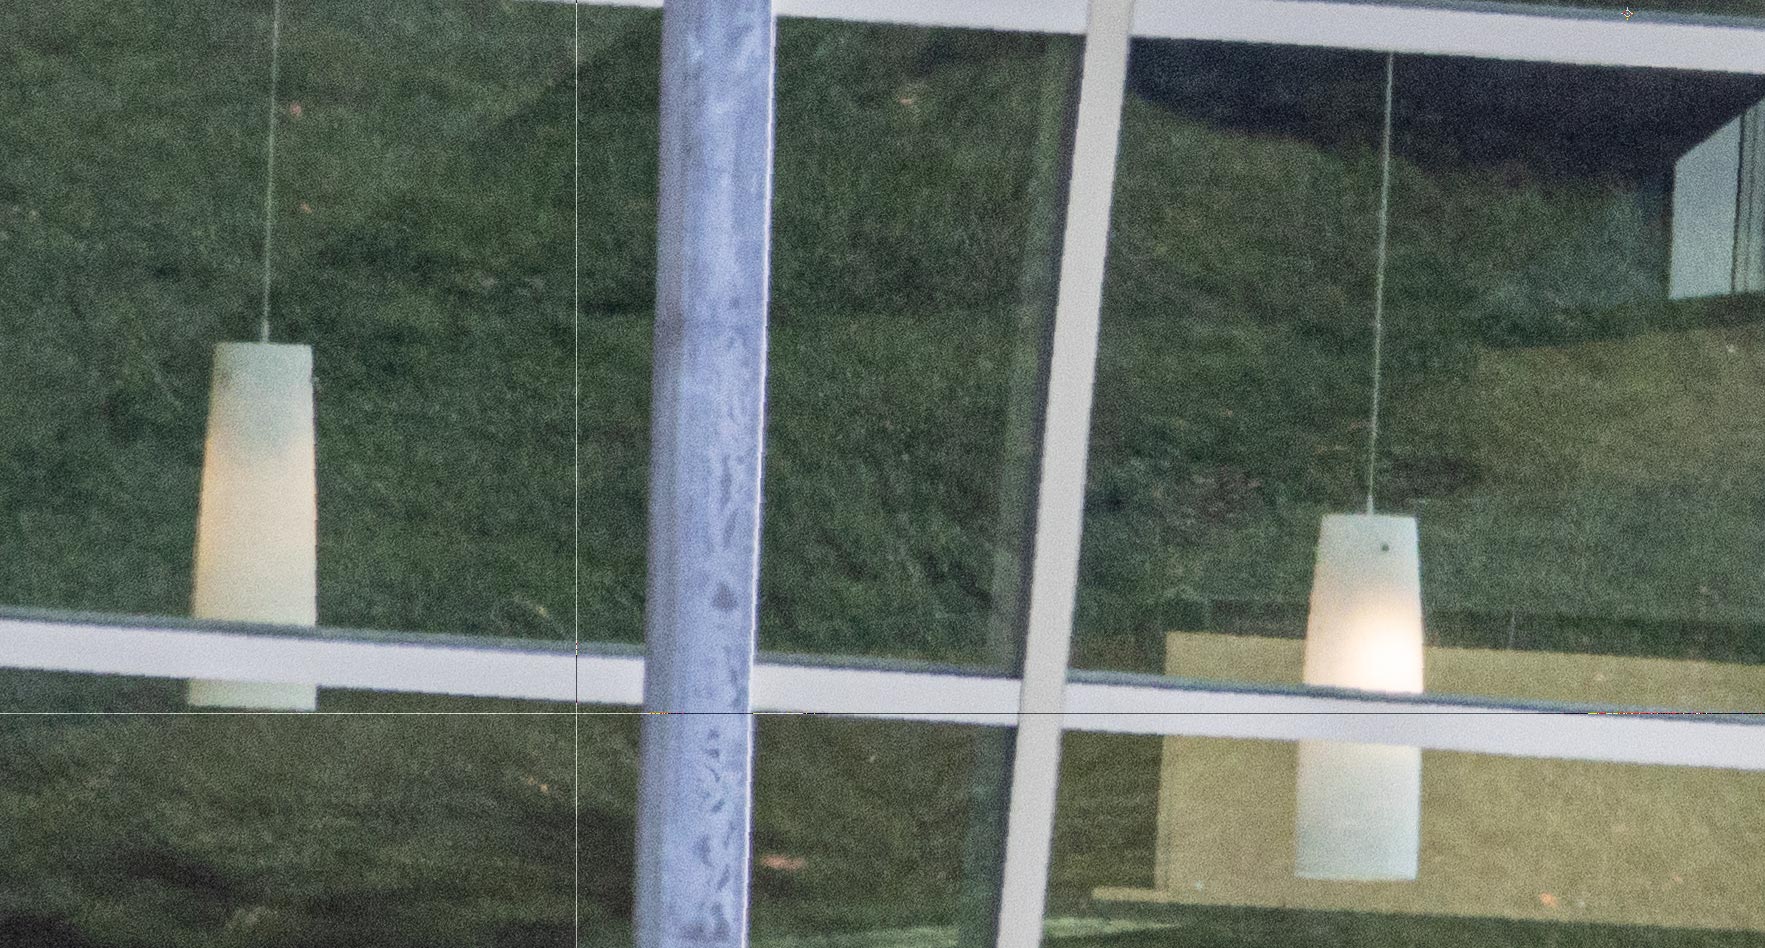
I was satisfied that my 100-400mm lens was capable of good definition with and without the extender. But I was curious whether the extender was really an improvement. So the two images below tell the tale. On the left is an image with the lens without the extender at 400mm. I have enlarged it to 200%.
On the right is an image taken with the lens plus Extender set to 800mm. It is enlarged to only 100% so that the lamphead in both images is the same size. You can see that the image with the extender has greater detail and definition.
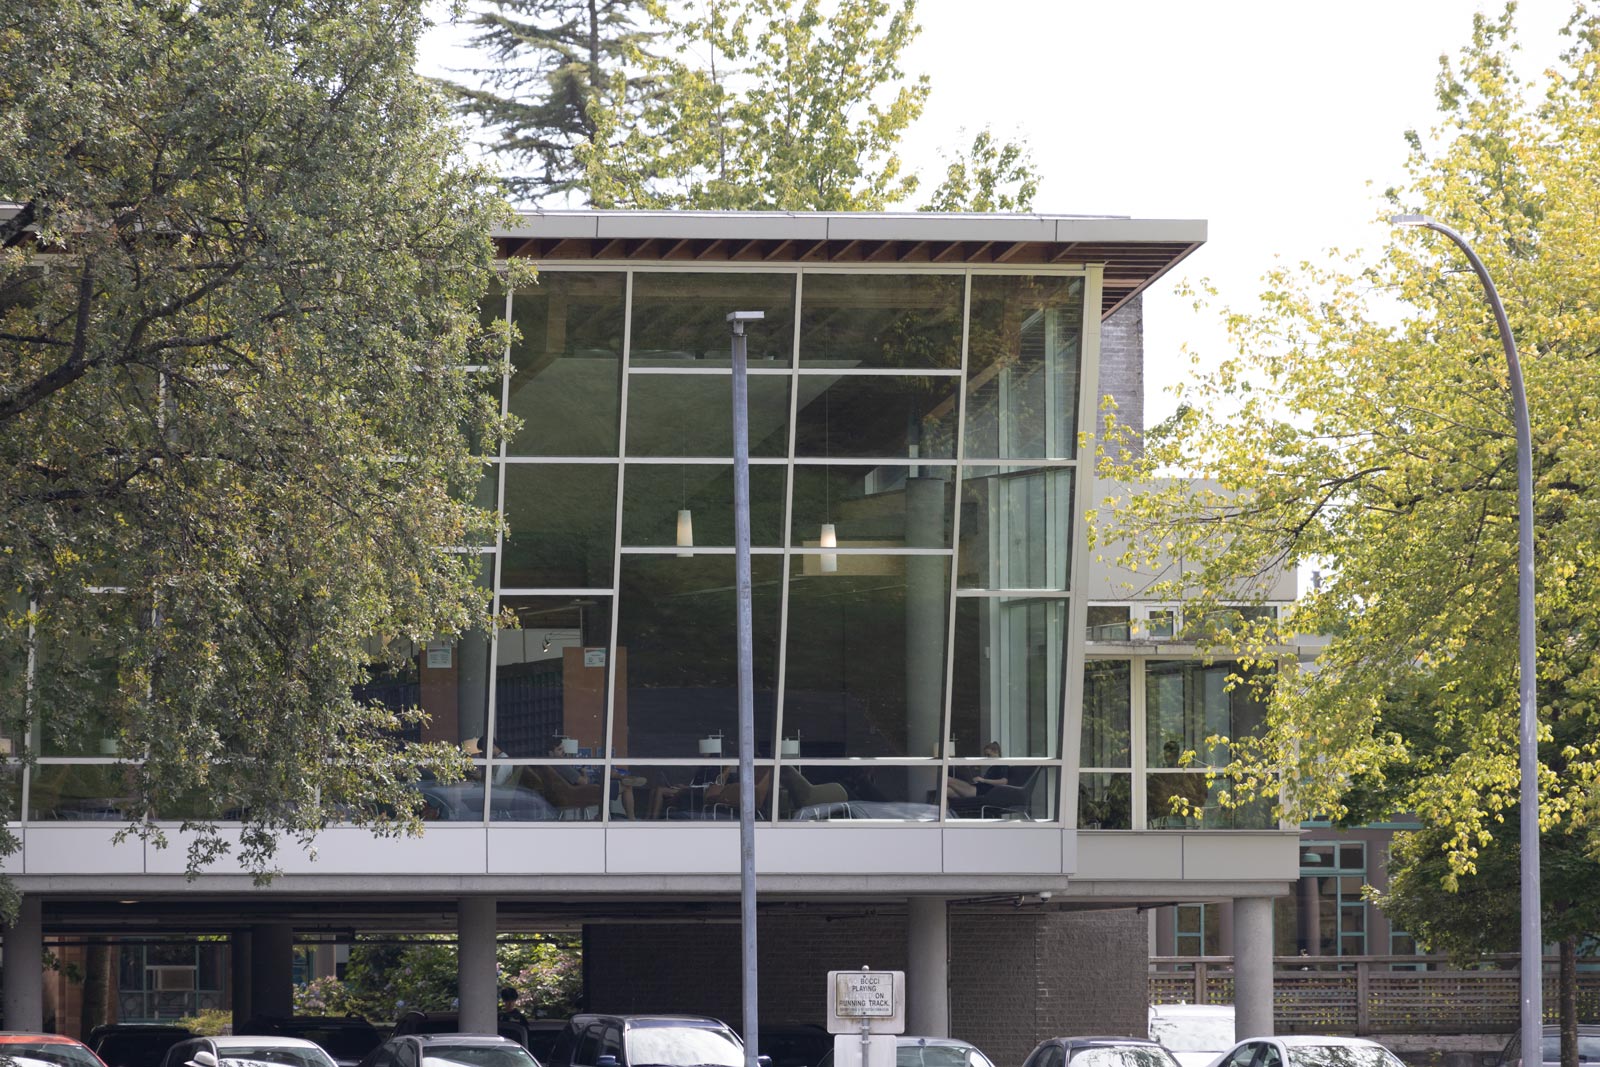
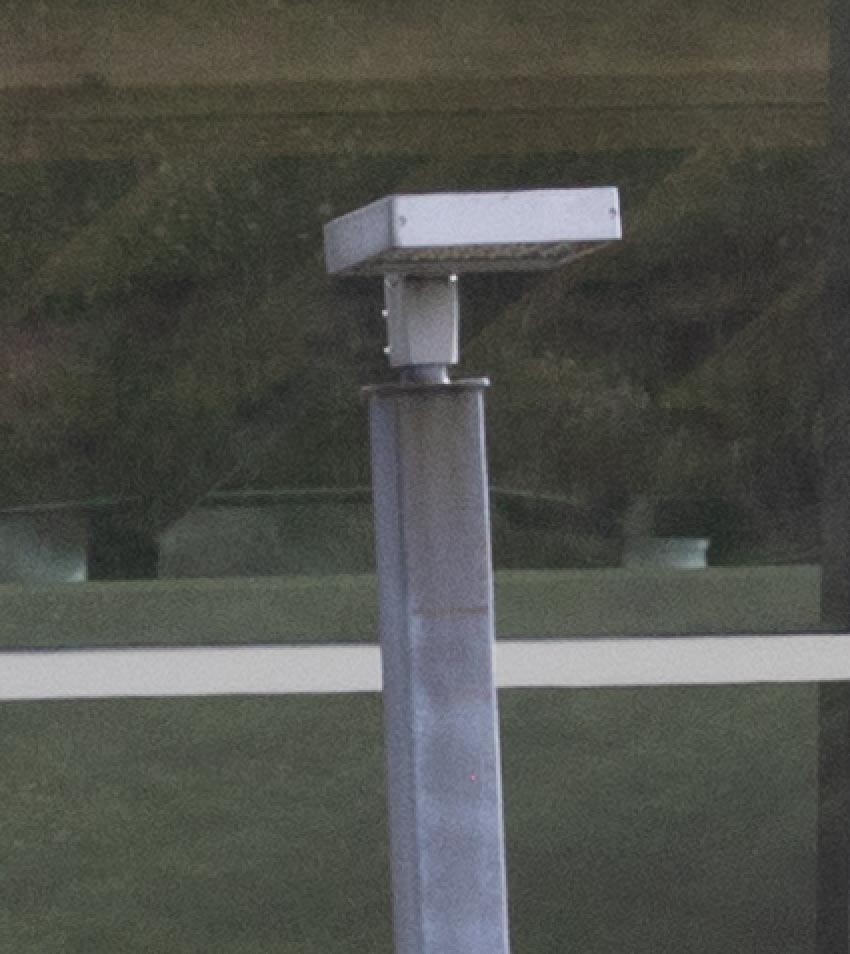
On the way home from the park I took one more image, hand held with IS engaged, with lens and extender at 800mm. The image on the right is the full frame just as it came from the camera with no post processing.
The image below is from the center portion of the same image at 100%. This is a good sharp image and demonstrates that the Extender is a useful addition to my kit bag. It works well.
So, I am ready for Abbotsford Airshow on the 12th of August. That is just 5 days from now. I feel confident that I know enough about my lens and camera settings to get some good pictures.
This website is the work of R. Flynn Marr who is solely responsible for its contents which are subject to his claim of copyright. User Manuals, Brochures and Advertising Materials of Canon and other manufacturers available on this site are subject to the copyright claims and are the property of Canon and other manufacturers and they are offered here for personal use only.

