Zavod Arsenal
Cleaning the Helios 103
The Standard Lens for the Kiev 4M and Kiev AM
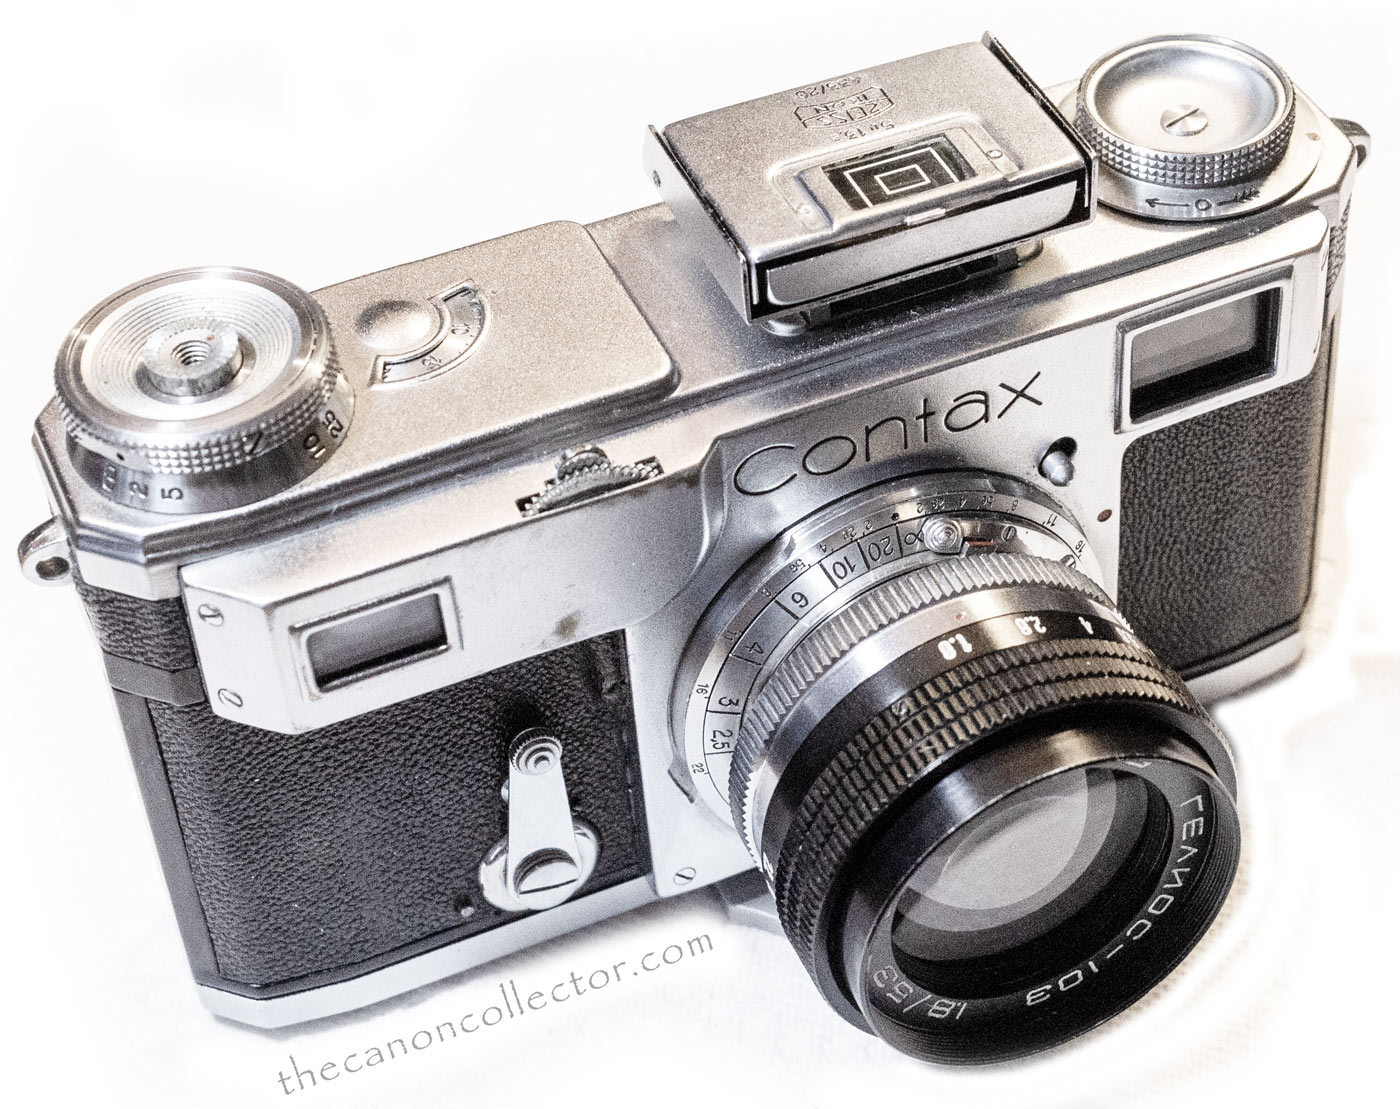
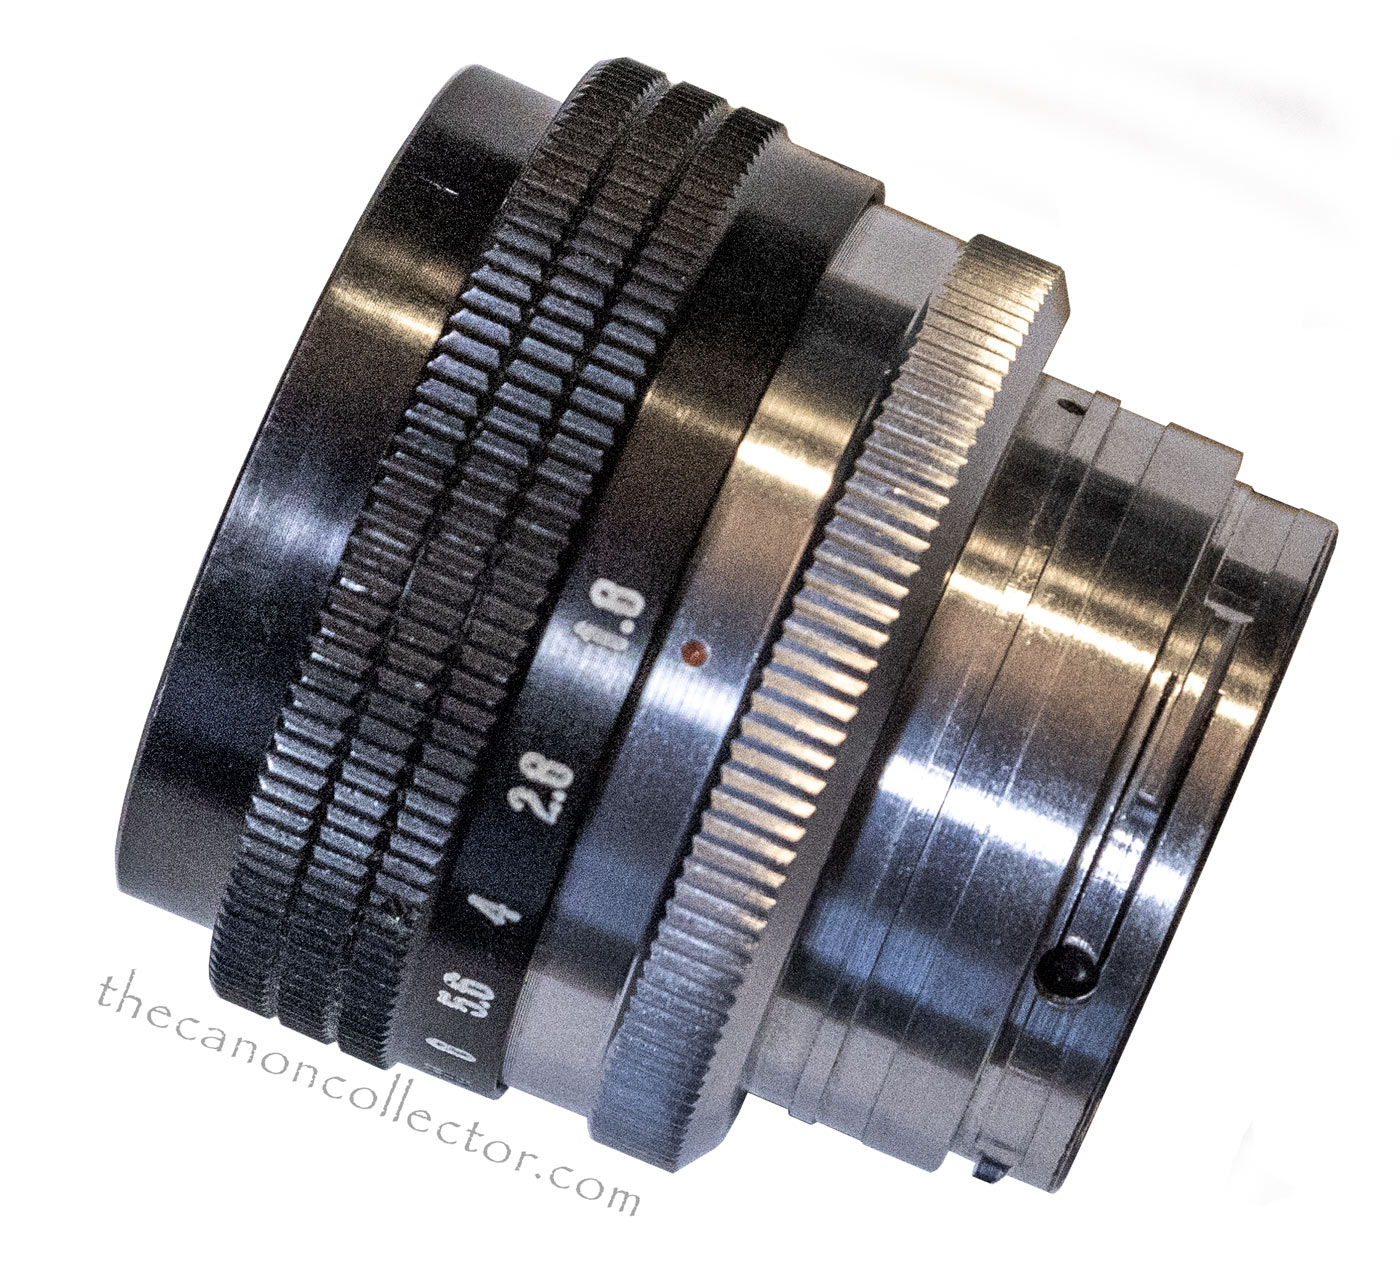
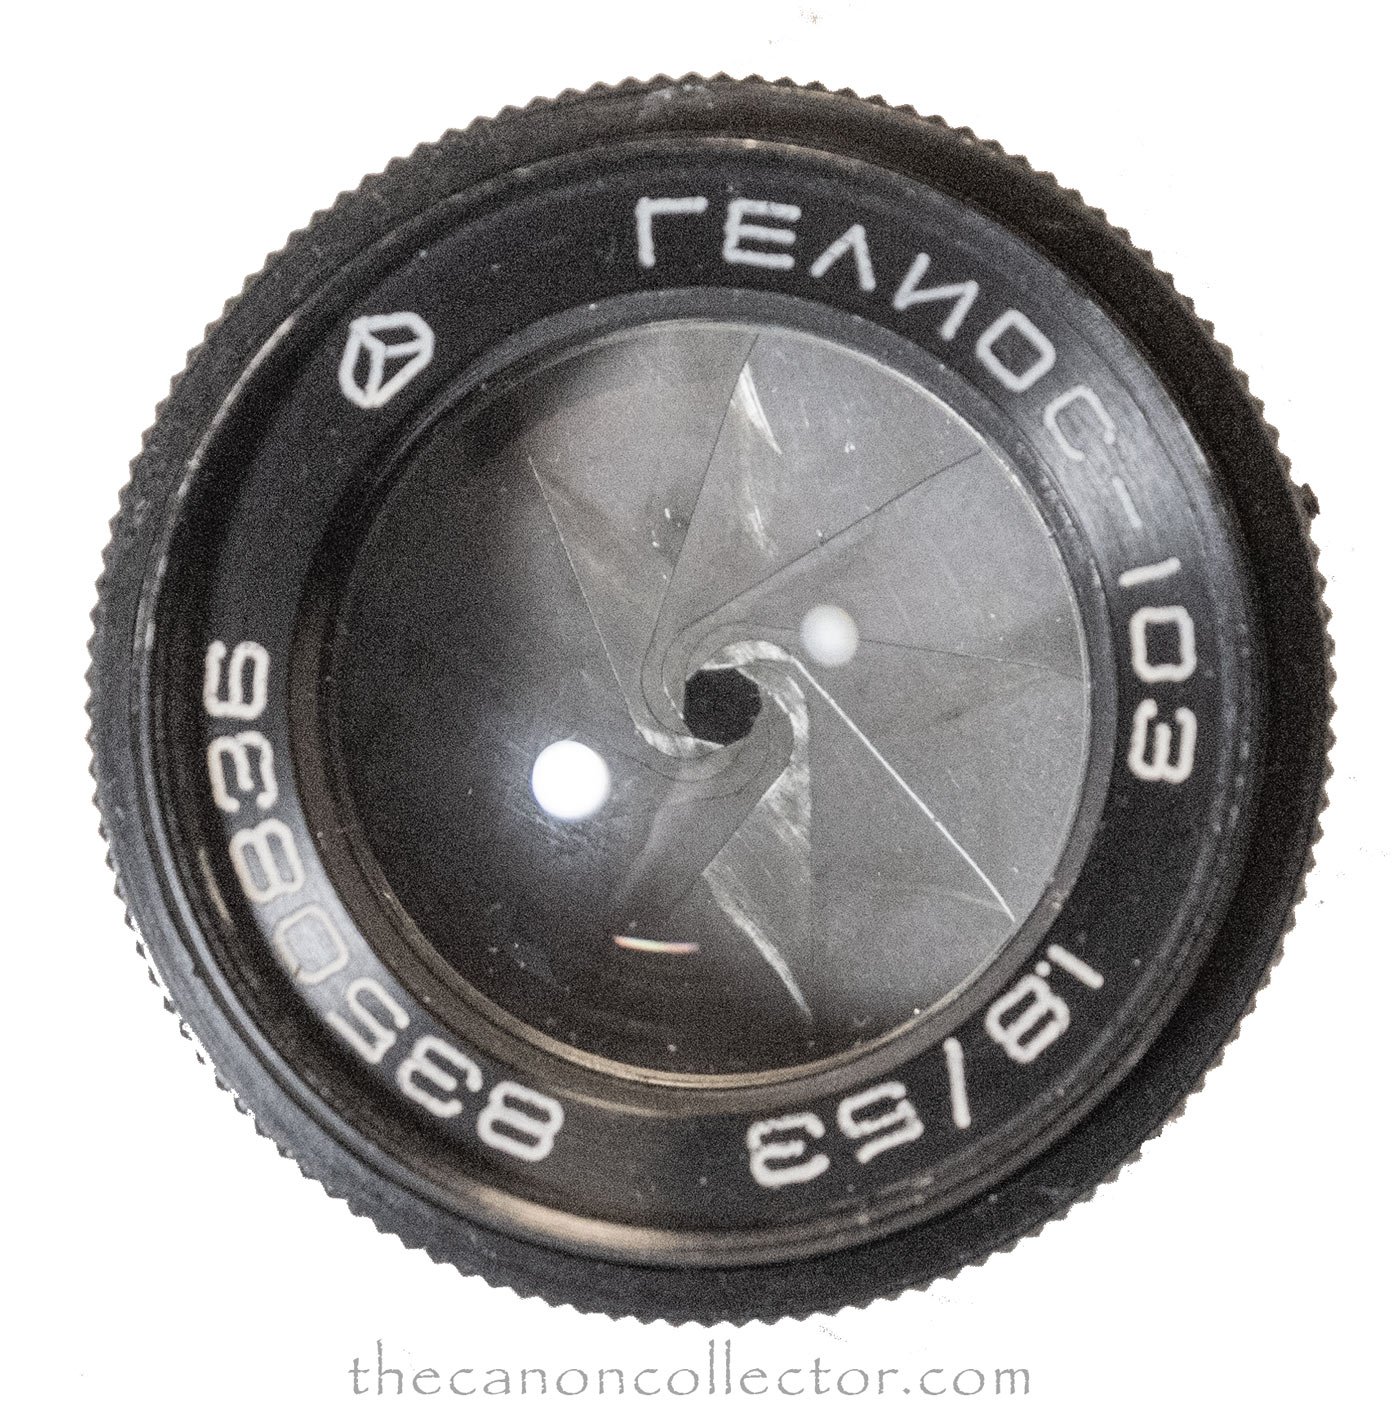
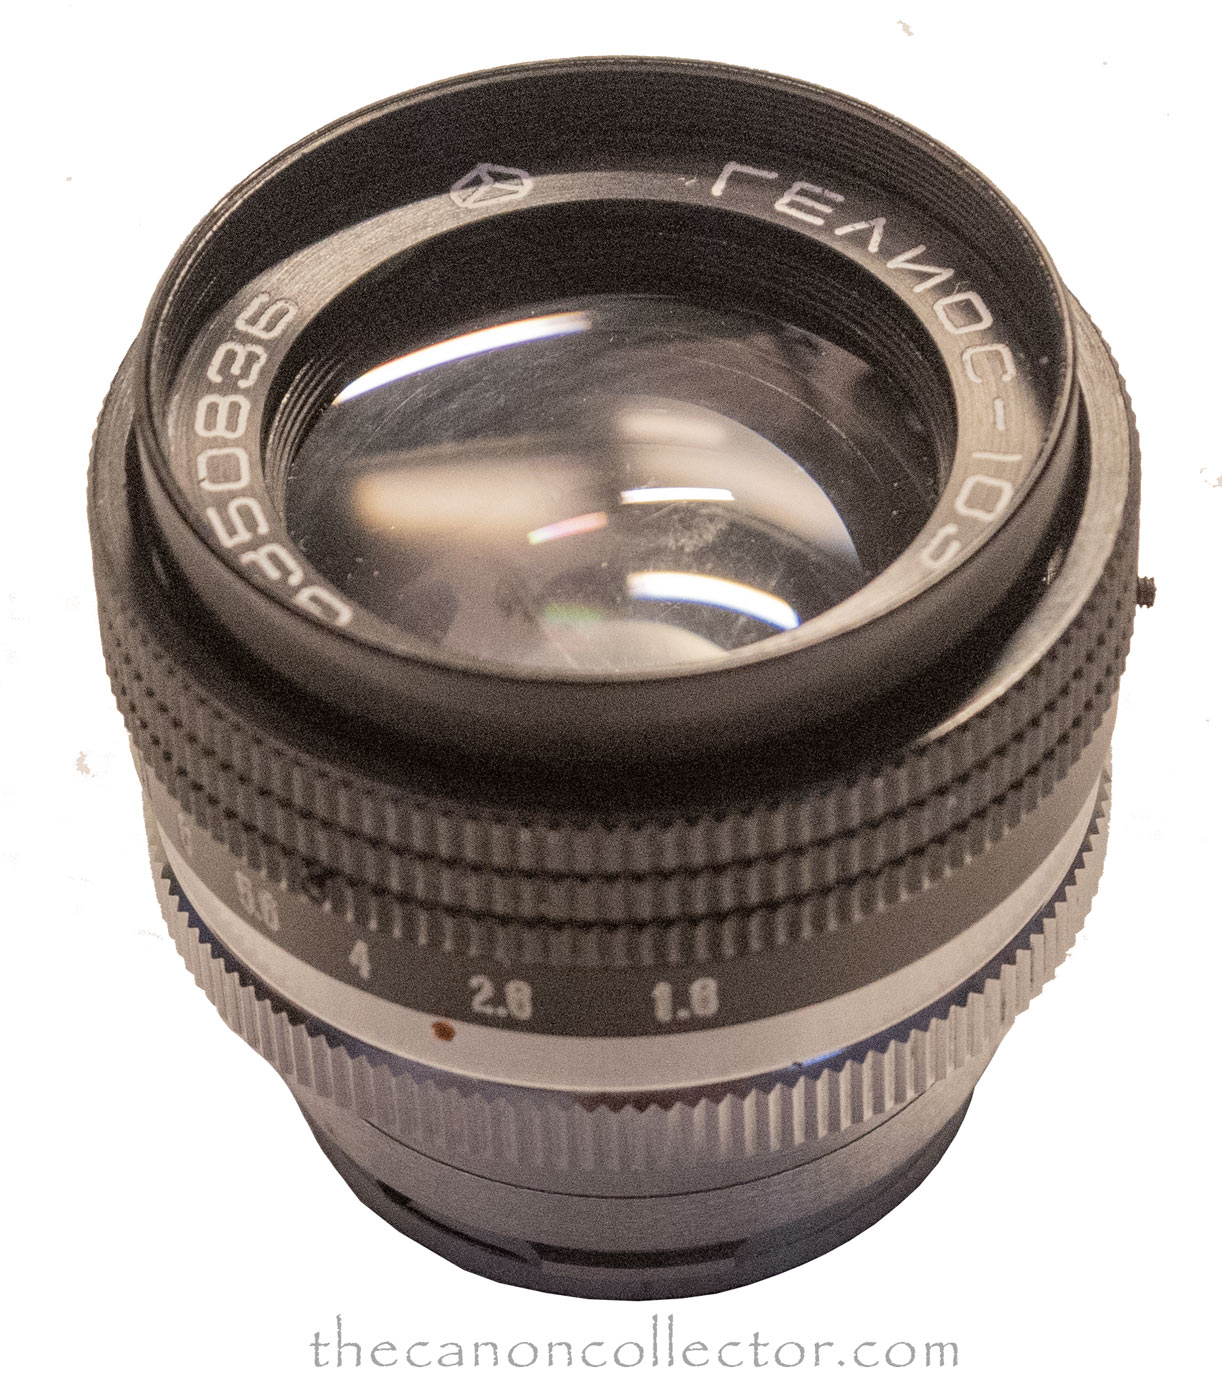
When I received my Kiev 4AM from the Ukraine, which I wrote about earlier, it had on it the standard lens for that camera, a Helios 103 53mm f/1.8 lens made at the Zavod Arsenal in Kiev, Ser. No. 8350836.
This lens as received was in excellent condition and I immediately took it out and used it. While it operated fine the f-stop ring was very stiff which I assumed was a problem of dried lubricant. This is a common problem in old lenses and usually easy to remedy. The most difficult part of the problem is usually the disassembly of the lens.
I went online to find a description of the disassembly of this lens type and I could not find one. There were many comments praising the lens but nothing I could find on how to take it apart.
As a result I entered upon this cleaning job without knowing exactly how the lens came apart. Now, before going further, I caution others not to do this. It is so easy to lose pieces or damage the lens, or, one may not be able to recall how to reassemble it. Believe me, I speak from experience.
Warning:
If you are determined to dig into an old lens like this there are a few basic rules to follow:
1. Don’t do it unless you are comfortable with working on small fine machinery and optical surfaces. It takes a strong mechanical skill.
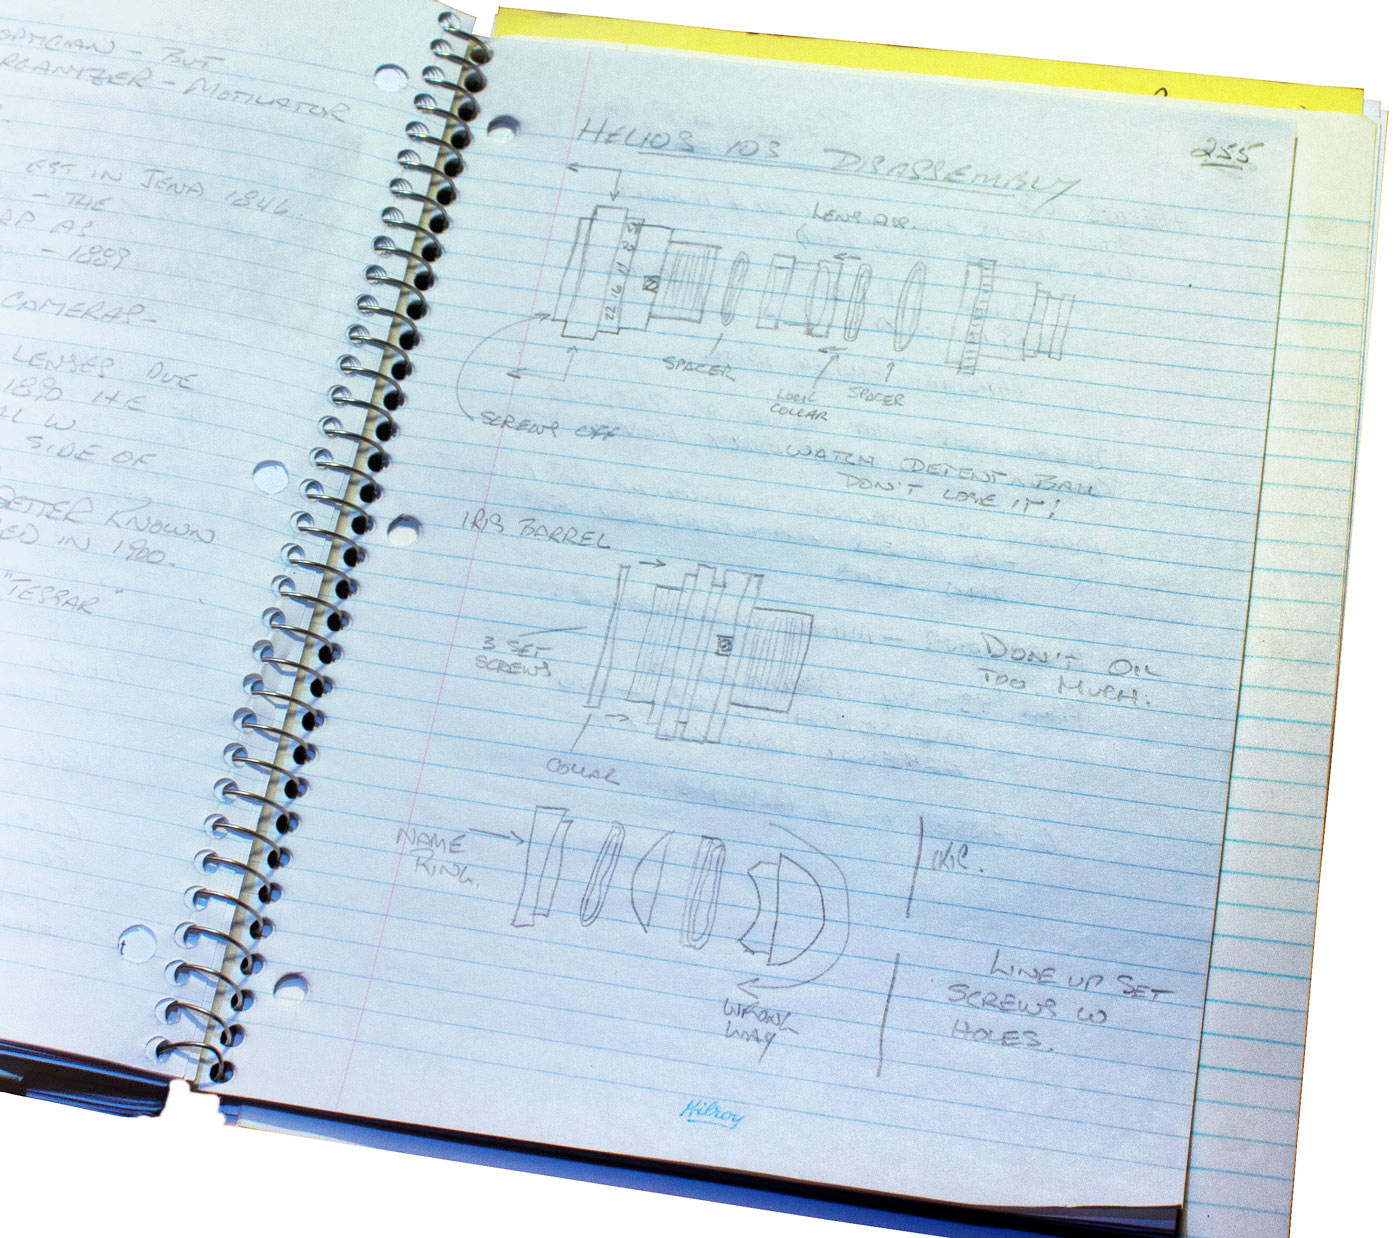
2. Keep accurate notes and take photographs of every stage. so you can retrace your steps. You WILL NOT remember how the lens came apart.
3. Have the correct tools. In that case that means the correct screwdrivers and an adjustable spanner.

4. Work on a soft white surface. You will be working with tiny parts and if you drop them on a hard surface they will bounce out of sight. And on a dark surface you will never see them. I cover the top of my work surface with white paper towel because it is soft and has fibers to grab small parts. Those fibres will cause cleanup problems. But that is for later.
5. Keep everything super clean including your hands. And do not use cheap oil like 3-in-1, motor oil or products like WD-40. Use high grade machine oil such as that made for sewing machines. And use very very little. More is not better. Not in camera repair!
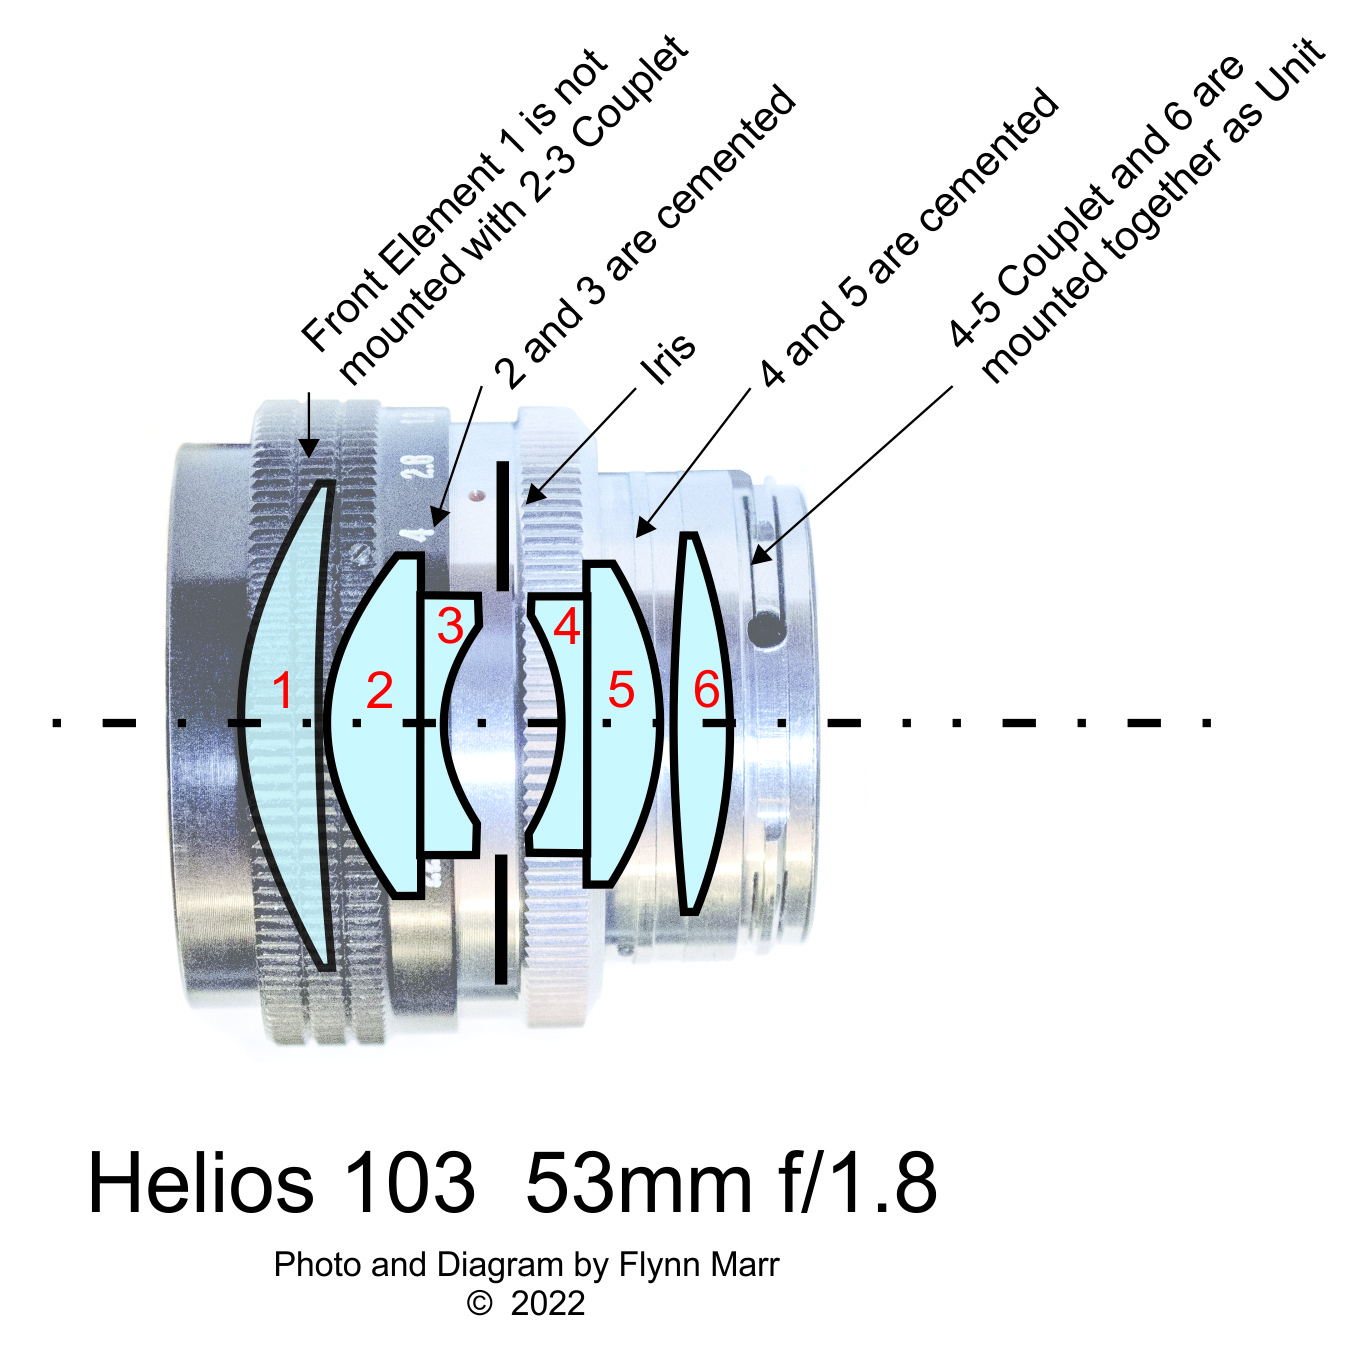
The only diagram of the internal structure of this lens that I could find allowed me to create this diagram. From it we can see that the internal layout is pretty standard with lens groups on both sides of the iris.
The Disassembly – Front Elements
I examined the lens and found on the front name ring and the aperture ring set screws. They were obviously meant to hold something in place so I thought it was a good place to start.
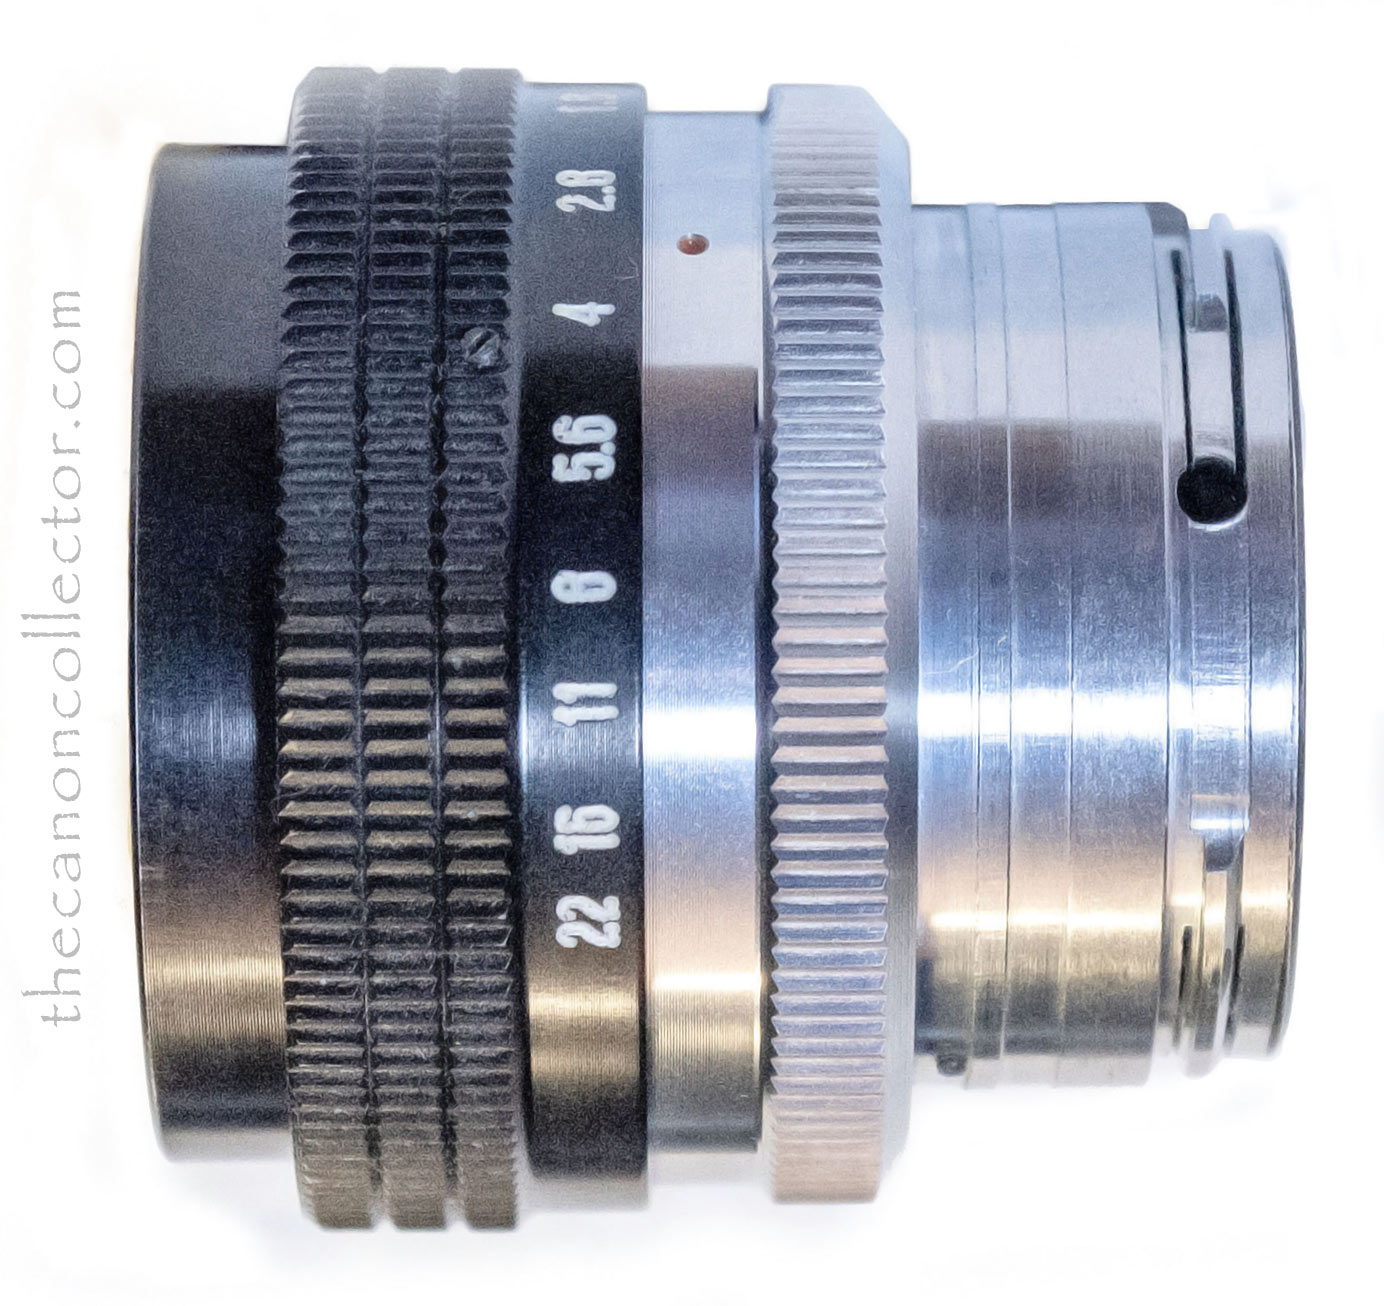
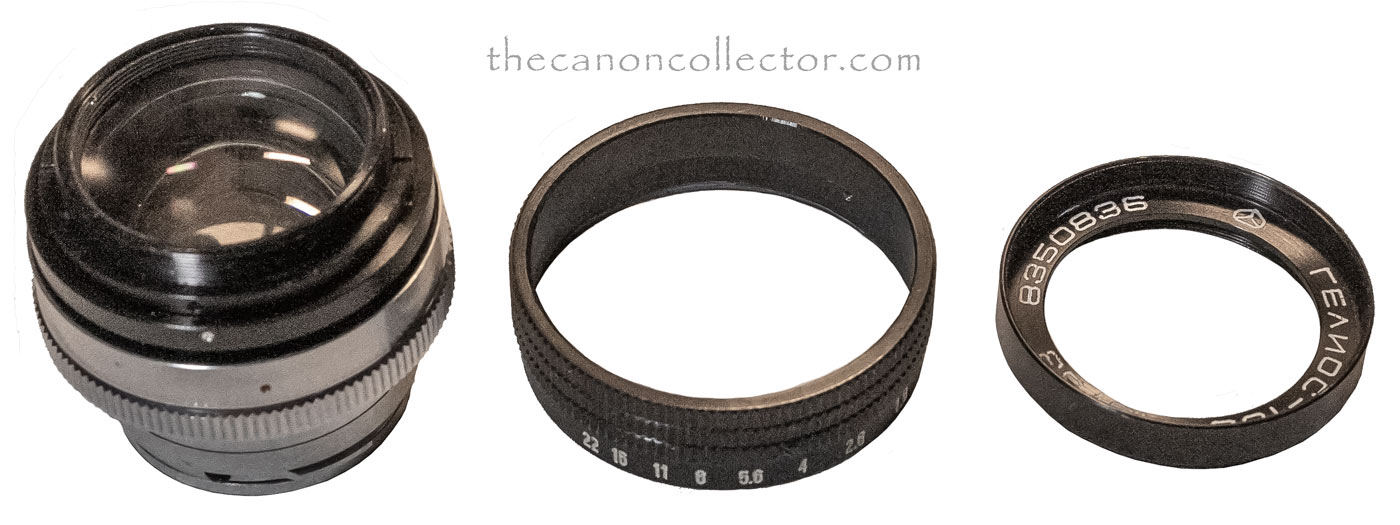
I loosened the three screws on the aperture ring (loosen but don’t remove – they are very small and hard to replace) and it slid forward off the front. That revealed a single set screw in the side of the name ring. Loosening that I was able to unscrew the ring and it came away from the body of the lens.
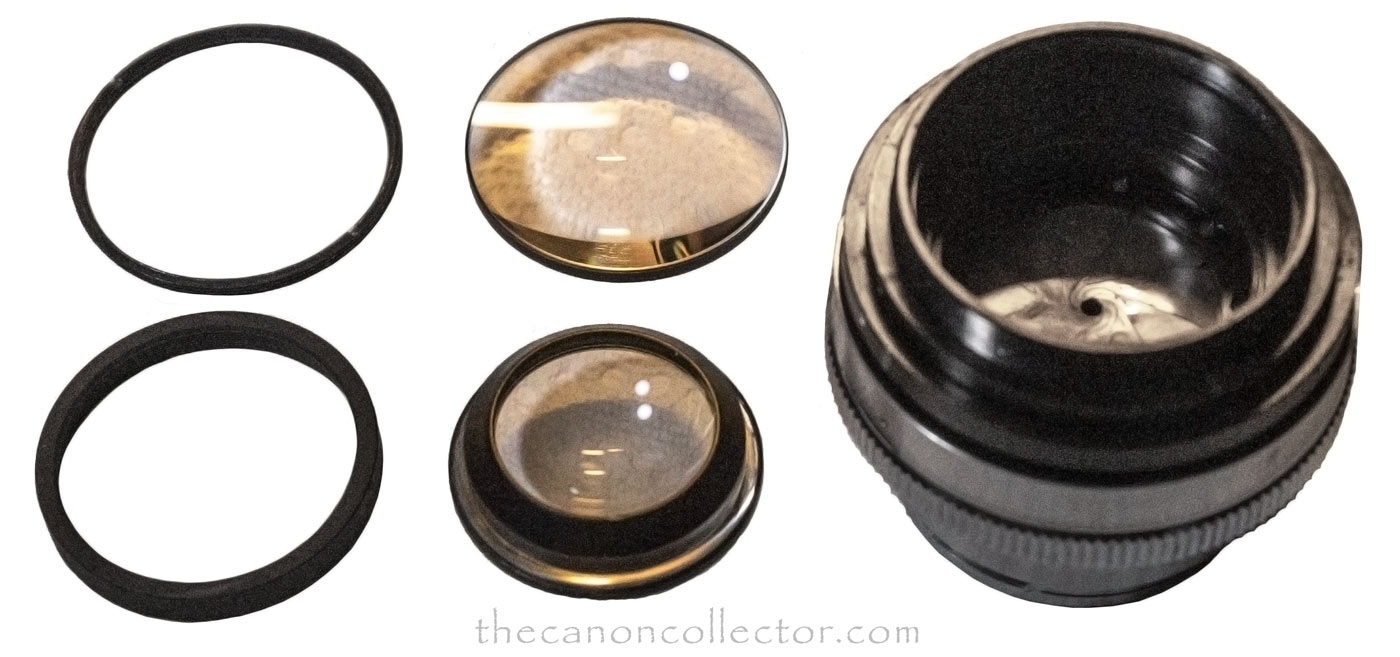
Inside is a screw ring holding the front elements in place. Remove it and the lenses can be removed from the lens housing. But be careful. The lens #1, the front element, is loose and comes out by itself. Then there is a spacer and then the cemented doublet lens # 2 and 3. These three pieces come out and the iris is exposed from the front side.
Above in the top left corner is the scre ring securing the front elements, then top middle is the front element. Bottom left is the spacer and then is the cemented doublet. On the right is the exposed iris.
When I removed the f-stop ring I found that the oil libricating had turned to a stiff sticky substance. At this point I used lighter fluid to wipe all surfaces and rings clean Now it was time to have a look at the rear of the lens.
The Rear Lens Elements
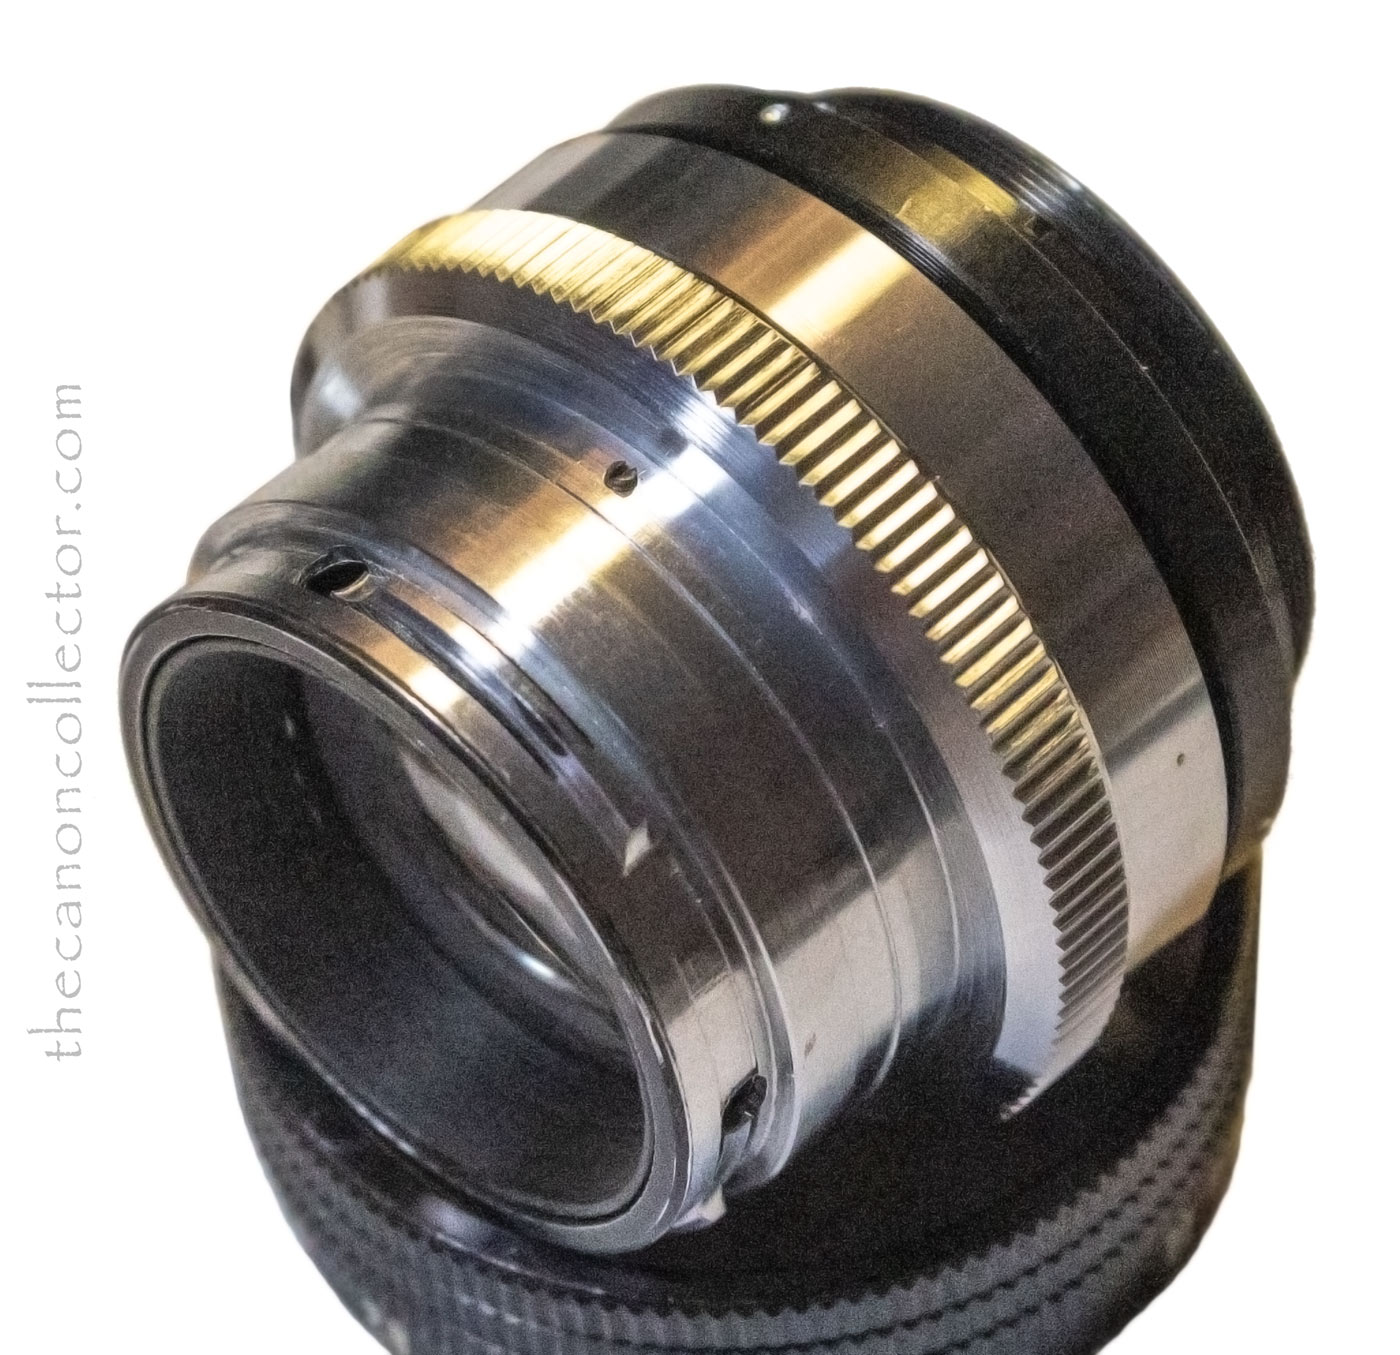
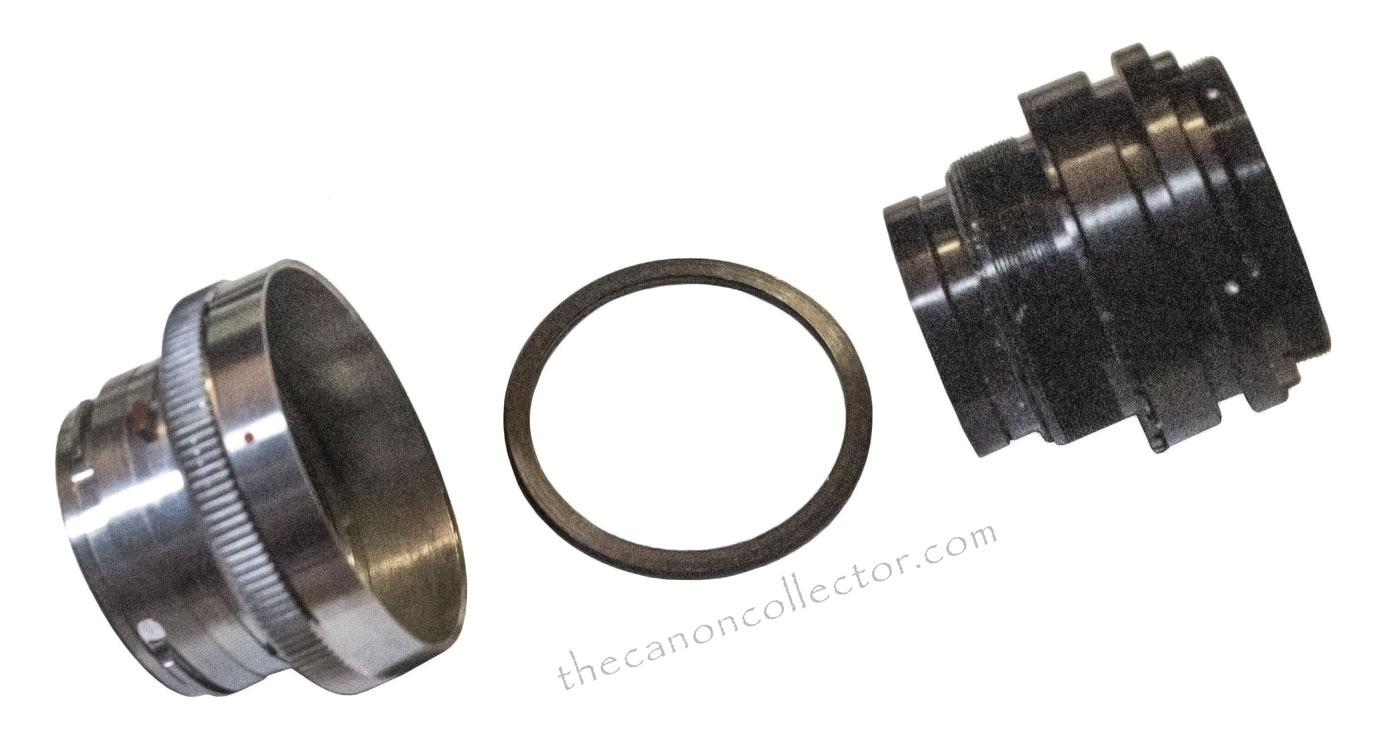
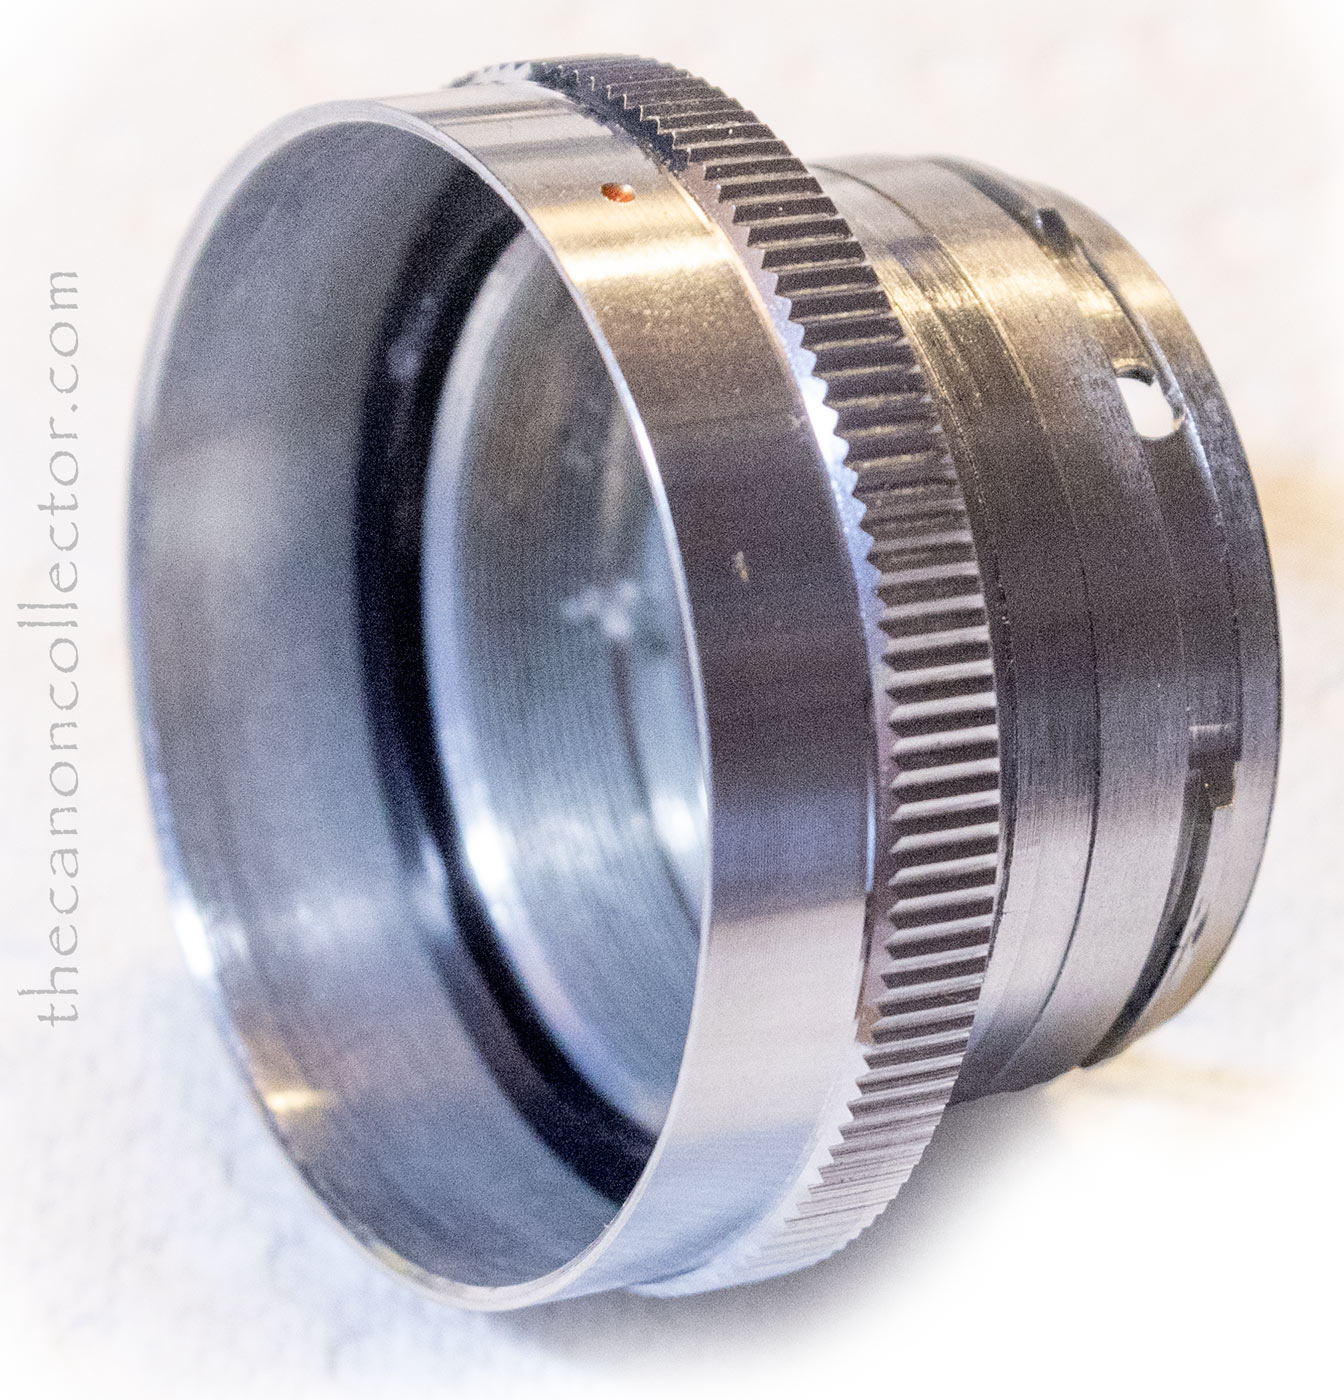
The rear lens housing is silver colored and has the lens mounting lugs on it. There are two very small set screws. Back these out (do not remove them) and you can screw off the rear housing.
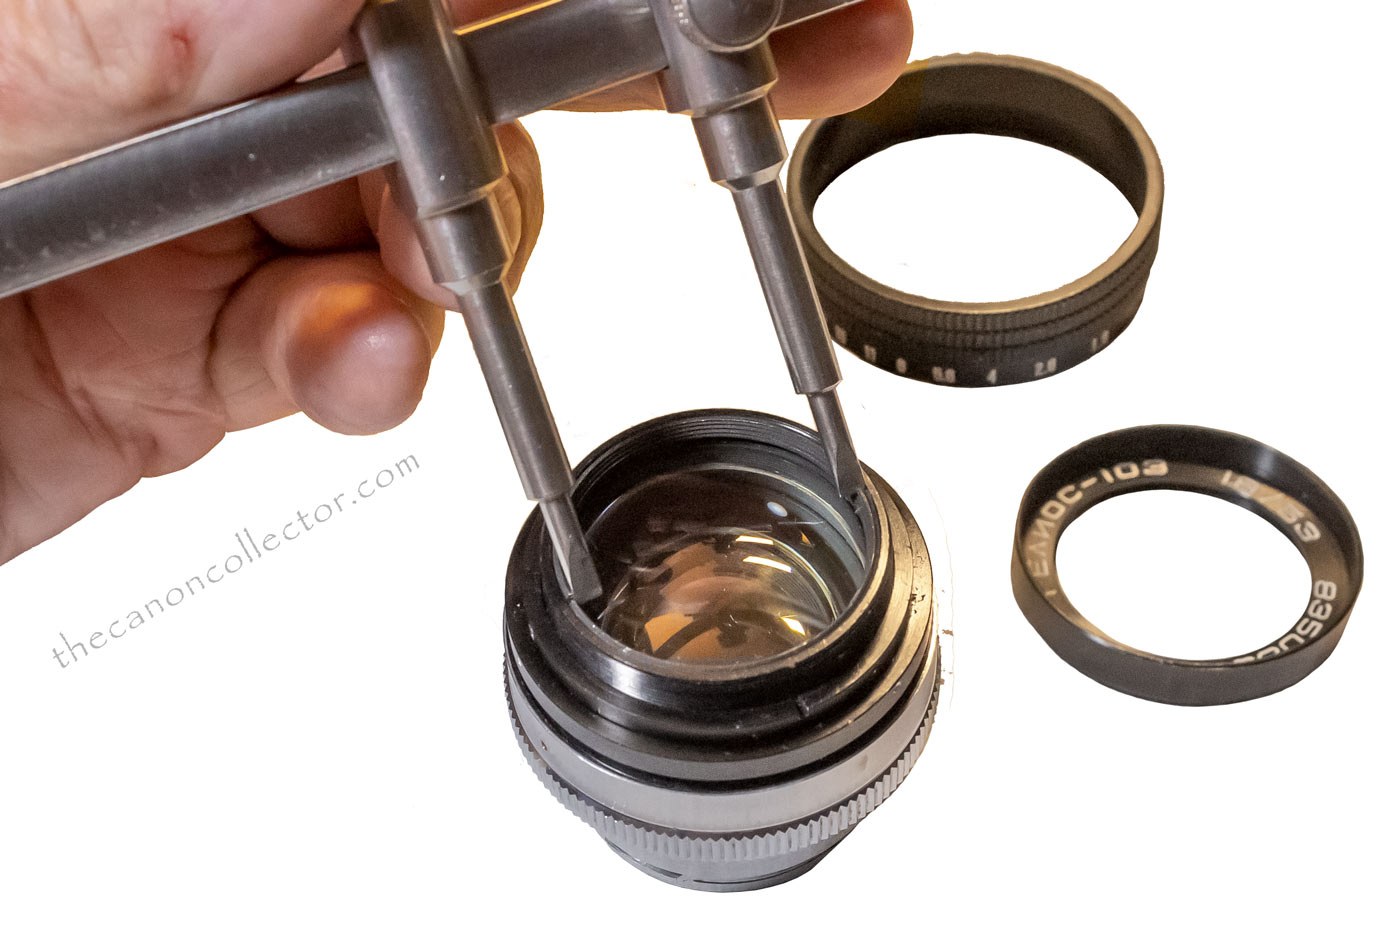
Once the aperture ring and the name ring are removed the front elements are seen to be held in place by a threaded ring that require an adjustable lens spanner to remove it.
The front elements are held in place by a threaded ring that requires an adjustable lens spanner to remove.
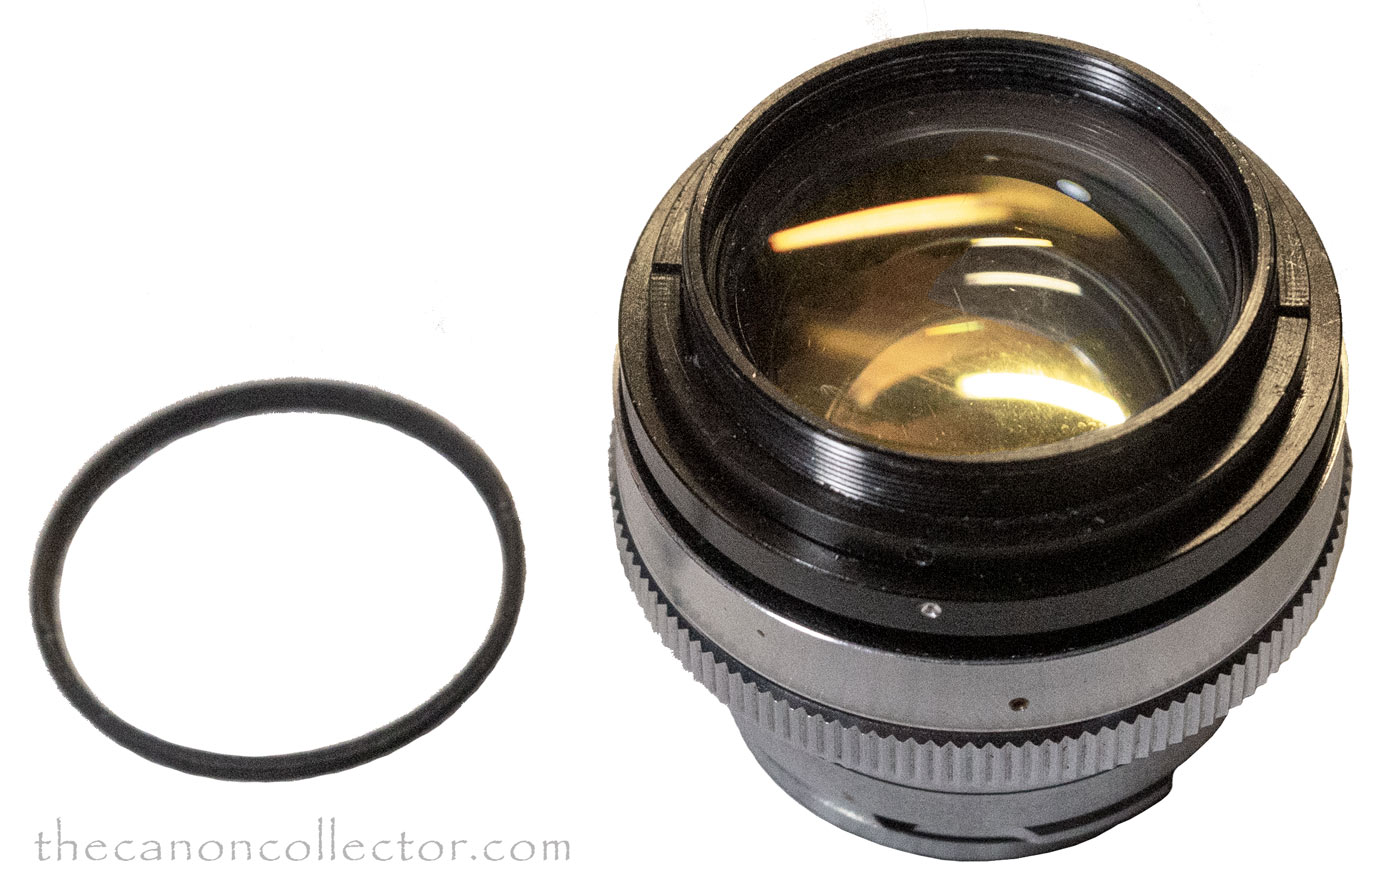
With the threaded ring removed the front lens elements are loose and will fall out. Be careful to treat them gently. The lenses are delecate.
When the set screws are loose the aluminium rear section screws off releasing a spacer that goes between the sections.
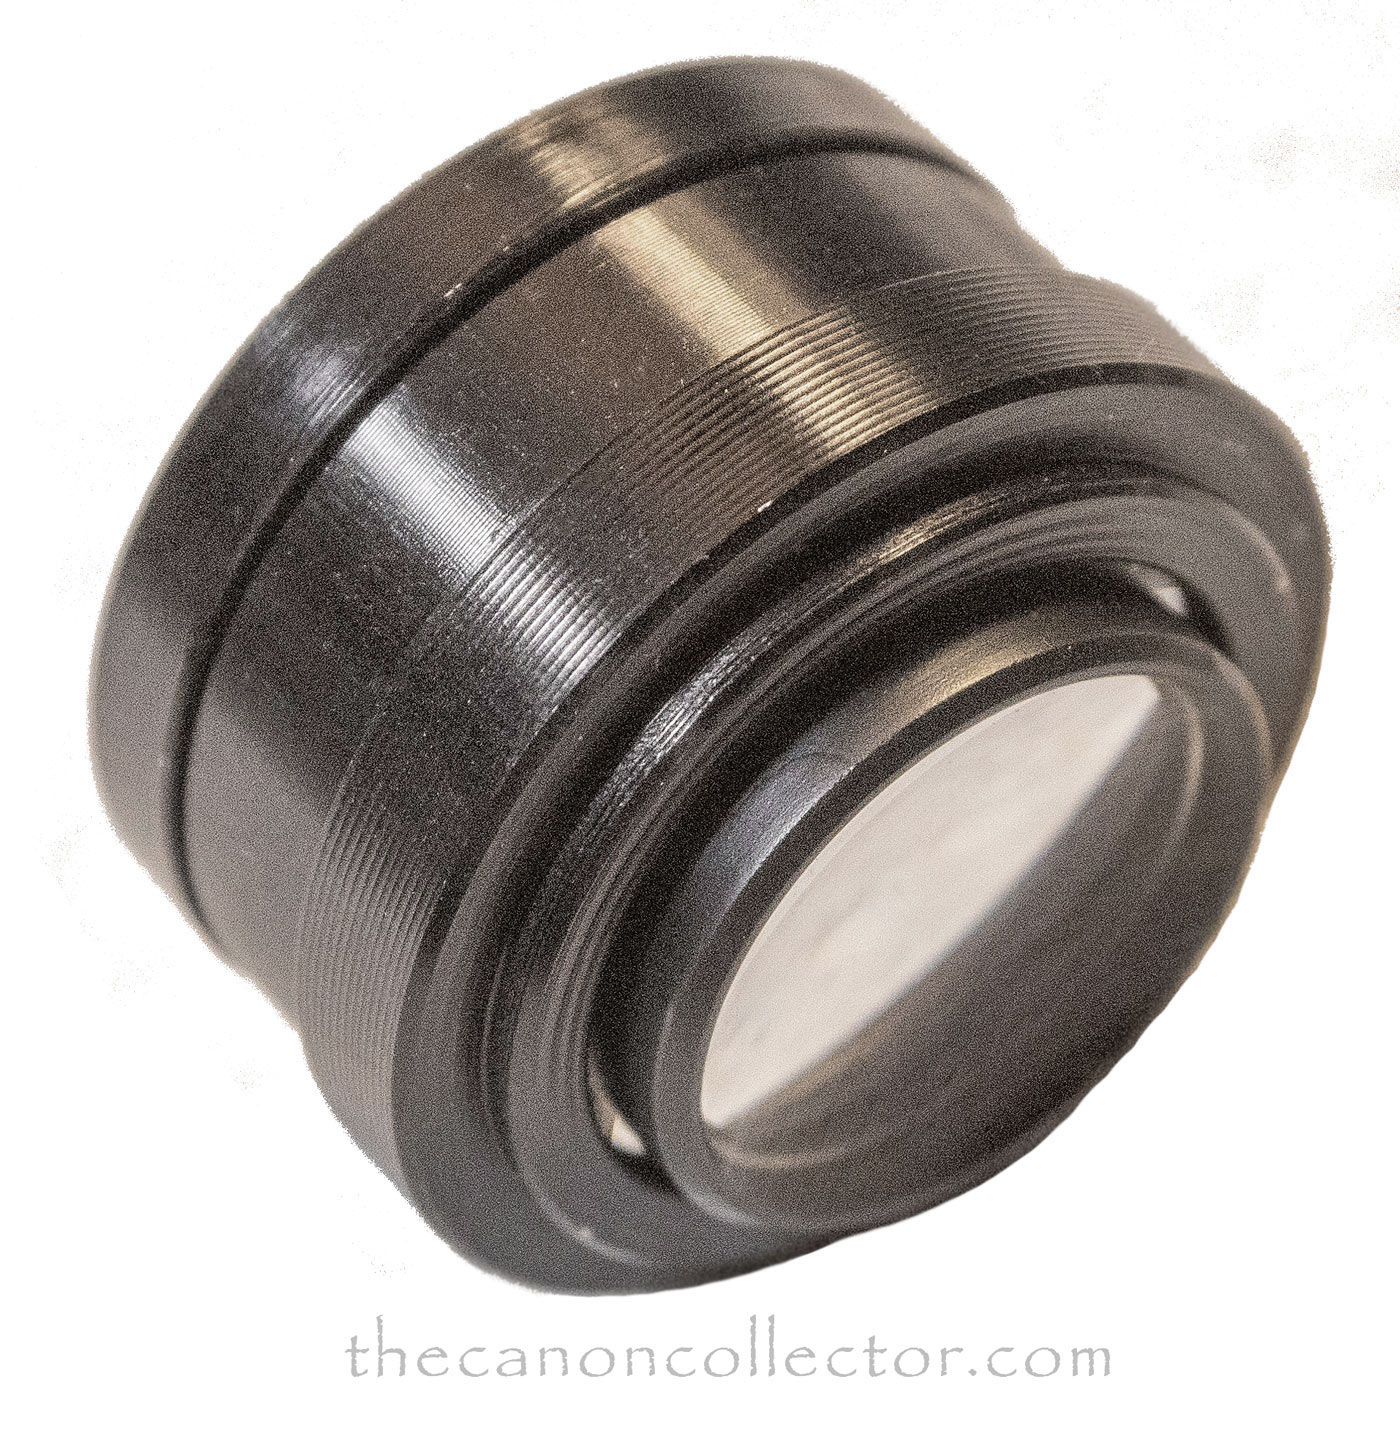
Once the rear housing is removed there is a threaded locking ring that requires the adjustable lens spanner again to remove it. Then the rear lenses drop out as a unit and then there is a final spacer. And the iris is free in the lens housing.
Do not take the lens apart any further. It is not necessary. The iris is now isolated in the lens frame and it can be flooded with lighter fluid, brushed with a soft brush, and worked to loosen remaining lubricant. It will come clean. Then the solvent must dry which may take an hour or more. Be patient.
A word about lubrication. Oil is an enemy in camera gear and should be used very very sparingly. Only use the least possible. Use a good quality oil. Do not use WD-40, motor oil, 3 in 1 oil. I use a sewing machine oil which I dispense with a hypodermic syringe a tiny drop at a time. Oil will spread over the years and too much will eventually coat everything that should not be oiled.
So now it only remains to reassemble the lens. Work in the reverse order. If you look carefully where the set screws contacted the surface beneath them you will see that there is a counter sunk hole into which the set screw sits. Realign the parts so that the set screws go back into these holes. This way they will sit recessed into the piece and not protrude. This will also correctly align the parts.
One last word …. about cleaning. Clean the lenses well before you reassemble the lens. If you don’t know how to do that you should not be messing around inside a lens at all! But you want every surface absolutely super clean. It is very upsetting to get everything back together only to have to go back in because of a haze on one of the elements.
And that is how you clean a Helios 103 lens. Once done my f-stop ring moved smoothly and the detent clicks were very positive. It was like new and a pleasure to use.
This website is the work of R. Flynn Marr who is solely responsible for its contents which are subject to his claim of copyright. User Manuals, Brochures and Advertising Materials of Canon and other manufacturers available on this site are subject to the copyright claims and are the property of Canon and other manufacturers and they are offered here for personal use only.
