
This is my Leica IIIc in the test setup I used. The camera is sitting in a Canon Camera Holder for stability and mounted on a Giotto tripod.
I have acquired a Leica IIIc which sounds strange since I am a Canon collector. However, in my defense, I love all cameras. The whole process of capturing an image with any device fascinates me. But even more, the Barnack Leicas had a profound effect on the early development of the Canon camera and so it seemed important to understand the Leica.
My camera is an early post-war model serial numbered 417471. It came to me with an Elmar 5cm f/3.5 collapsible lens. It is in pretty good condition and the shutter seems to work fine on all speeds. However, before I started seriously using this camera I was determined to see just how good it was. I wanted to test the lens and the accuracy of the rangefinder in
the camera. Sounds simple but it has taken me down a rabbit hole of issues to discuss. The first of these is the issue of scanning film.
I set up several tests for the Elmar lens and Leitz camera. I wanted to know if the rangefinder was accurate and see how good the lens was. This was with a view to making much use of my Leica IIIc.
I used a roll of Ilford Professional 100 film at ISO 100 and developed it in Ilfosol 3 for six minutes. I then scanned this film with my Canoscan 9000F Mark II at 4800 dpi. But when I looked at the images, they were not sharp. None of them! So before going any further, I had to check the scanner. I chose to do this by comparing a Canoscan scan against a photo of the negative taken in my Canon R.
I have written about scanning by means of a camera, here and here. The film was photographed by my EOS R mounted on a Canon Bellows FL using an FD 50mm f/3.5 Macro lens. The setup looked like this:
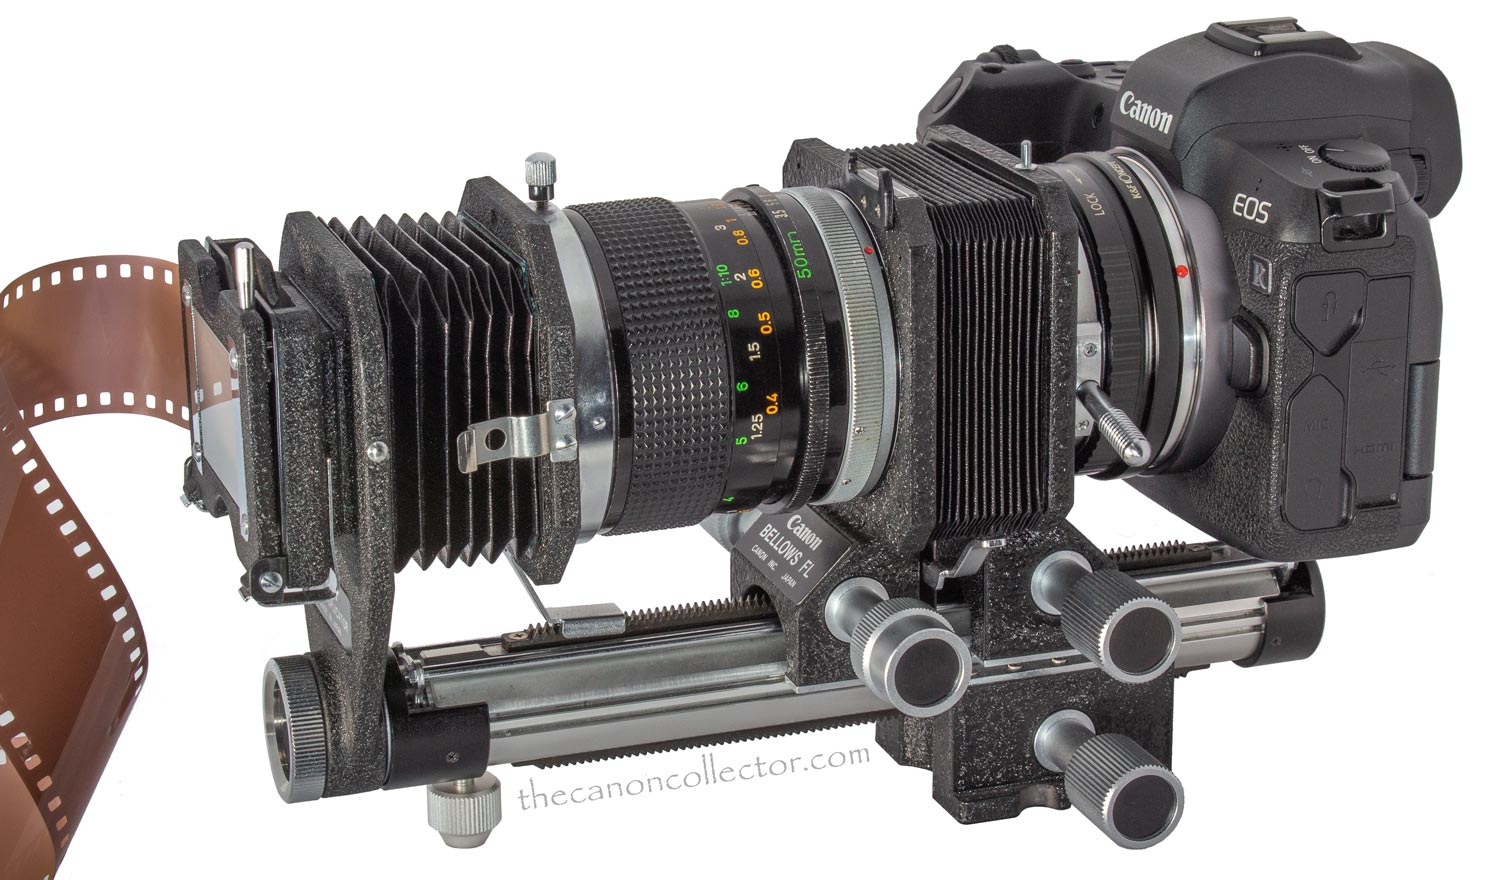
This setup was placed in front of my blank white computer screen for illumination and I used f/11 at 8 seconds. Shutter speed was unimportant because the bellows holds everything still relative to each other. So what did I find? Well, that was interesting. I should have known this but we all need the odd refresher course.

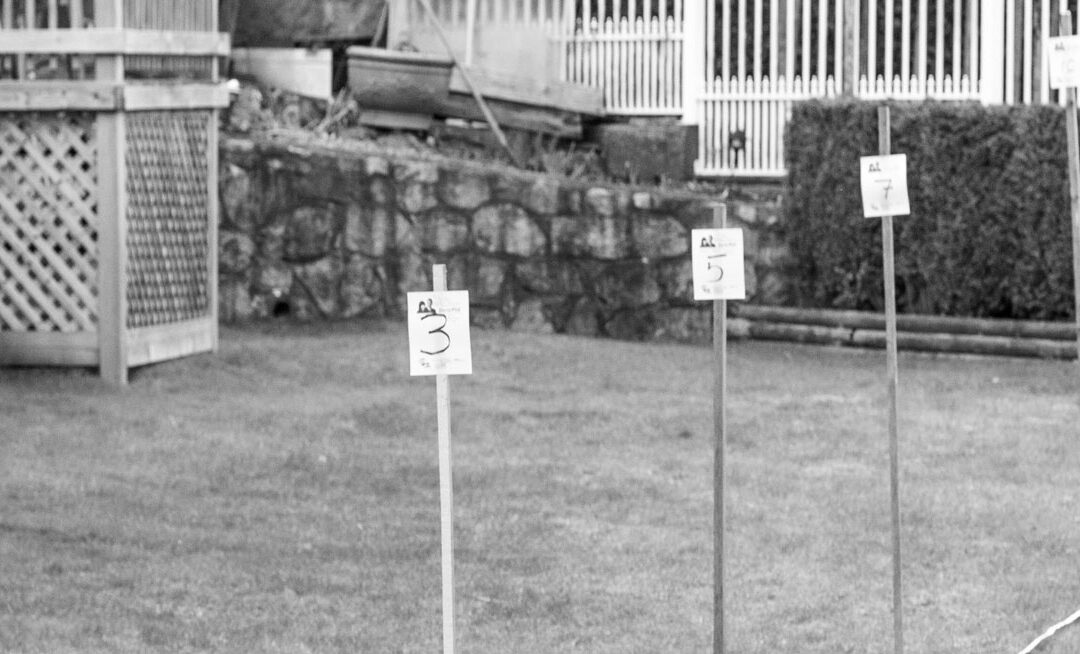
I chose one image from the roll for this test. This is it. A rather ordinary picture and shown as it come out of my CanoScan 9000F Mark II at 4800 dpi. It looks not bad until you try to use it with any precision.

I took a random image from the roll for our test. Right out of the scanner it looks pretty good but I wanted to see how good the lens was and how accurate the rangefinder was and so I needed the sharpest possible images. To see how this image fares we have to zoom in. Below is the center of the scanned image displayed at 100%. Now we begin to see the problem. This image is really soft. Really really soft.

At 100% you can see the problem. When we are trying to determine accurate focus or the quality of the lens this image will not do. It is too soft and tells us nothing. I cannot tell if the scanner is the problem or whether I did not focus correctly, or whether the range finder is faulty, or whether the lens is terrible.
So the next step is to see if the problem is the scanner. Using the setup above I focused very carefully using the magnified live view on the Canon R and then stopped down to f/11. Of course I was using the same negative. The image below is the full frame and you can immediately see the difference.

This is the whole image from the camera. There are a couple of things to notice. Firstly it is sharper than than the image from the scanner. The second is the dynamic range. The camera has a much wider dynamic range with many more shades of grey. But we need to look closer still.

Zooming in to the center section at 100% and the difference becomes really obvious. I have not sharpened any of the images here so what we see is really what came out of the scanner and camera. It is obvious that the camera has done a much better job. But more than that, the image is sharp. The rangefinder worked and the lens is not half bad. But that analysis will be detailed in a subsequent post.
The two images above are from the camera. The top one is the whole frame and the bottom one is the center portion at 100%. From these we can see that the scanner is not good enough for the analysis I want to do. But the Canon R images appear to be just fine. I will write about that analysis later. But first I have a lot of film to photograph and process.
So there you have it. The first lesson from this undertaking.
I am the creator of flynngraphics.ca and thecanoncollector.com. The contents of this website are subject to my claim of copyright. However, to be clear, I have no right to the trademarks or printed material, brochures or manuals that originate with Canon Inc. and make no claim to have such rights and I am unable to pass on any rights to these materials and trade marks.
![]()