Canon Flash Unit B-II
Not all Canon rangefinder cameras were synchronized for flash bulbs. This was one of the features left out of the early rangefinders and less expensive models to keep their cost down. We are talking of cameras such as the Model S-II, IIB, or III amongst several others.
The Flash Unit B-II allowed these unsynchronized cameras to use flash bulbs. Actually, any of the early rangefinder cameras could use this unit.
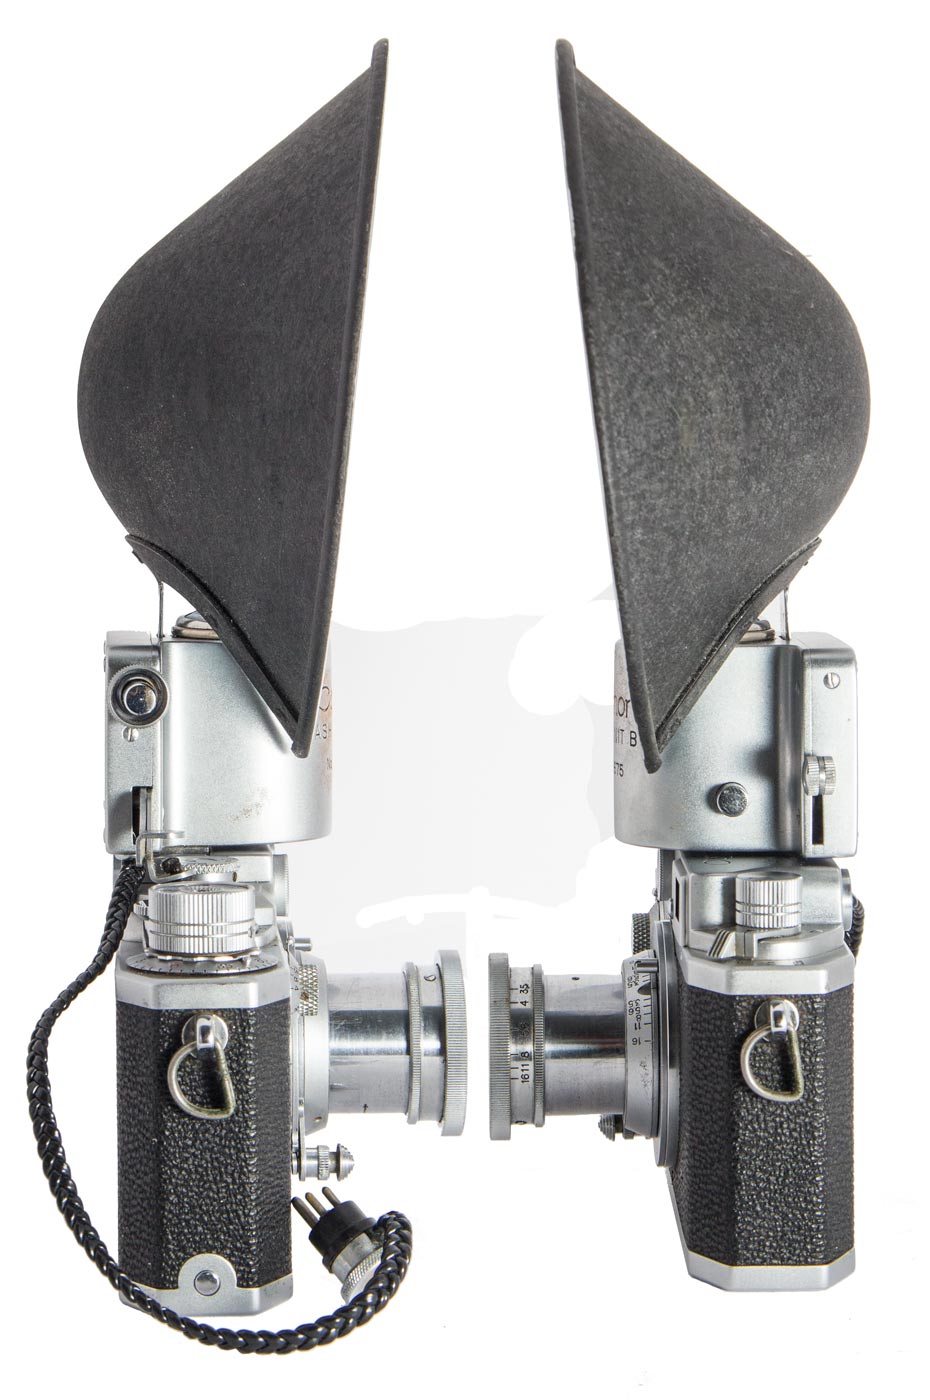
Basically it functions this way. You cock the spring powered mechanism and wind the camera. On the right side (left in the image on the left) two levers extend out over the camera shutter button. Pressing one trips the seconds which slams down on the shutter release firing the shutter and the flash bulb.
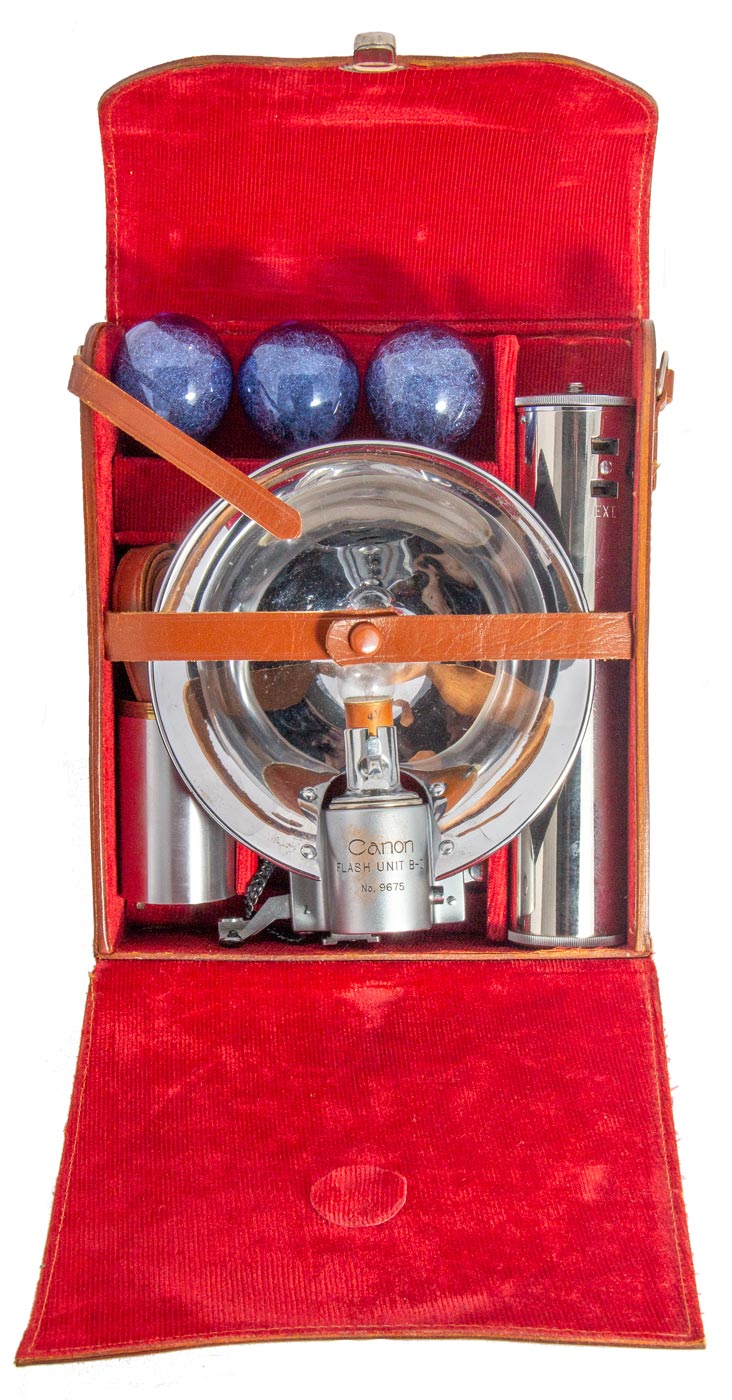
The Flash unit consists of several parts.
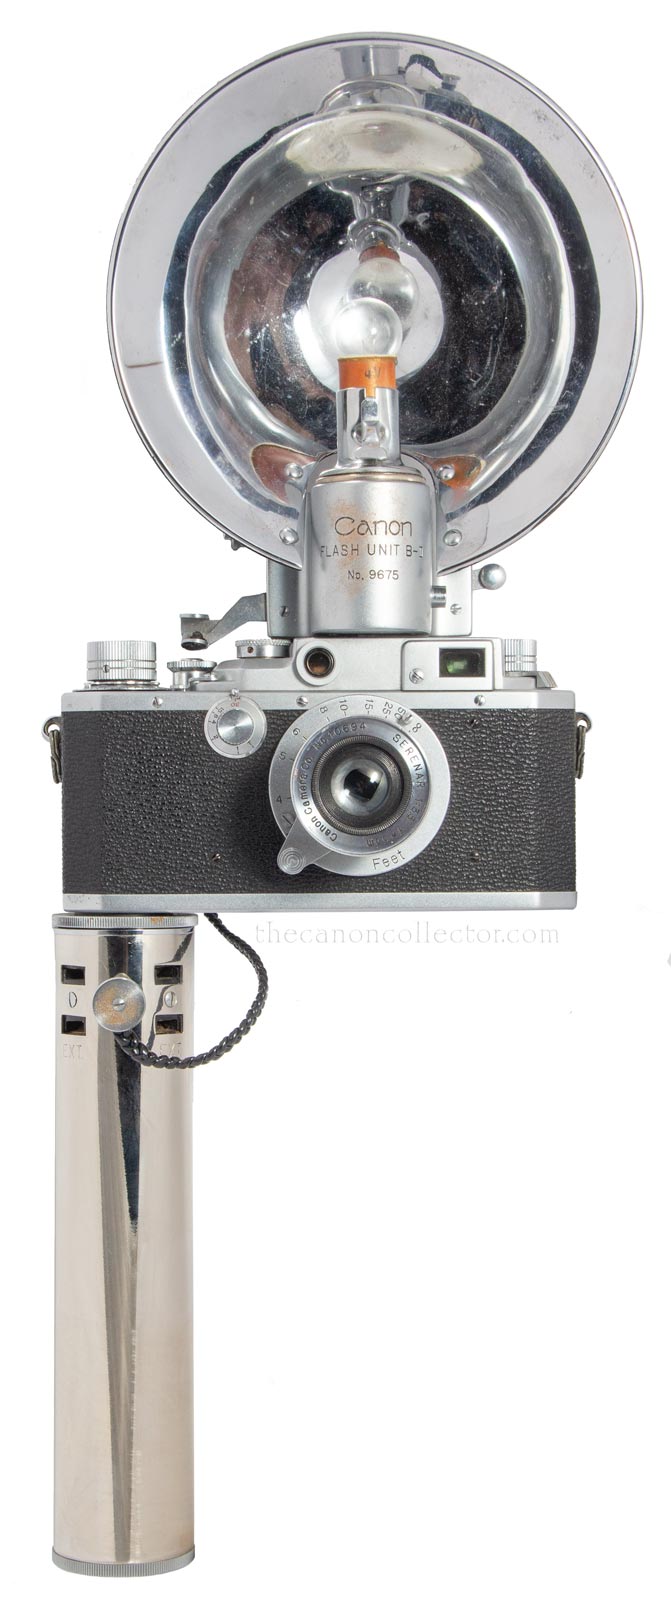
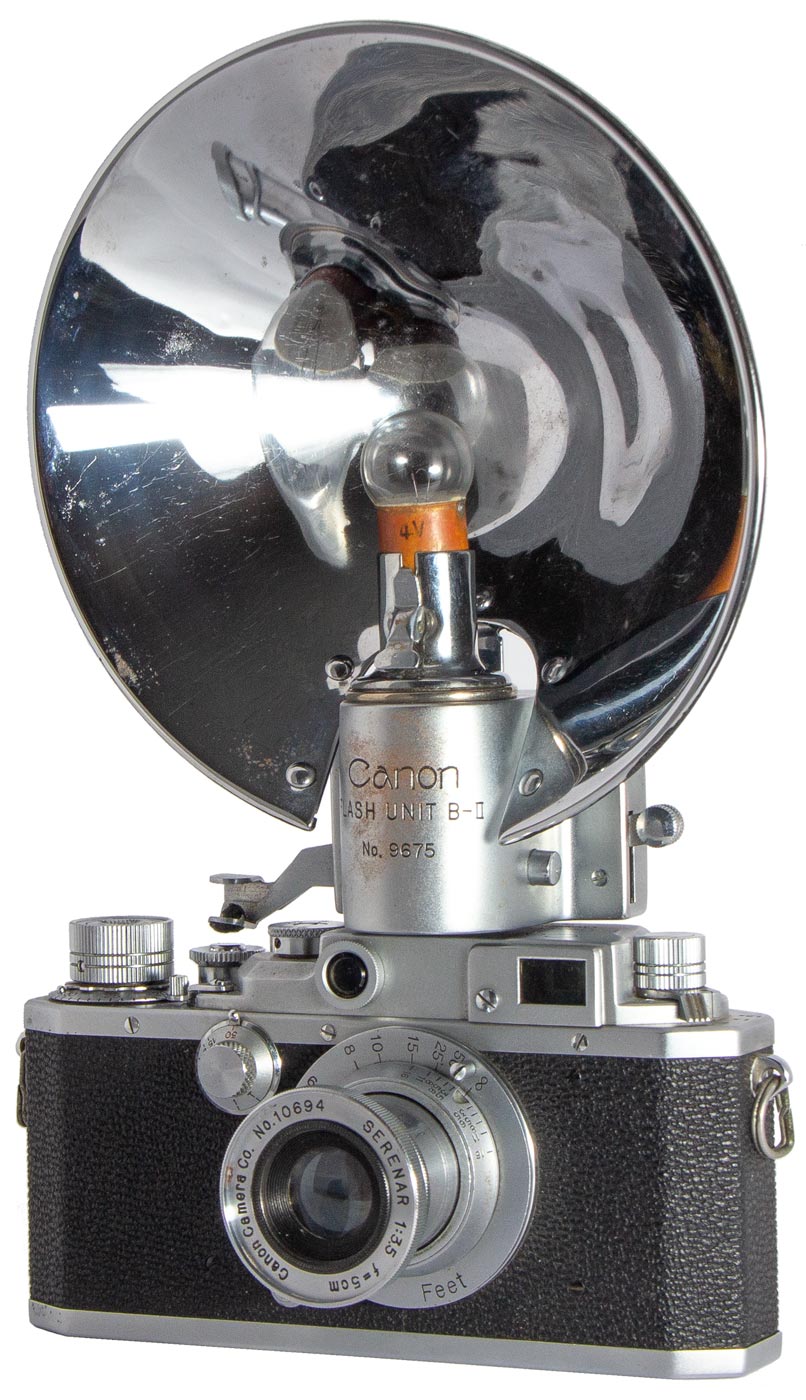
The main unit slips into the camera equipment shoe and it contains the mechanical shutter release and sync electrical contacts. On top of it is a socket for the flash bulbs. It can take the old style Edsion Screw Base (the common light bulb base of today) or with the adapter shown on the left it can take the Midget or Bayonet base that is more familiar.
The reflector slides into the main unit and can be adjusted up or down. In the kit is the battery holder which screws into the tripod socket and serves also as a handle. The main unit plugs into the battery case with the black connecting wire and plug as shown in the picture on the left. The battery case holds two “D” cells.
In the case is a battery case extension which screws into the bottom of the battery case allowing for the addition of a third “D” cell. This is used when multiple flash bulbs are to powered by the battery case at once, The extra power may be required to ignite all of the bulbs reliably.
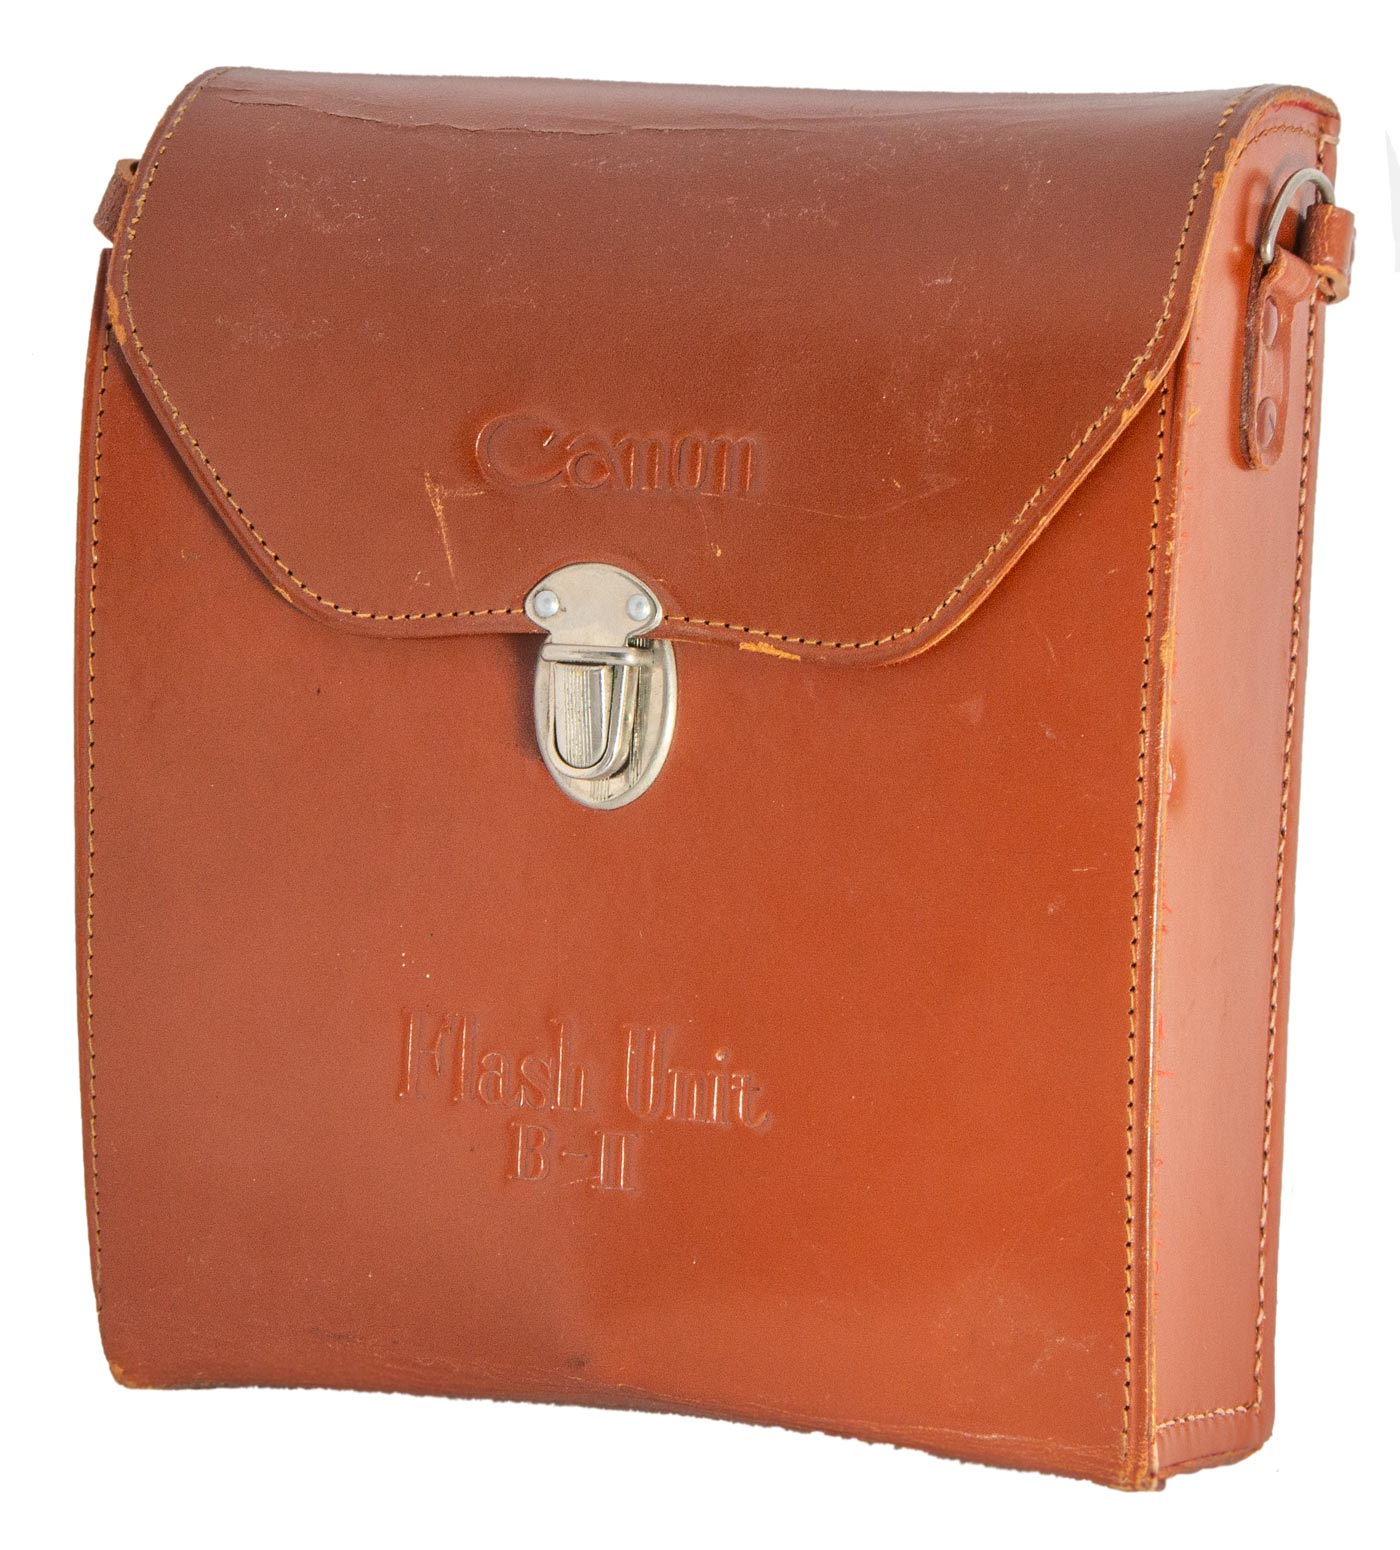
This all comes in a fitted velvet lined leather case.
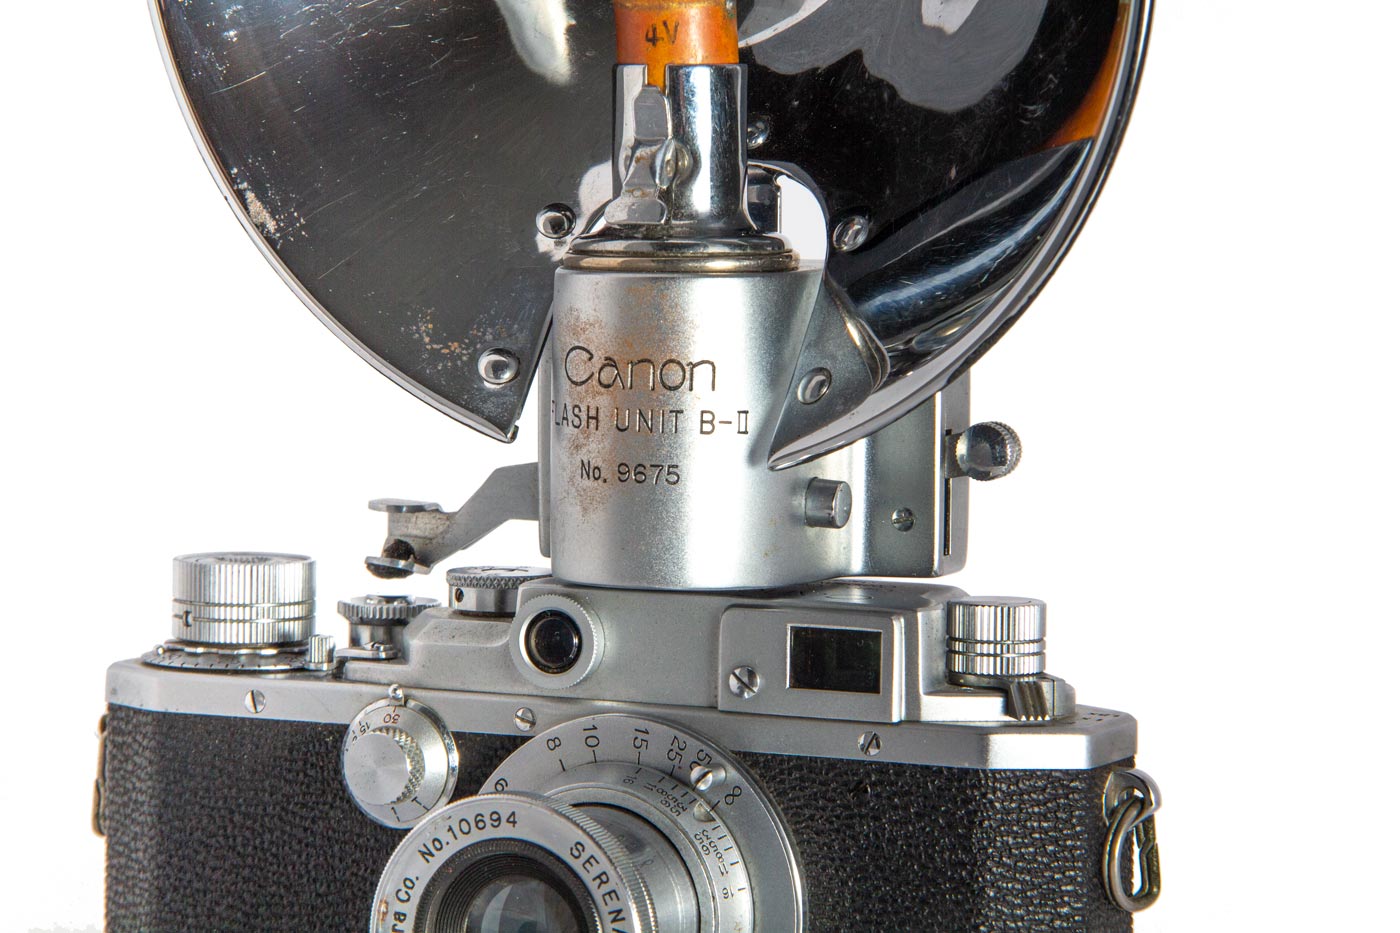
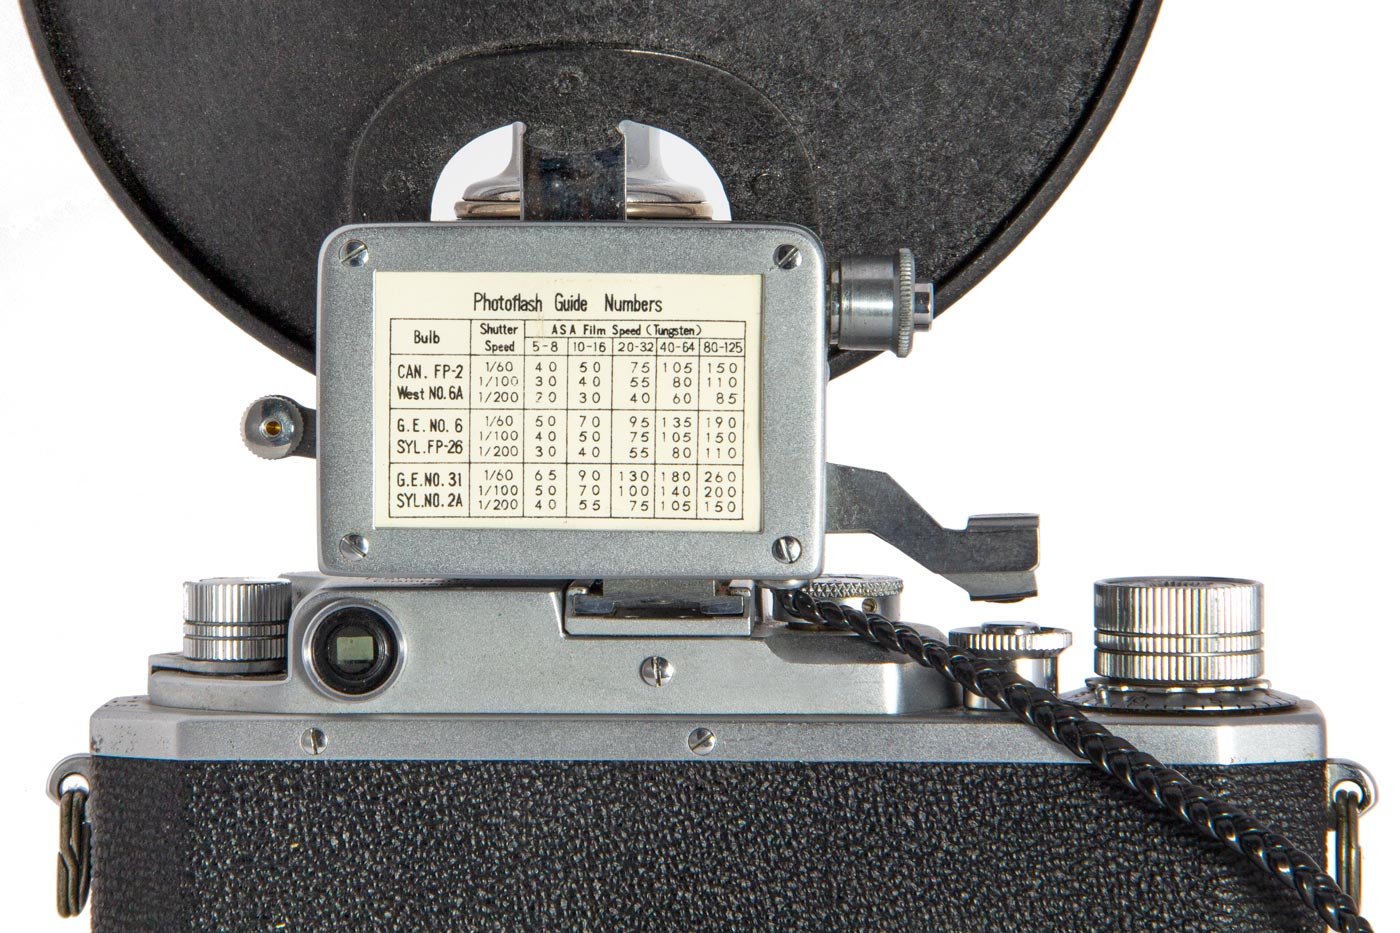
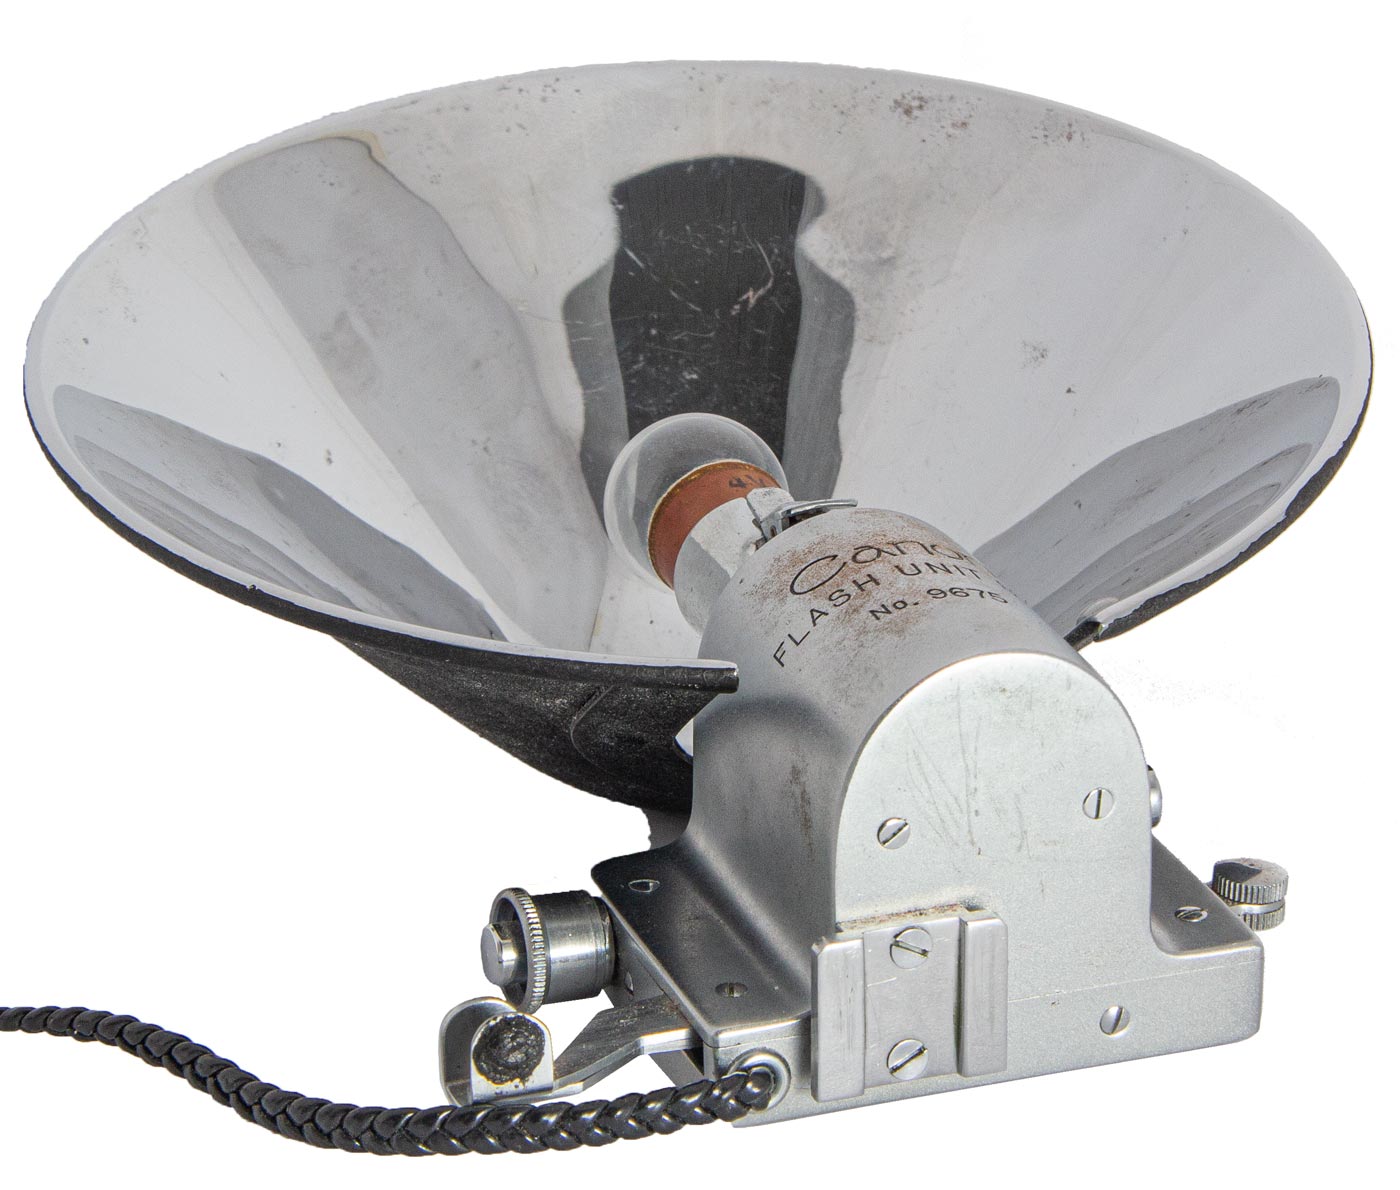
The Main Flash Unit sits in the equipment shoe. In this view the Midget Bulb adapter is in the socket loaded with the circuit tester light bulb.
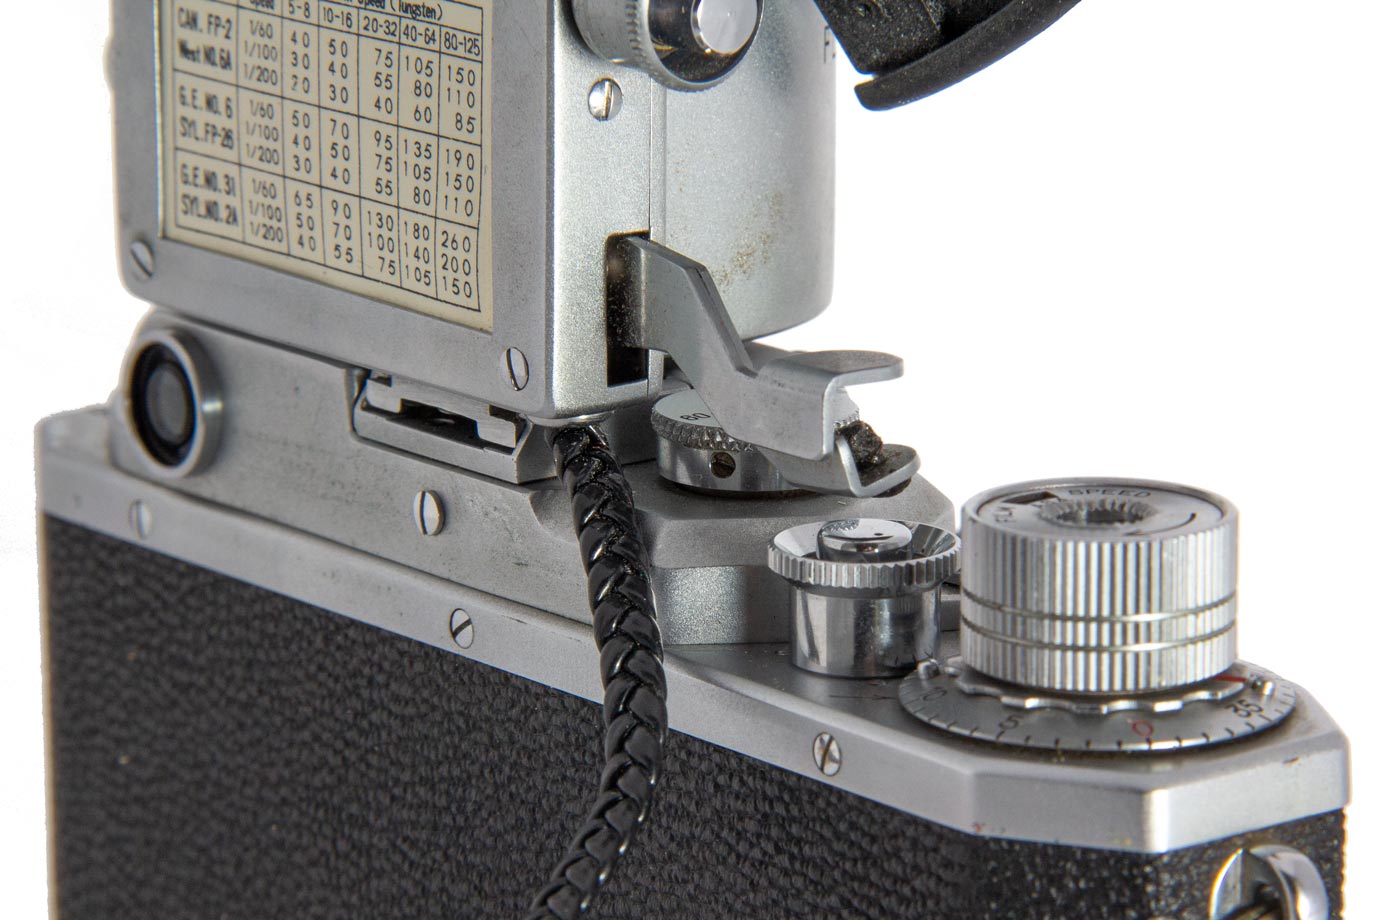
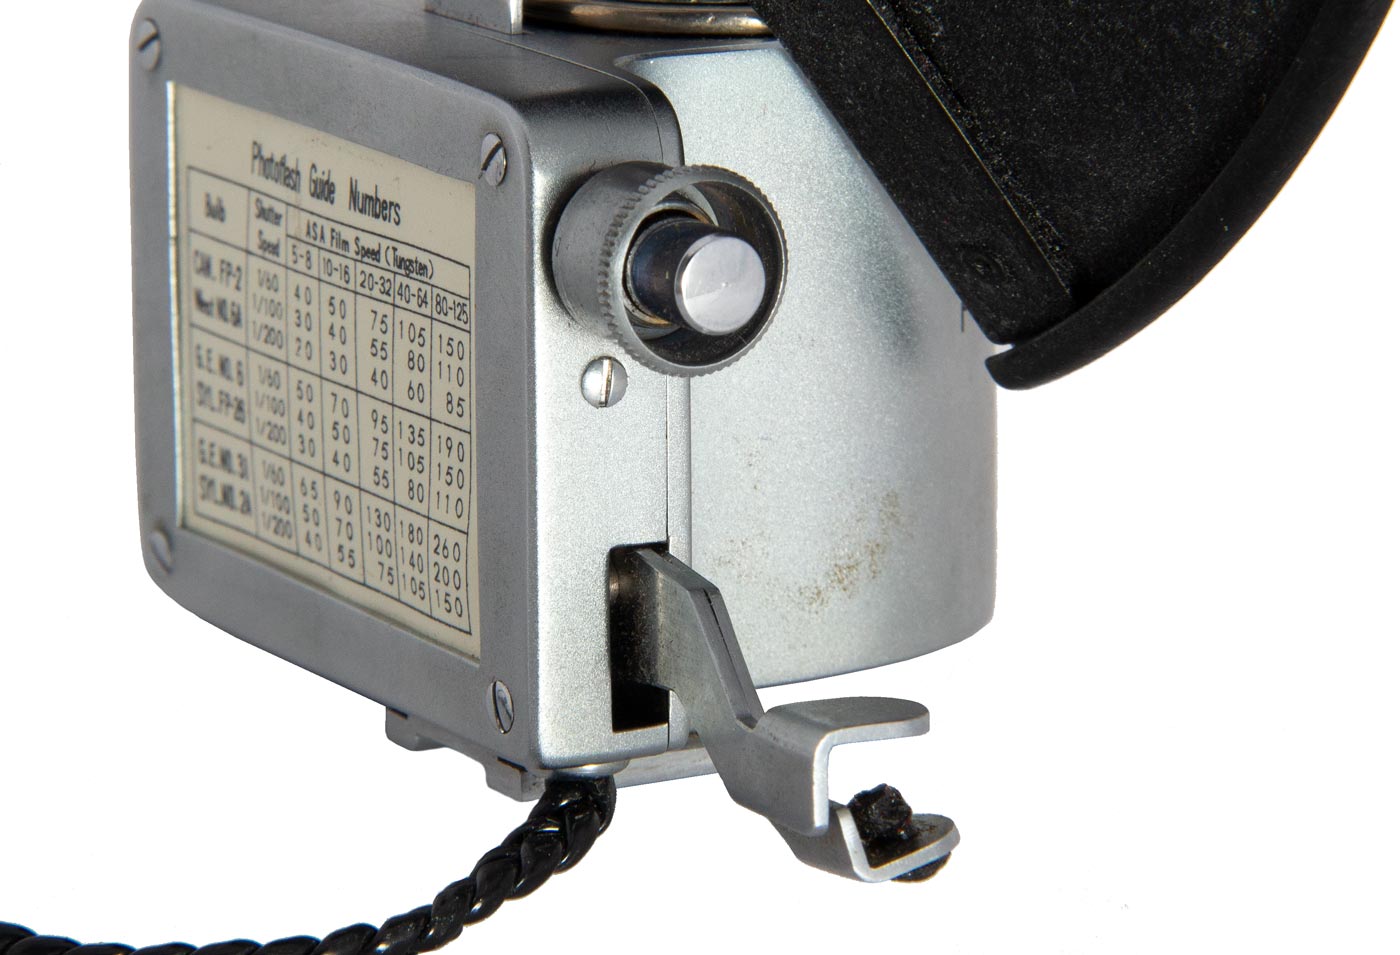
On the right side of the Main Unit (to the left side in the picture) can be seen lever that extends over the shutter button and hammers it to fire the camera. On the left side (right side in the picture) cane be seen the lever, round object, that cocks the mechanism.
The B-II differes from the B-1 in two respects. First is the addition of the flash bulb chart on the back of the Main Unit. The second the the firing buttion on the right side at the top. It will accept a Canon Self Timer.
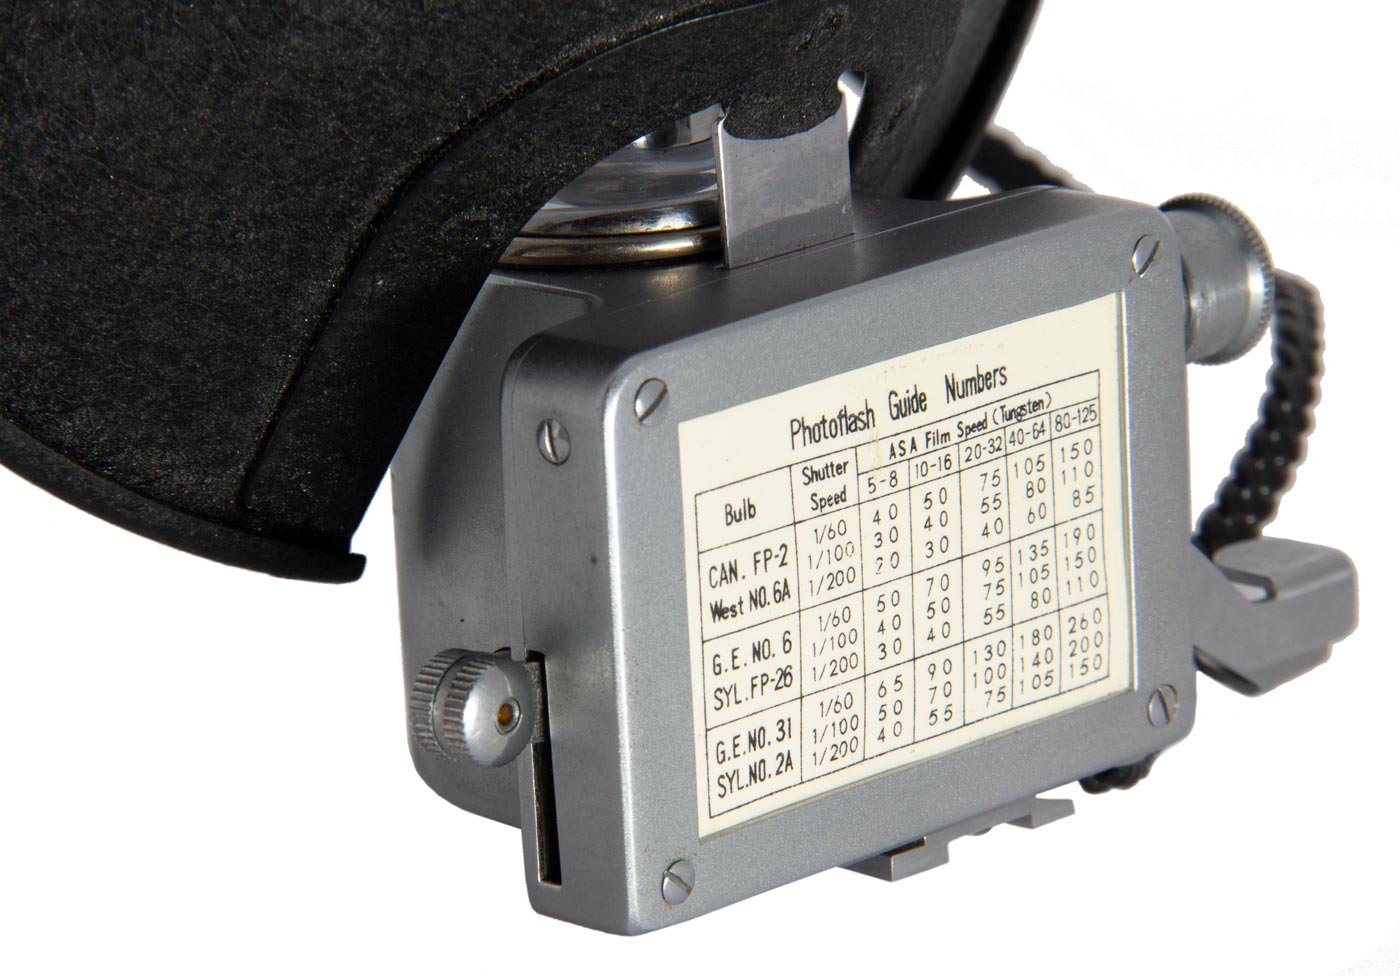
The Main Unit has no batteries. It must be attached to the battery case via the black braided cable which is permanently attached to the Unit. Not shown is the three pronged plug on the other end of the cable.
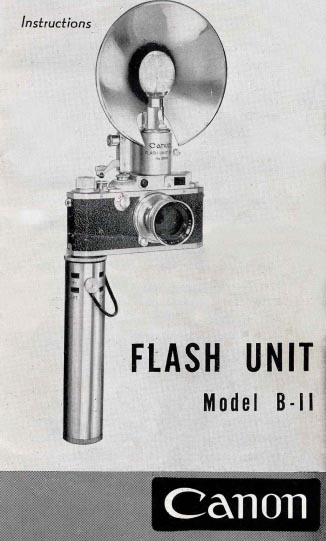
According to the User Manual the Model B-II is the same as the Model B-I with two simple additions: firstly a flash guide chart is added to the back of the main unit and secondly there is a firing button added to the right side of the unit above the firing levers. The collar can be removed from this button and a Canon Self Timer can be added so that the Flash Unit and camera can be fired remotely after an adjustable delay up to about ten seconds. Otherwise the two units are same.
The Instruction Manual and the chart on the back of the Main Unit recommend the use of FP type flash bulbs.
My copy of the Flash Unit B-II came to me with the battery case covered in a powdery rust. When I tried to clean it the nickel came off revealing the brass beneath. I had the case re-nickeled but it is now more shiny than the original brushed finish. You can see the difference in the image on the right.
The right end of the Main Unit has the secondary trigger button at the top. It is an identical button to the Model III and Model IV cameras and will accept a Canon self timer.
The bottom of the Main Unit has the foot that slides into the camera equipment shoe and nothing else. The attach point for the power cable to the Battery Pack is clearly visible.
This website is the work of R. Flynn Marr who is solely responsible for its contents which are subject to his claim of copyright. User Manuals, Brochures and Advertising Materials of Canon and other manufacturers available on this site are subject to the copyright claims and are the property of Canon and other manufacturers and they are offered here for personal use only.

