Canon AT-1 Camera

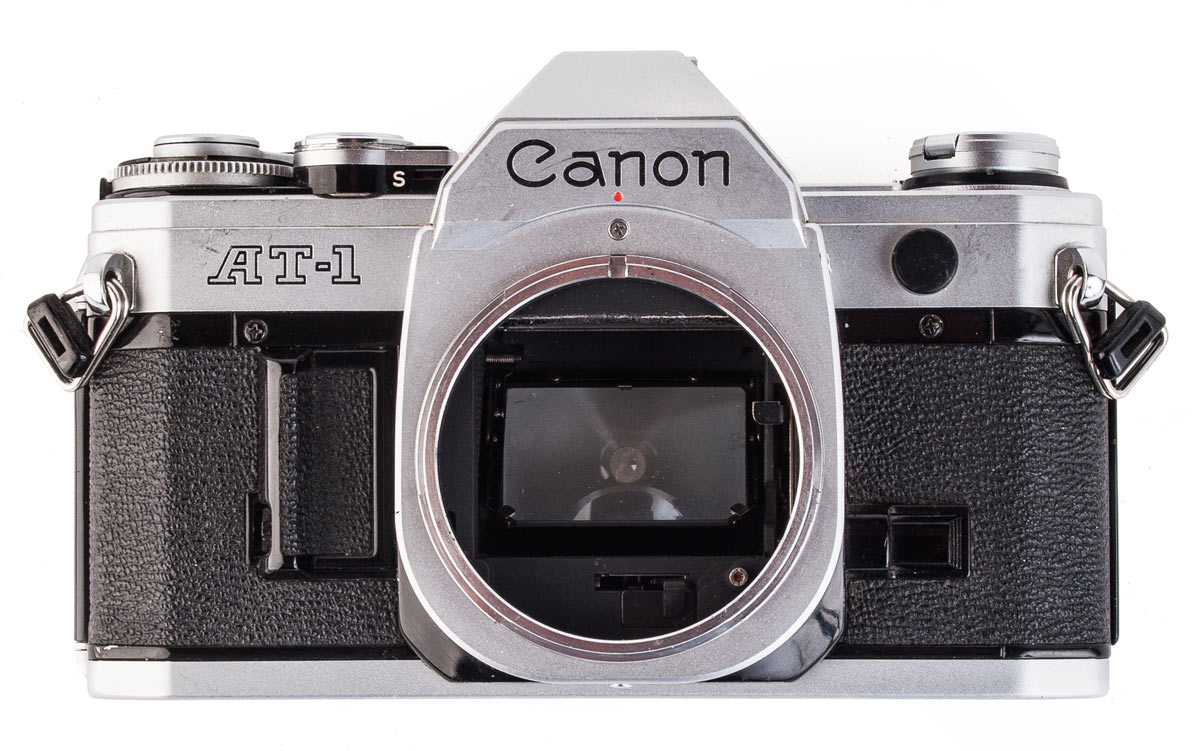
From this angle the AT-1 looks exactly like the AE-1. It should because they are the same camera with a few feature left off to reduce the price and make it more attractive to consumers.

Canon AT-1 Camera

The AT-1 accepts all of the accessories available for the AE-1 and it accepts the wide range of Canon lenses available.

Canon AT-1 Camera

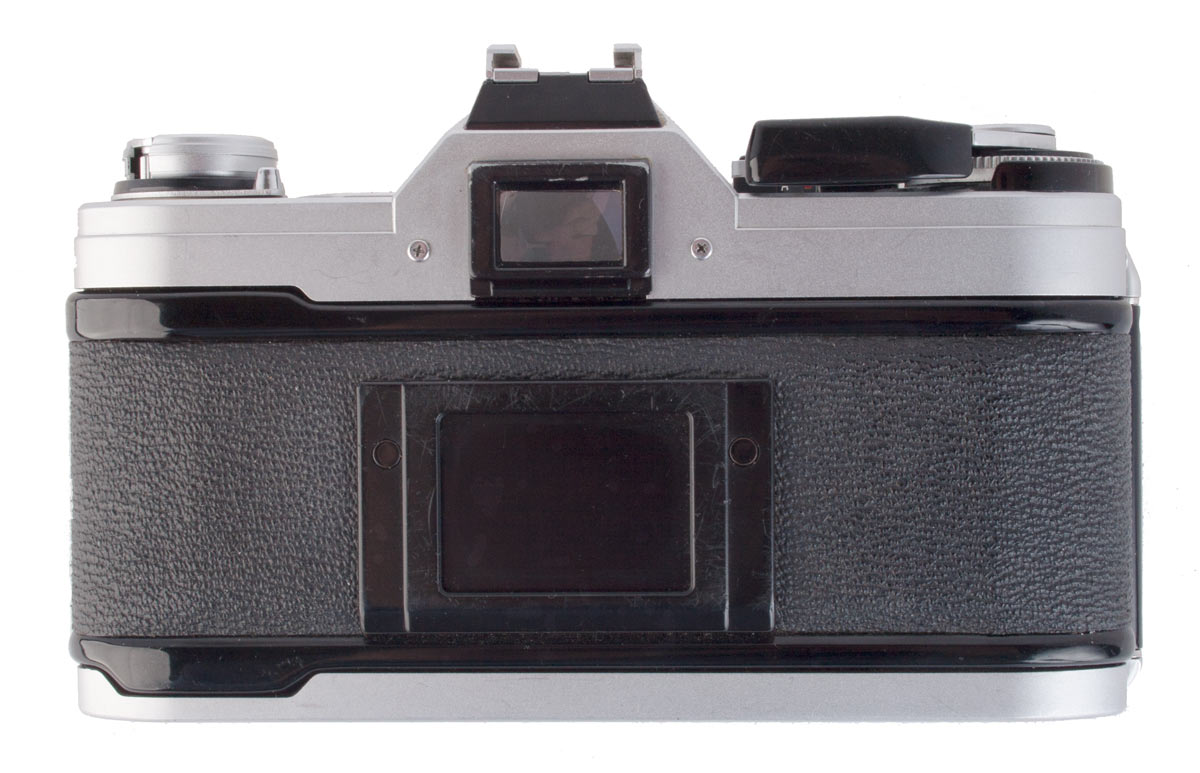
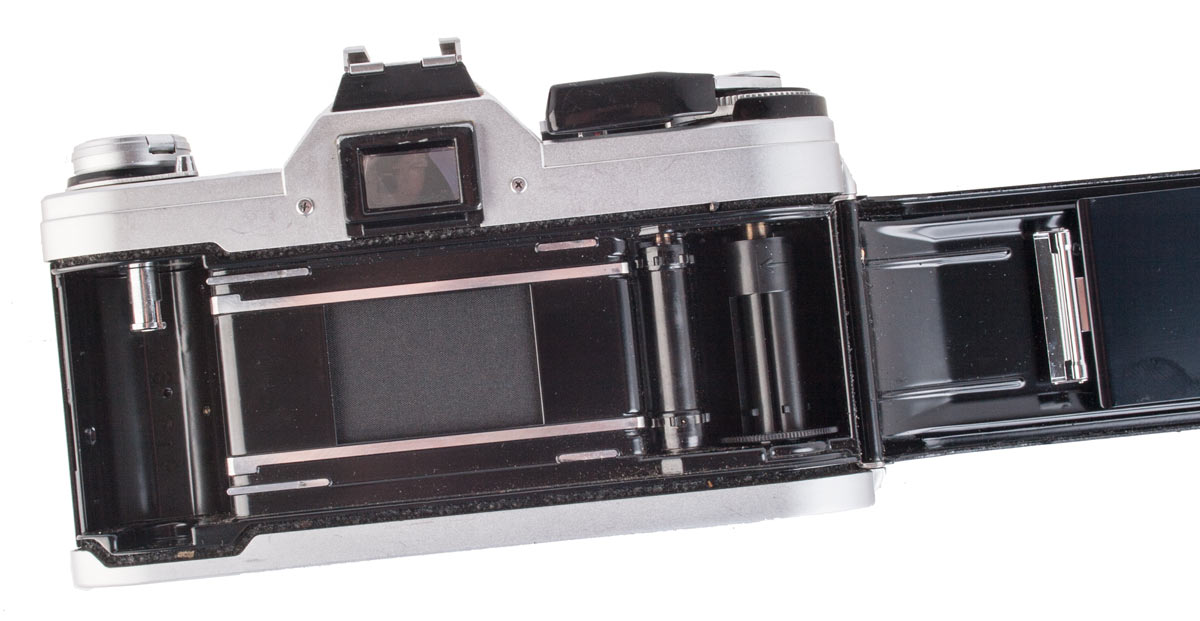
The back of the AT-1 is identical to the back of the AE-1 and, in fact, the camera backs are interchangeable.

Canon AT-1

The AE-1’s Little Brother

The Canon AE-1 was a huge marketing success when it was introduced in April of 1976 and that was partly because of the price: for the features in the camera the price was something that many people could afford. Although it was packaged as an “entry level” camera its performance was substantially more. However, there were still people who hesitated at the price and felt that the camera had features too advanced for their needs.

Not a company to leave purchasers on the table, Canon decided to release an even less expensive version of the AE-1 and in December of 1976 introduced the AT-1. The Japanese people love their cameras and it was felt that this pared down version of the AE-1 would not be accepted in Japan at any price and so the AT-1 was released only outside of Japan, mainly into the North American and European markets.

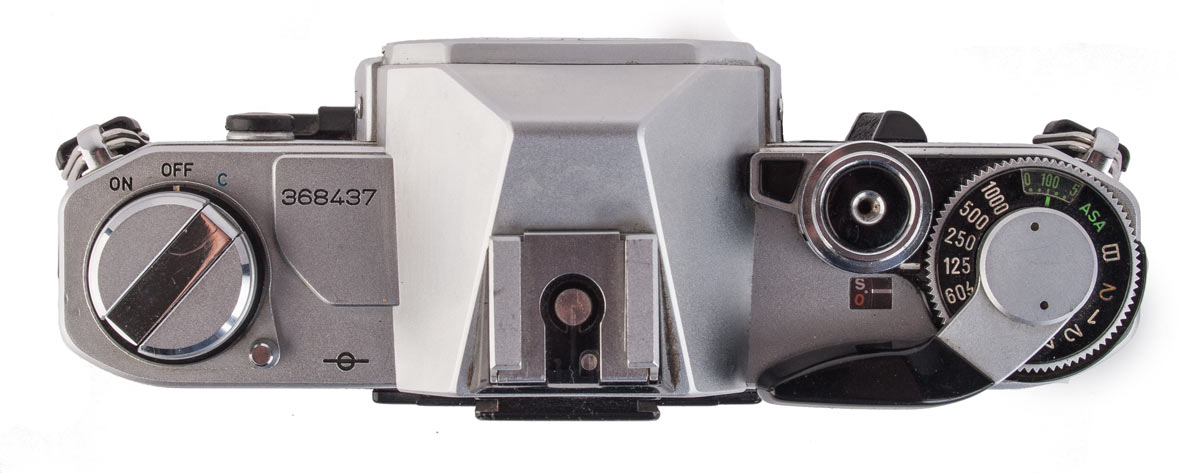
Side by side the AE-1 and AT-1 look almost identical. They are the same size and are obviously built on the same body frame. The bottom plate is identical, the  back is identical and in fact the backs are interchangeable, and the right side of the top deck is identical. The left side does show slight differences.

Before we start to analyse this camera you should go back and read the page about the AE-1. If I don’t mention some feature of the AT-1 camera then you can safely assume it is the same as on the AE-1.

The AT-1 Metering System

The main difference between the two cameras is that the AT-1 does not have automatic exposure but relies on “match needle” metering. In the viewfinder you 

have the Meter Needle which is driven by the metering system. Then you have the Aperture Needle which is controlled by the aperture setting and the shutter speed. When measuring the light level you line up your image and then manage the shutter and aperture so that the two needles are on top of one another.

Canon AT-1 Camera
Canon AT-1 Camera

The right side of the top deck is identical in appearance and function to the AE-1. The left side, however, is different. An On-Off Switch is added under the rewind crank and it has a “C” position which is the
battery check. In this position if the battery is good
the Meter Needle in the viewfinder will go to the 
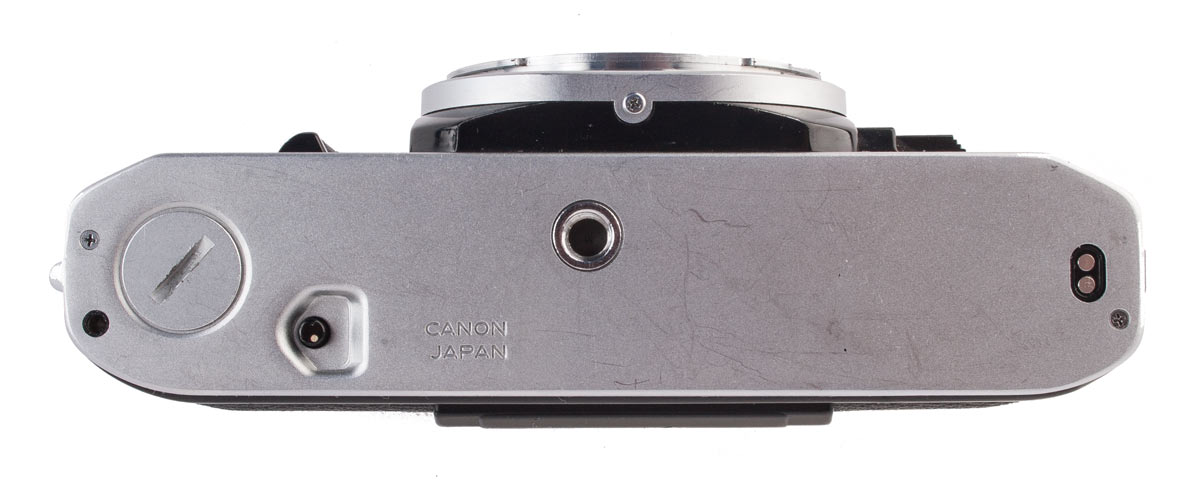
Battery Check Index Mark. The bottom of the
AT-1 is identical to the AE-1.

Canon AT-1 Camera

The interior of the AT-1 is the exact same layout as the AE-1.

The Newsletter

Yes, we have a Newsetter that we send out every …. whenever we have something to say. We won’t try to sell you stuff, we won’t give your e-mail to anyone else, and we won’t clutter your mailbox. The best part is that you can cancel at any time.

Open Button
Open Button
Open Button
Canon At-1 Camera
Open Button

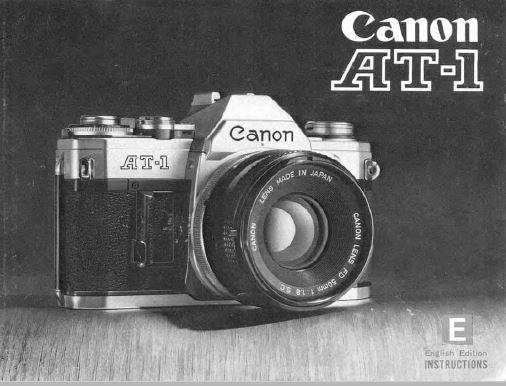
This is a promotional brochure for the AT-1 which contains good information about the camera.

Open Button
Open Button

Note that on this camera an FD or FDn lens cannot be mounted if it is in Automatic Mode (i.e. set to the green “o” or the “A” on the Aperture Ring). Once the lens is mounted in Manual Mode the lens cannot then be set to Automatic Mode. Exposure metering on this camera is not automatic.

It is possible to set the shutter speed so that the aperture alone cannot match the needles and the shutter speed must be changed. If there is too much light the Meter Needle will go to the Over Exposure Index Mark or higher. If there is too little light the meter needle will go to the Under Exposure Warning Index Mark or lower.

The metering system relies on a CdS meter element which does not have the same range and sensitivity of the SPC Sensor in the AE-1 but I assume it is a cheaper option to install. Metering was over the whole of the image with what Canon referred to as Center Weighted Averaging which meant that the center of the image was given more weight than the edges.

The shutter button is identical to the one on the AE-1 and it has the lock and the self-timer that operate in the same way. Shutter speed range is the same as well, B, 2 and 1 seconds and the ½ to 1/1000th of a second.

Camera Features Generally

On the left side of the lens mount the Stop Down Lever is still there as on the AE-1 allowing for the use of R and FL lenses so long as you use Stop Down Metering. However, on the AT-1 we have lost the Backlight Control Switch and the Exposure Preview Switch neither of which you will miss, I promise you!

In the center of the viewfinder is a microprism circle with a split image in the middle. The outer parts of the screen is a fine matte surface for focusing but that area was much harder to use accurately. The focusing screens are not user interchangeable. They were not on the AE-1 either.

Film speeds that could be set on the ring under the shutter speed dial  were ASA 25 to 3200. The standard lens that came on this camera was the FD 50mm f/1.8 S.C. which was one of Canon’s least expensive lenses.

The battery compartment was the same as that on the AE-1 and the camera took the same battery, the 6 volt 4LR44.

The AT-1 meter is not activated by the shutter button. It has an On-Off switch under the rewind crank on the top deck. The same switch also has a battery check position. By setting the switch there the Meter Needle should jump to the top of the scale in the viewfinder and point to the Battery Check Index Mark.

Flash Photography with the AT-1

The AT-1 has a hot shoe like the AE-1 but if you look you will see that one of the small circular contacts is missing. Remember that this camera will not stop the lens down automatically. It still uses the 155A and 199A Speedlites but the lens aperture on the lens must be set by hand. Otherwise these two flashes work the same way: the sensor on the front of the Speedlite will shut off the flash tube when the scene has received sufficient exposure. It is almost as easy as with the AE-1. This is explained in the AT-1 Instruction Manual and in the Instructions for the Speedlites.

Shooting with the AT-1

There is nothing surprising about loading the film into this camera. Remember that it is an “A” Series camera and as such will not fire without a battery. To check the battery one simply moves the switch under the Rewind Knob to the “C” position which is the battery check. When held there the meter needle should move to the top of the scale in the viewfinder and point to the Battery Check Index Mark. The switch should spring back to the Off position when it is released.

My copy does not spring back and I am sure others don’t as well. Probably dried grease under the top deck which I shall get to one day. Be careful of this because current is flowing as long as the battery check is in the “C” position and this will drain the battery pretty quickly. Make sure it is moved back to the Off position after the battery check.

Using this camera is exactly like using the AE-1 except for having to match the needles and set the aperture by

The Viewfinder Screen is not as informative as the one on the AE-1. The Screen itself is the same but the left edge has the two needles which have to be aligned for correct exposure and there is no f/stop information.

Open Button

If you want to learn more about the operation of the camera, or if you are going to be using an AT-1, read the Instructions. Yes, real men do read the manual!

Canon AT-1 Dealers Notes
Open Button

Canon provided their vendors with printed descriptions of their products to make sure they had the information needed to sell them. The Dealers’ Notes contain the basic facts and information about the AT-1.

Canon Speedlite 155A Instructions
Open Button

To use the Speedlite 155A or 199A with the AT-1 you should read both the Instructions for the Speedlite and the AT-1 Instruction Manual.

hand. Except for that, these cameras operate the same. With the AE-1 you can take picture after picture and never worry about the aperture. On this camera, your experience is much more hands on.

If you want to use the camera in a fully manual manner you can ignore the internal light meter and simply set the aperture and shutter manually according to your hand held light meter. Or you can use the internal meter by matching the needles. You quickly become used to this and once you have taken a light reading or two you won’t bother with that much unless the light levels change which they usually don’t do at a family picnic or photographing a football game and the like.

It is important to realize that the AT-1 uses all of the same accessories as the AE-1 so the Data Back A, the Power Winder A and the Speedlites 155A and 199A all work with it as do all of the other Canon accessories we looked at in some detail when talking about the AE-1. The AT-1, although Canon’s lowest priced SLR at the time, is still an amazingly full featured camera. Being able to use Canon’s line up of excellent optics means that this camera is capable of really fine photography.

It is surprising, then, that the At-1 has been ignored by collectors and film shooters and they can be found in working condition for very little money. Internet resources suggest that about half a million were produced so they are not hard to find on the used market.

If you like the AE-1 then you will like this camera. It is a great “shooter” and I recommend it to you, especially if you are looking for a hands-on manual film experience. It is a good solid camera.

Canon LogoThis page is not a review of this Canon equipment but rather a record of an item in my collection. I have no connection with Canon and receive no remuneration nor benefit for this listing. It is for my own use and possibly your enjoyment!.