The Canon Booster shown mounted on an FT
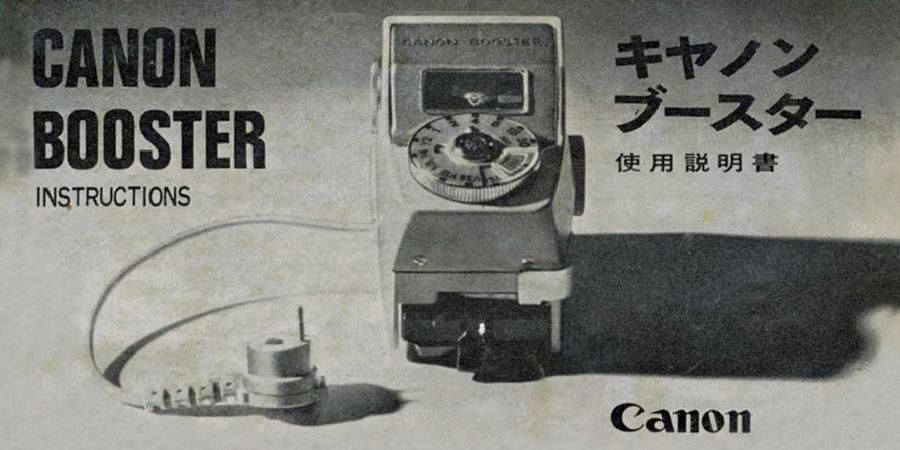
The Canon Booster
Seeing in the Dark
Cadmium Sulfide (CdS) is a substance that offers resistance to electricity. However, this resistance is affected by the amount of light falling on it. It is called a “photoresistor”: the more light, the lower the resistance. Because of this trait, in the 1960’s, it began to appear as the sensitive element in light meters.
CdS offered several advantages over the then technology of using selenium cells. First and foremost it was more sensitive and could read lower levels of light.
Also, selenium needed a certain amount of area to gather enough light to create
sufficient current and so selenium sensors were large. CdS could be made very small and so accurately detect light levels in a small part of a scene. As a result, CdS meters could be placed inside cameras to measure light through the lens.
On the down side, unlike selenium, CdS cells required a power source, a battery, to push current through the sensor so that the resistance could be measured.

Left side of the Booster showing the two battery compartments and the Booster plug inserted into the camera battery compartment.

From the back the eye piece cover is very obvious in the down position over the eye piece. At the top can be seen the meter for measuring the amplified current flowing through the CdS cell.

The top of the mounted Booster showing the settings dial and the readout window. The eye piece cover is down over the eye piece.
When the “F” series came out, starting with the Canon FT, they had CdS meters. As a result they required batteries and thus began the reign of the mercury cell. It was important that the voltage of the battery did not change over its lifetime as this would affect the light reading. In this regard, the mercury cell was perfect.
But there was a problem. The limited space in the cameras and the limited technology at the time meant that the exposure range went from bright sunlight down to …. what ….. a room illuminated by tungsten light? But what about really low light levels? The cameras of the day simply could not reach that range of light values. The problem was not the CdS cell. It was providing the
We have a Newsletter
There is a Newsletter for thecanoncollector.com to keep you up to date on what we are posting. Try it!
information. The problem was a lack of circuitry to analyse the very small changes in resistance from very low light levels.
And so, enter the Canon Booster. This was an amplifier and readout device that could take the camera’s internal CdS meter reading and amplify the signals and display them for really low light levels.

The Top and Back of the Booster. The plastic eyepiece cover is visible at the bottom (held on with double sided tape!)

Left side of the Booster showing the Plug stored in its normal position in the top battery compartment. The lower compartment held two mercury cells and powered the unit. The eye piece cover is the black object at the right end.
The Booster came out in two models: the first was for the FT QL and the PELLIX QL. It can be distinguished by a small silver panel on the right side opposite the shutter speed dial. First model only had “F” and “P” on it. When the second model came out allowing for use on the FTb the letters “Fb” were added to the silver patch. On the left were two battery compartments and a plug which was stored in the upper compartment when not in use.
The Booster mounted in the camera hotshoe, which it did not connect to, and the plug was inserted into the battery compartment on the camera. It was powered by 2 mercury cells and a third cell was used to illuminate the readout. Remember, this device was meant to be used in the dark. Light on the readout is good!
Stray light entering through the eyepiece could be a problem. On the Pellix the eye piece could be shut. For the FT and FTb there was a plastic eyepiece cover on the Booster which could fold down down and over the eye peice. Unfortunately this was a very delecate device and not well attahced to the Booster. Frequently Boosters are found without this plastic cover, or with it but detached. Mine has separated from the Booster.
I have yet to use my Canon Booster, which is pictured here. But I will one of these days.

The silver panel I mention in the text is visible here. The two letters, “F” and “P”, mark this as a first model of the Booster. The second model allowed for the Booster’s use on the FTb as well.

The Booster stored in its Leather Case. It seems that this device was not too popular because it only ever fitted the three cameras and after the FTb it was discontinued.
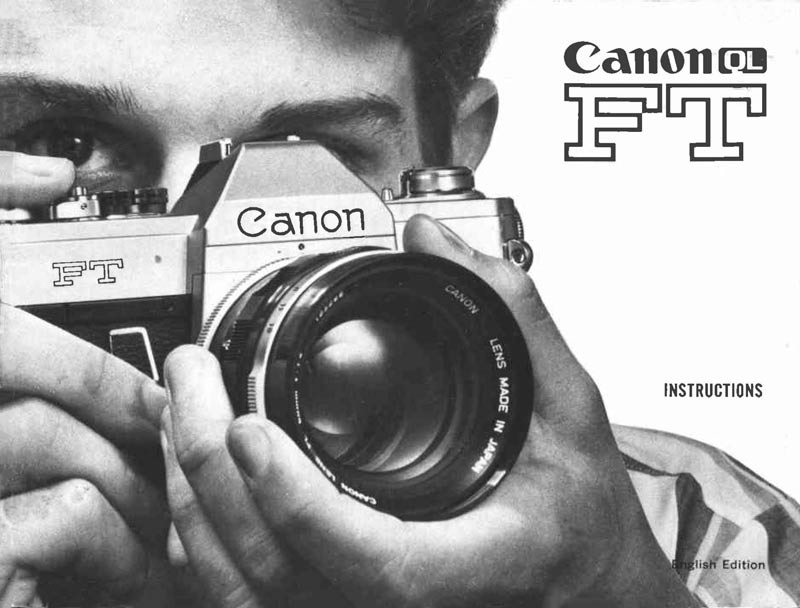
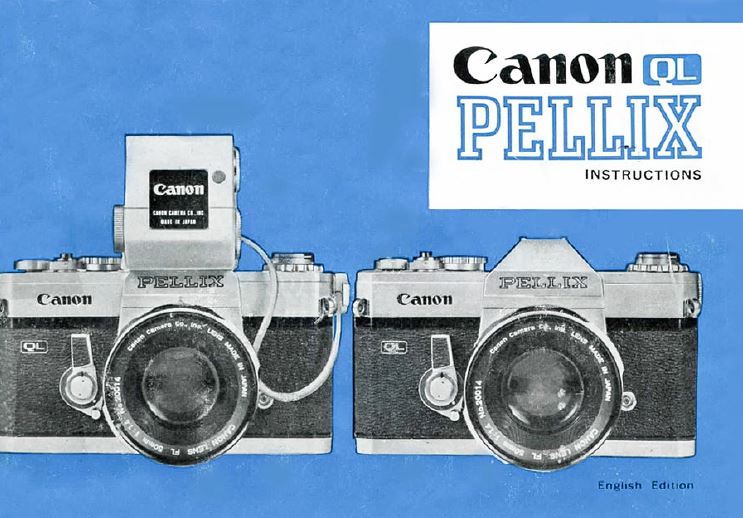
The use of the Booster is described in its Instruction Manual which you can read below. The FT Manual also describes how to use the Booster as does the Pellix Manual which actually has the Booster on the front cover. The FTb manual also gives instructions on how to use the Booster.