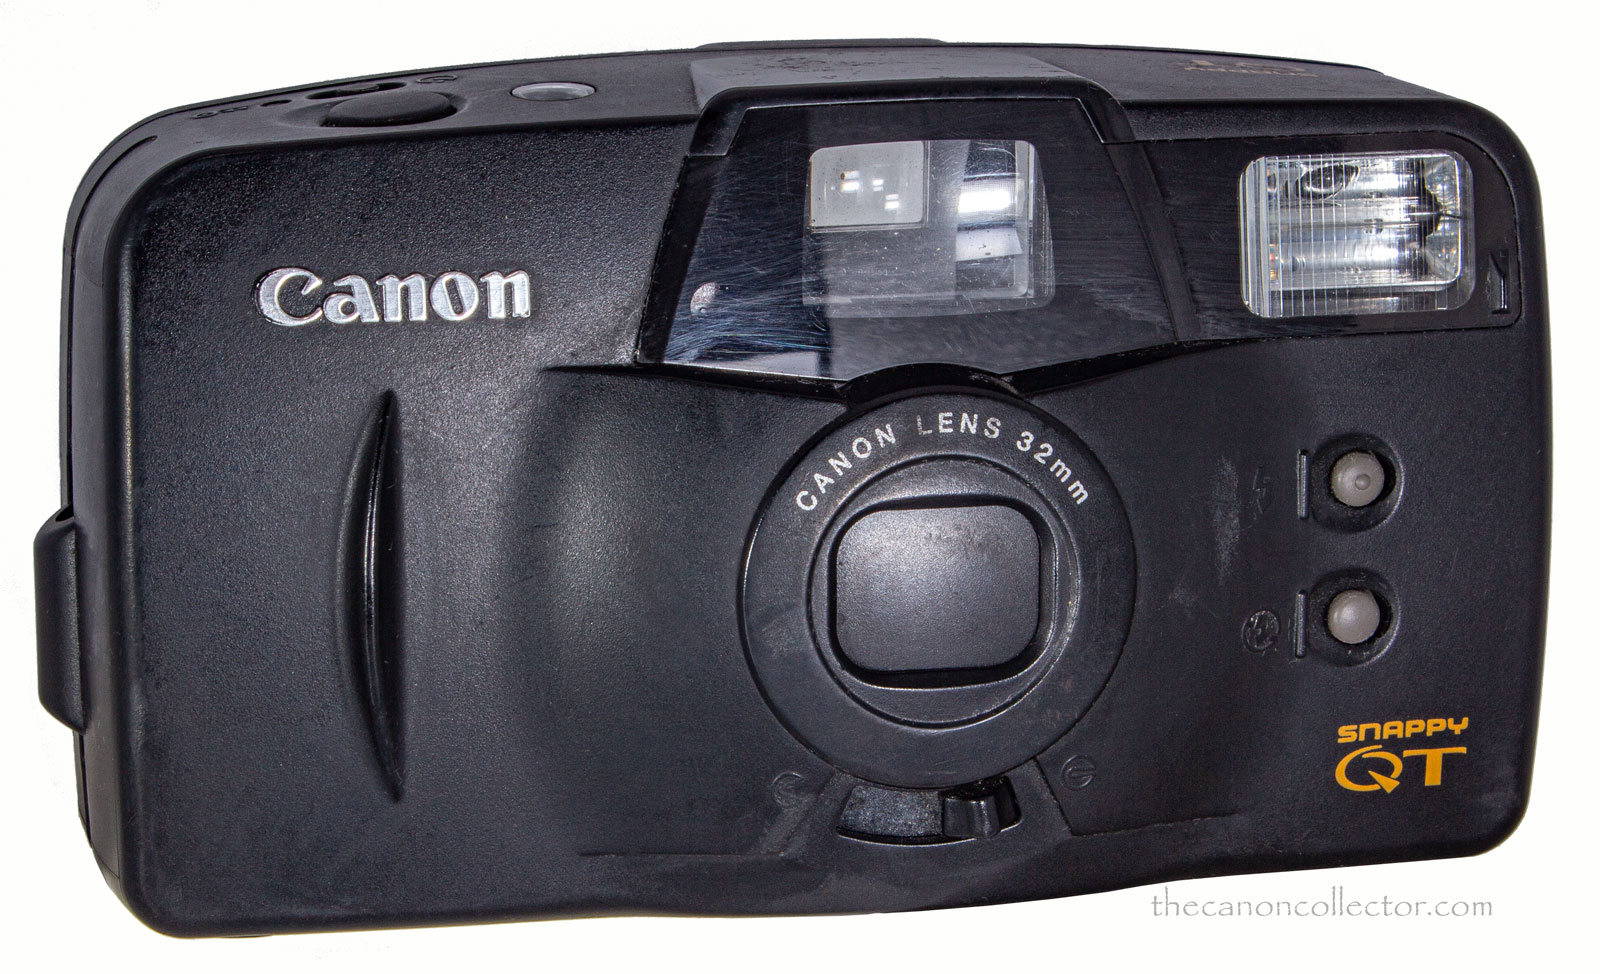
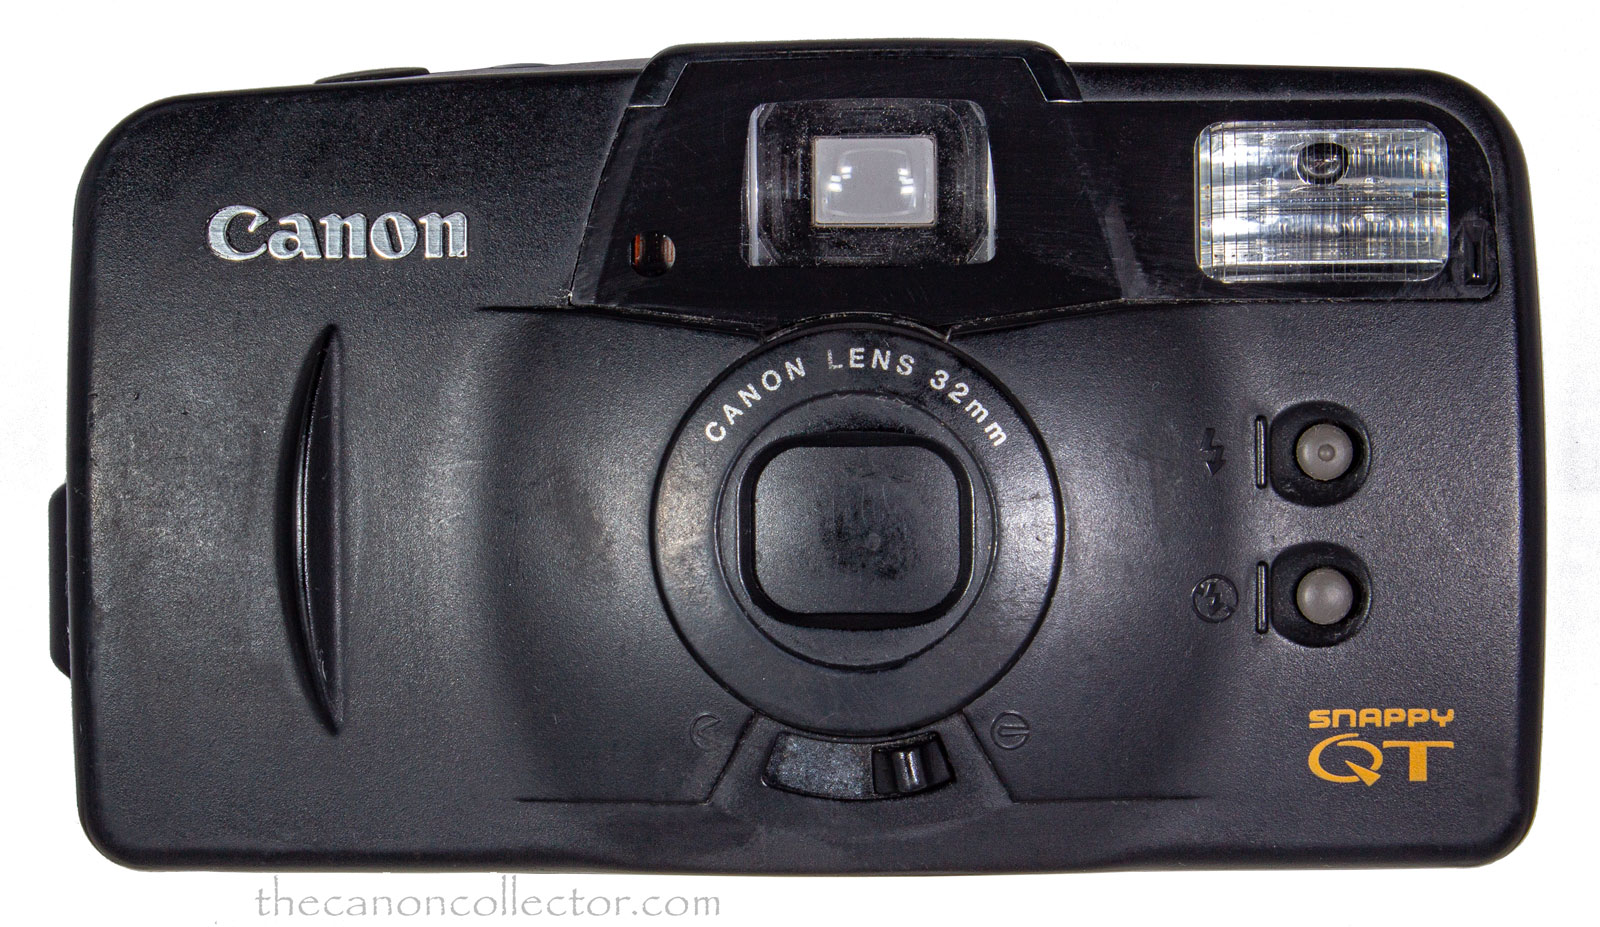
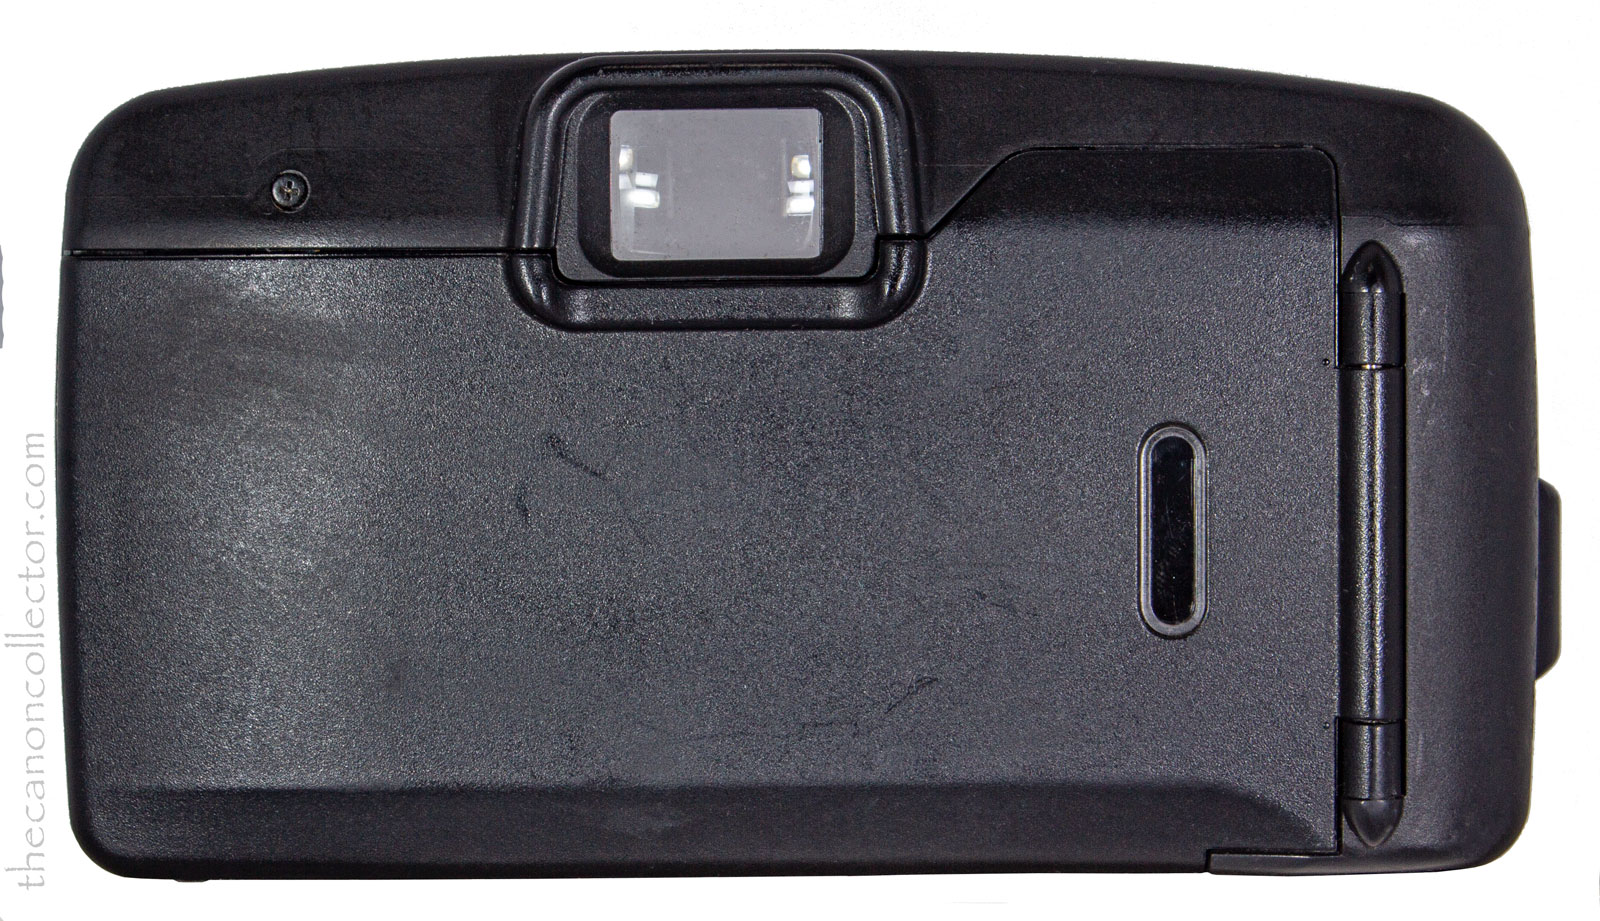
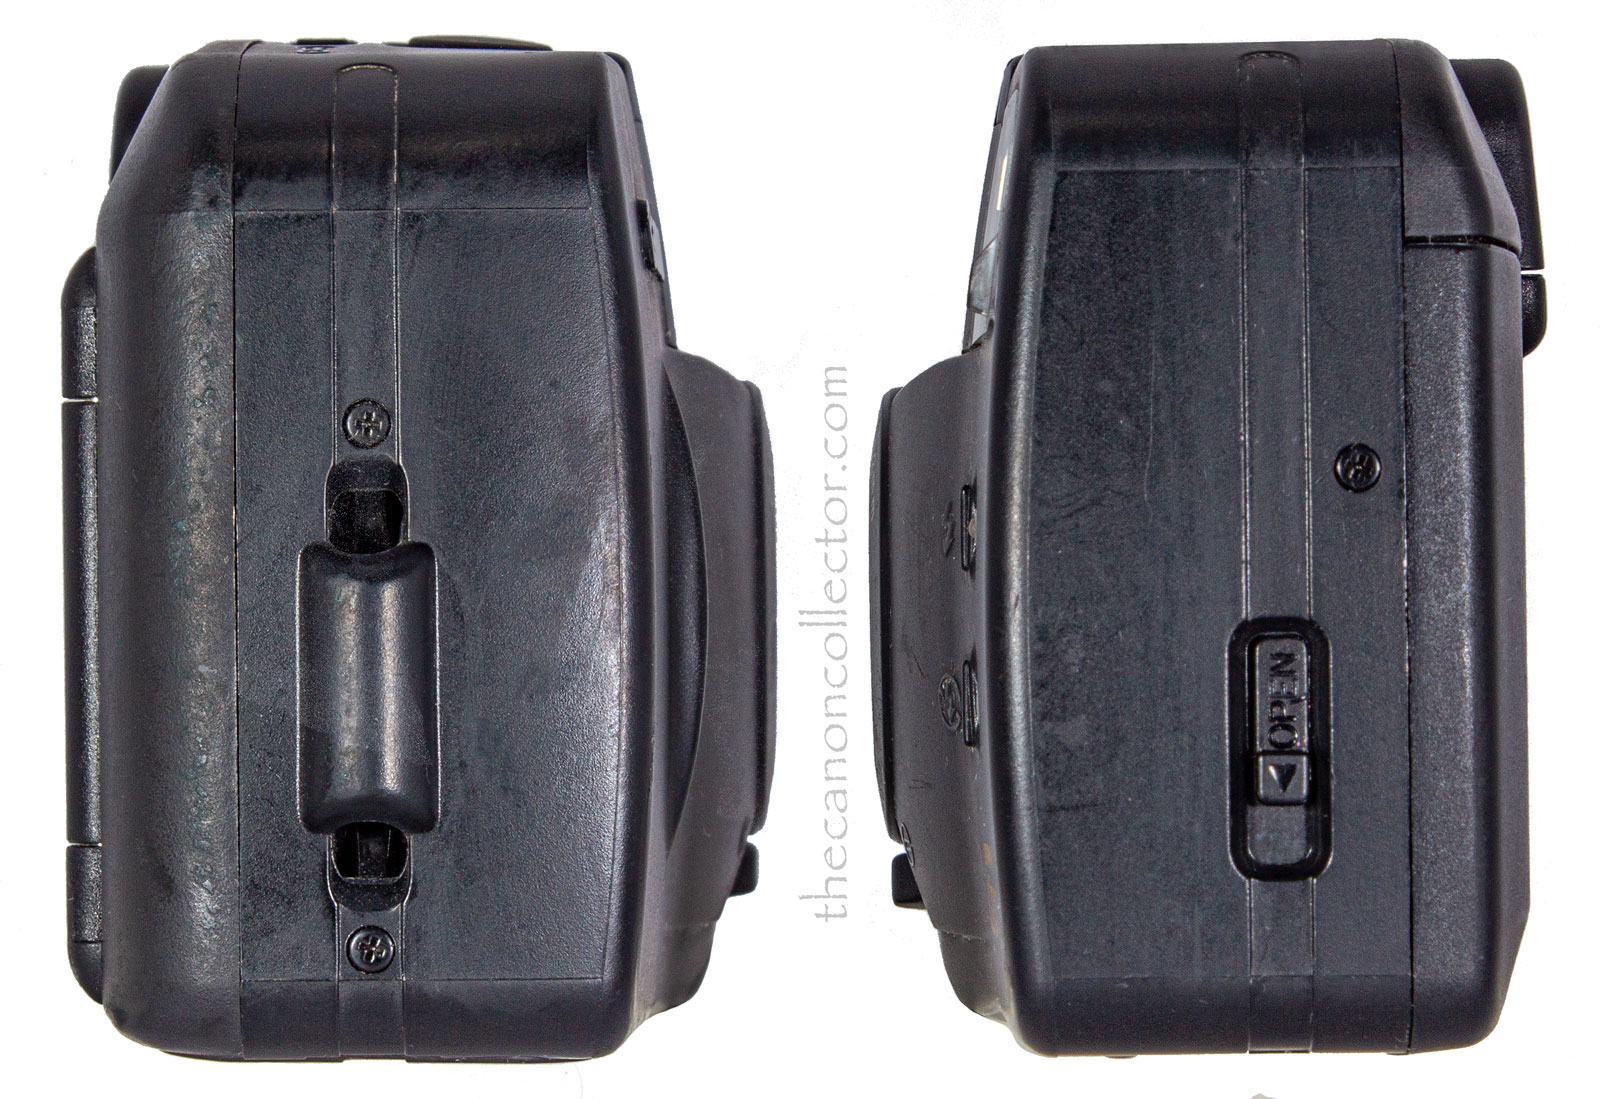
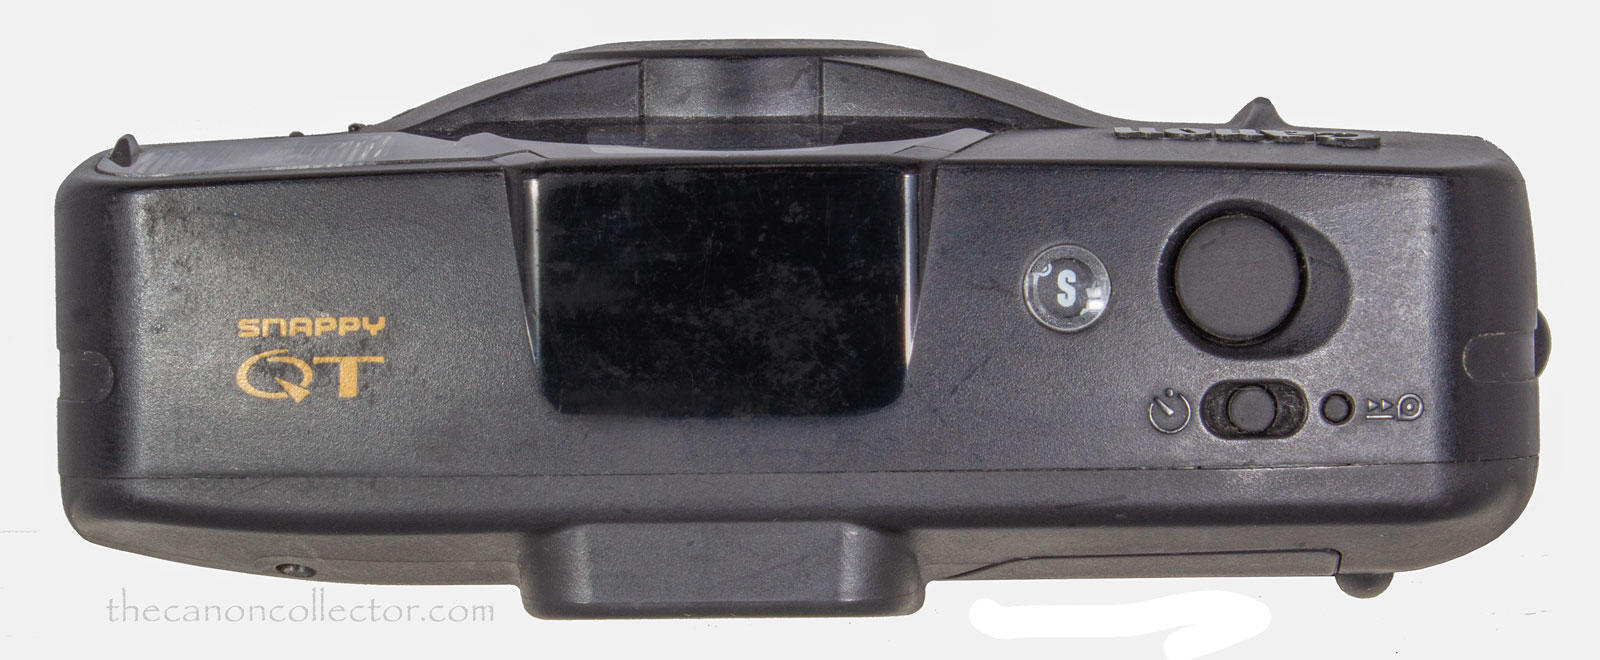
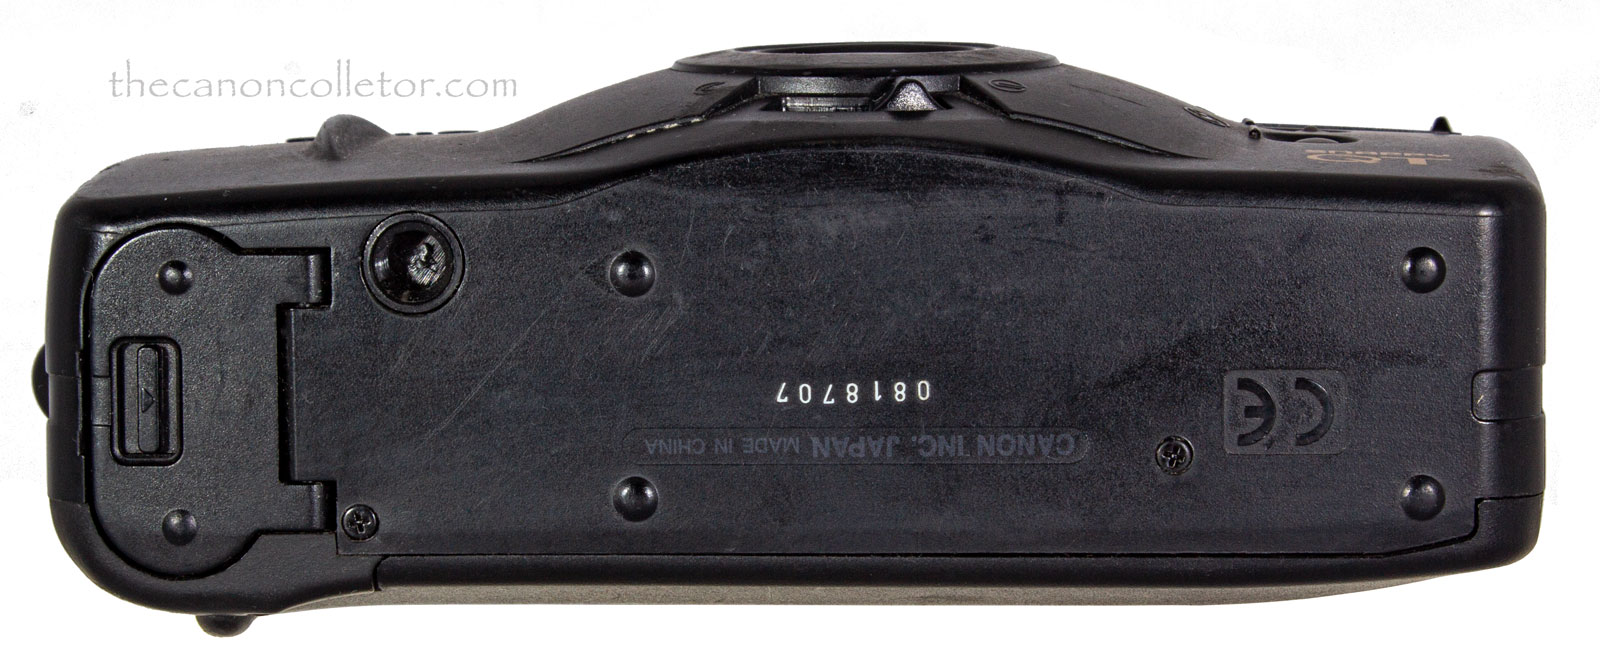
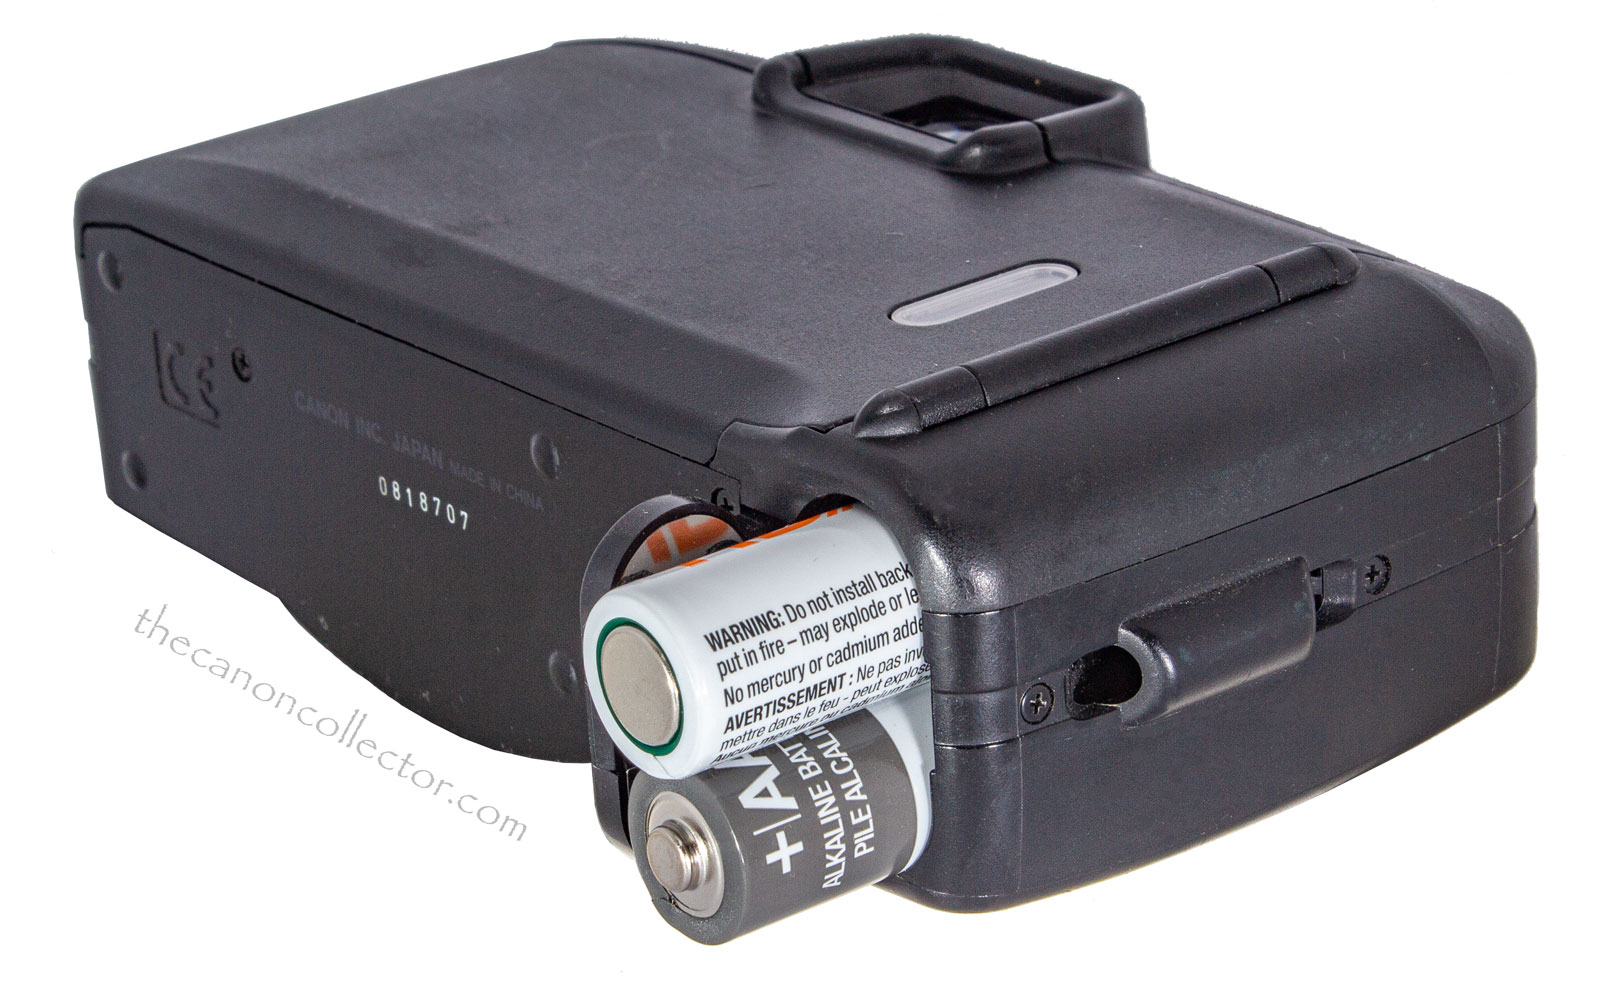
This is my Snappy QT (Ser. No. 0818707) from 1997. The on-off switch is also the lens cover open-close switch located in the center at the bottom.
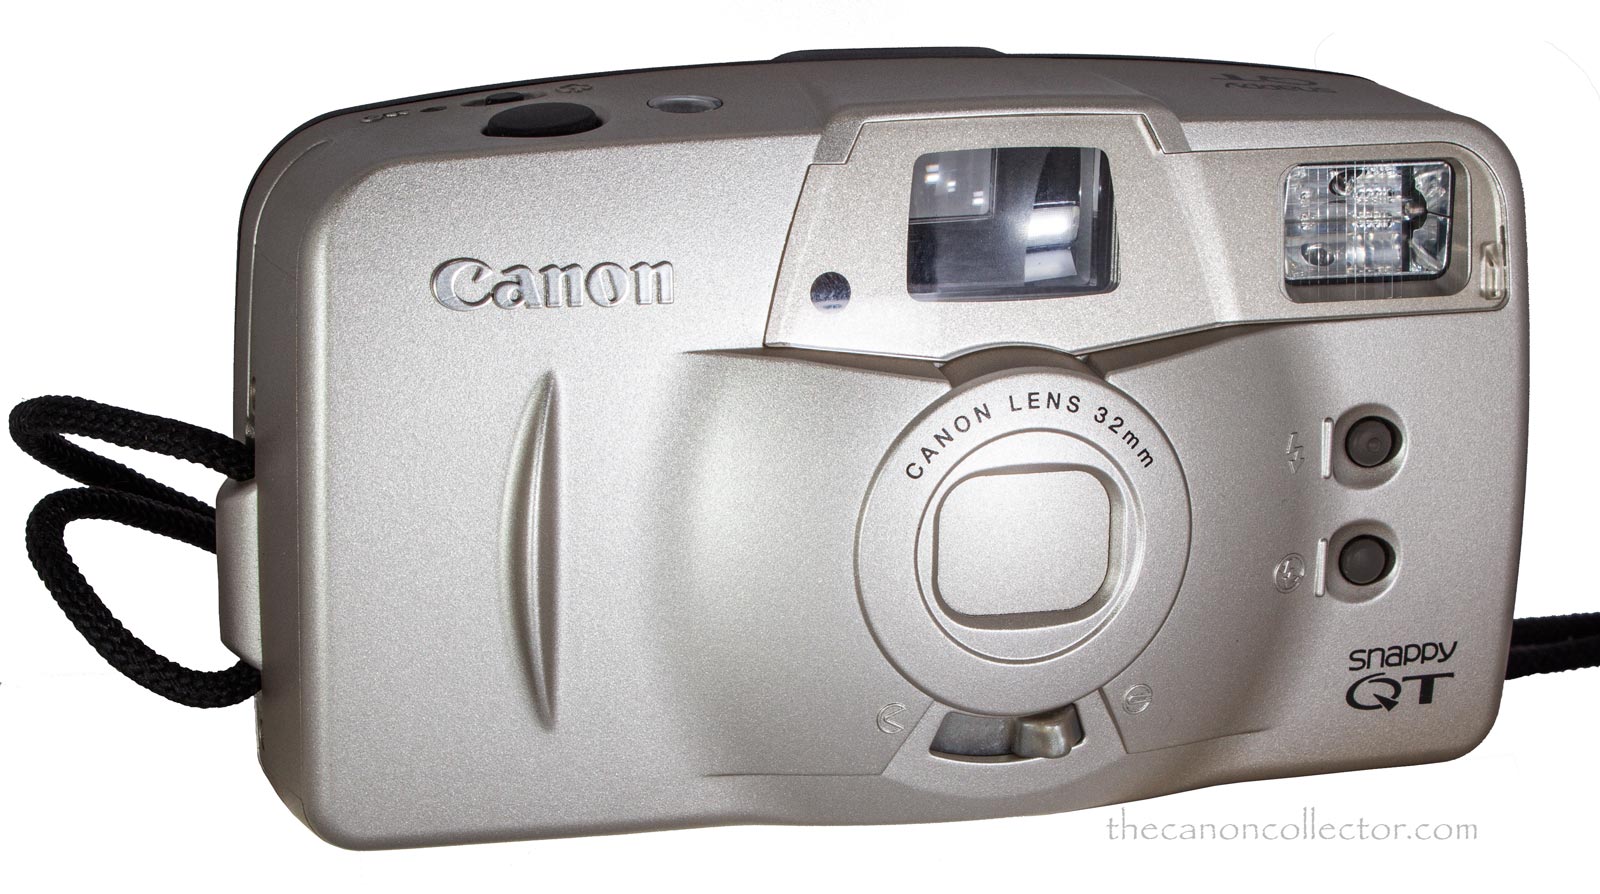
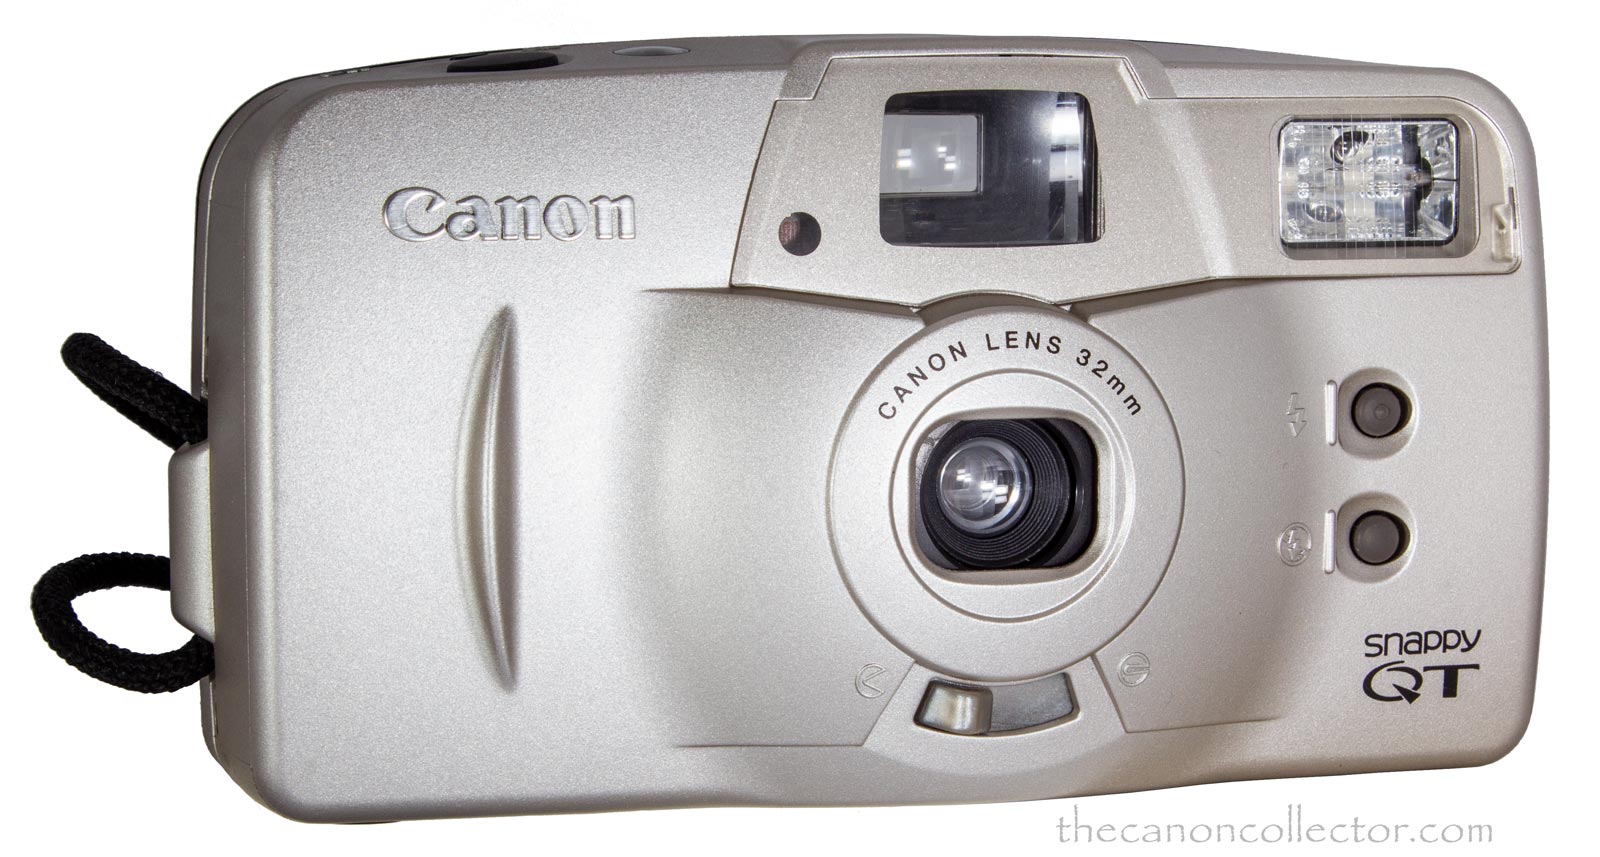
This is my Snappy QT (Ser. No. 3353285) in silver. Although the color scheme is different they are the exact same camera.
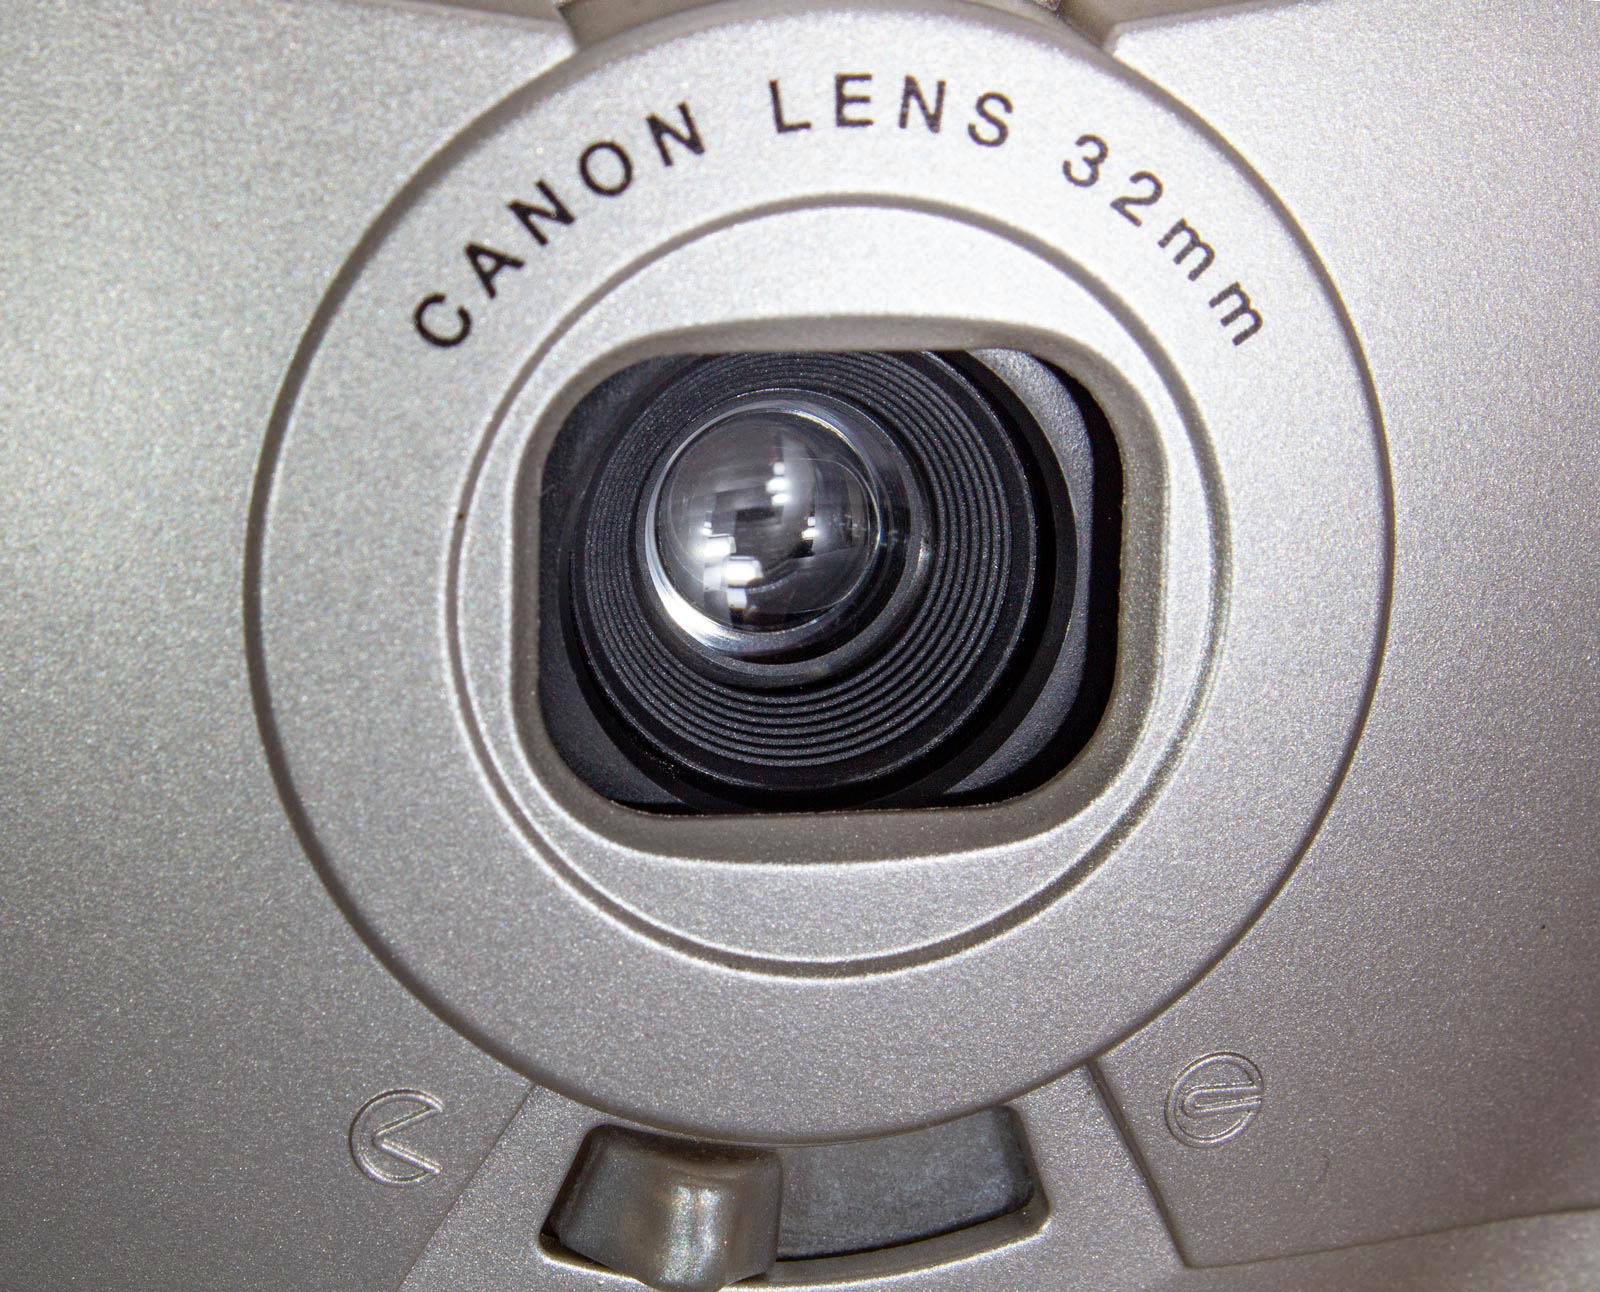
The lens cover is opened and the camera turned on with the switch at the bottom in the center.
Snappy QT
The Snappy series of cameras were aimed at the entry level camera shooter who wanted a simple camera to take snapshots of the family. They were simple cameras, completely automatic, light weight and rugged, and capable of decent images.
The Snappy QT was the second to last of this series introduced in April of 1997. In Europe and internationally they were called the Prima BF-80. They were not released in Japan. They were available in two colors, black and silver, and there was a “Date” version which could imprint the date on the negative.
The camera was equipped with a fixed focus 32mm f/6.7 lens of three elements in three groups. Canon says that the camera is focused from 5 feet to infinity but I think that 5 feet is a bit optimistic.
Exposure is controlled by a CdS meter and film speed is automatically set to ISO 100, 200 or 400 using the DX codes on the film can.
The camera is powered by 2 AA alkaline batteries and users are warned not to use lithium or NiCd batteries. I suspect internal electrical resistance in the batteries will upset the electronic circuitry. The User Manual also says that the camera is not designed for slide film and only negative film should be used. I suspect that is because exposure tolerance for slide film is so much less than for negative film.
We have a Newsletter
There is a Newsletter for thecanoncollector.com to keep you up to date on what we are posting. Try it!
The lack of user controls on the camera is apparent in this image. The two buttons on the right are to control whether the flash will fire or not.
There are no controls on the back of the camera. There is simply the viewfinder window, top center, and the film confirmation window to the right of center.
On the top of the cameraq is the shutter button. To the left of it is the film counter and below it are buttons to control the self timer and film rewind.
On the bottom is the tripod socket (on the left side) and the latch to the battery compartment at the extreme left of the image above.
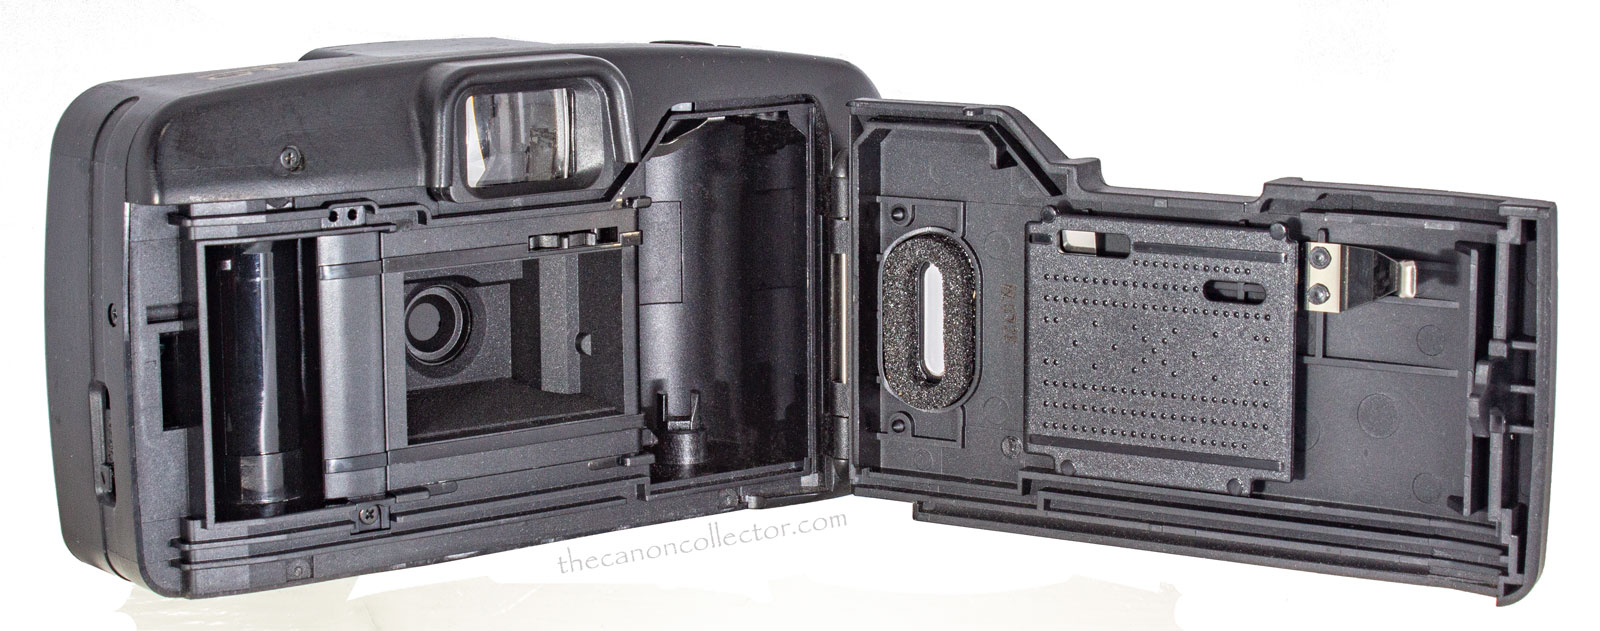
Inside the Snappy QT we find the usual layout for a film camera. The pressure plate shows the cutout for the “Date” version of the QT. The same pressure plate is used in all models. The window on the left end of the back is to allow the user to see if the camera has film in it or not. The film cassette goes in the right end of the body and advances to the left to the takeup well at the left end. Film advance and rewind is all automatic powered by motors in the camera body. Although the parts of the body and back are all plastic they fit well, feel rugged and are not at all flimsy.
A close up of the lens with the lens cover in the Open position. The lens cover and on-off switch is controlled by the lever below the lens.
Operation of the camera is simple in the extreme. You place the film cassette in the camera and lay the film leader across the frame opening and extending into the film take up compartment. Close th camera and the film advances automatically to the first frame. When you get to the end of the film the camera senses that the film has reached the end and it automatically reqinds the film into the cassette.
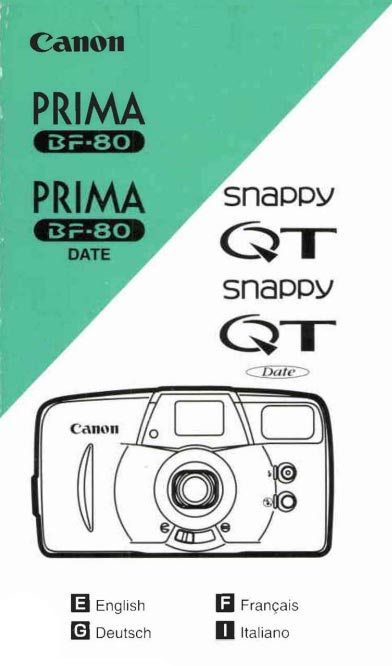
Rather than going into greater detail, have a look at the Instruction Manual on the right. You will find the instructions very simple. In fact, this camera is as easy or easier to use than the Brownie Hawkeye. This is a camera for the most entry level user.
Shooting with the QT
As you know from reading these pages, if one of my old cameras works I want to try it out. My black Snappy QT appeared to be functioning so I loaded a short roll of film to take it for a walk. The first thing that became apparent is that this is an easy camera to load. You drop the cassette in and lay the film across the image plane and snap the back shut. That’s it!
Next, the viewfinder is a delight. It is bright and gives a big image. Apparently it is of the Reverse Galileo type which is known for the good view. There are no frame lines but, again, this is a simple inexpensive camera. The lack of frames was not troublesome at all.
Then there was the shutter. It is a two stage trigger. The first stage is positive enough but the 2nd stage and shutter release are uncertain. You cannot predict when that shutter is going to release. I suppose I could get used to it.As you compose your shot you press the shutter half way. If the camera feels it can get a good image a green light comes on on the right edge of the viewfinder and you finish pressing the shutter button. That seemed to work really well.
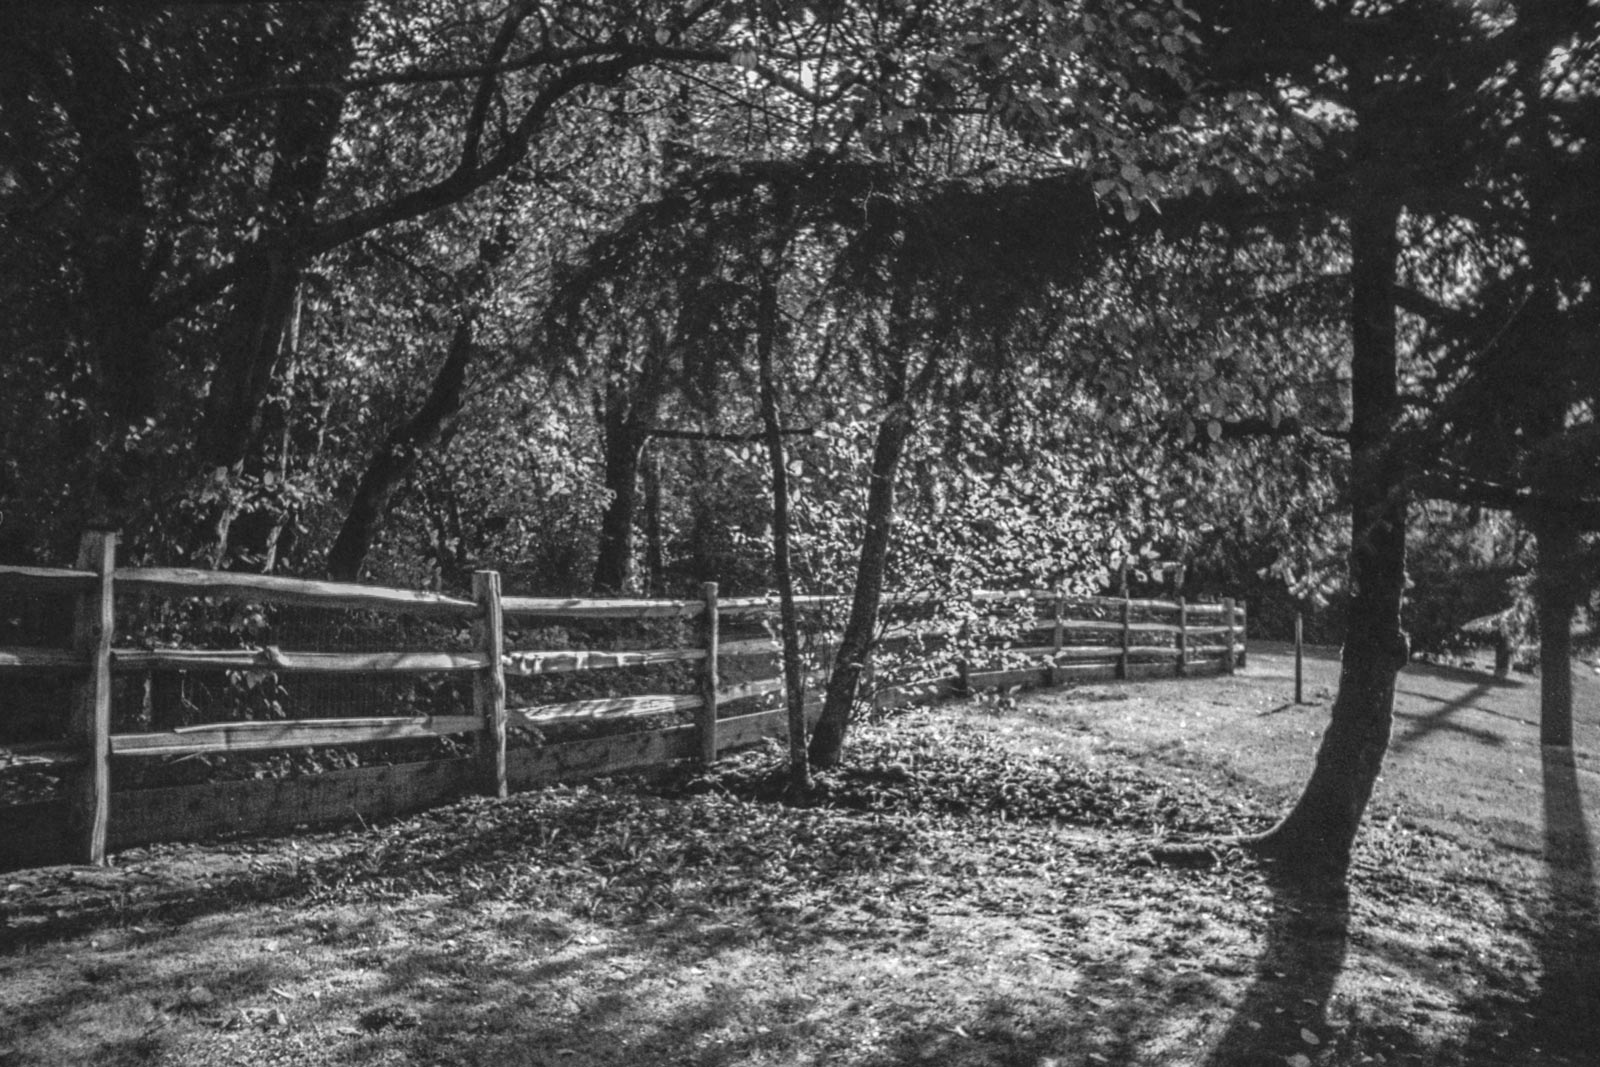
This image has been enhanced in post processing to overcome the 2 – 3 stop under exposure. However, I did not sharpen the image so we get a sense of how sharp the lens is. The sharpest part of the image appears to be the fence on the left side between the first two fenceposts.
The shutter was very quiet to almost not being able to hear it. The film advance was very fast and it too was very quiet.
When I was finshed the short roll of film I made, Ilford HP5 in a can with a DX Code for ISO 400, I developed as I normally do and that’s when I got the bad news. All of the frames were underexposed by two to three stops. I had used my normal workflow so I know the processing was not the problem. The light meter in the camera must have deteriorated over the years.
Because there is no way to set this camera for manual control of shutter and aperture the only way to overcome this problem is to load ISO 400 film into a DX coded ISO 100 can. That would compensate for the underexposure.
The image on the left of the fence line has been developed in Lightroom and Photoshop to overcome the extreme underexposure but the resulting tone and gradation from light to shadow is not rich or pleasing. I have not adjusted sharpness because we want to see
how good the lens is. I am using black and white film so we will not get to see how well color corrected this lens is. It is a poor image however we can learn a few things from it.
Expand the image and look at the fence between the first and second fence posts from the left. You can see the wire mesh on the fence. But this is the only place. It is blurred out everywhere else. That part of the fence was about fifteen feet away from me when I took the picture. So, I think the camera is fixed focused at about that distance. This makes sense because a snapshot camera will be used for family activities around that distance away and for several feet closer and further away. Canon says the range is 5 feet to infinity but sharp focus is more restricted than that.
We can also see that there is no obvious vignetting in this test image. And barrel and pincushion distortion are not visible although you would not expect to see them in an image like this. You need pictures of brick walls to see that.
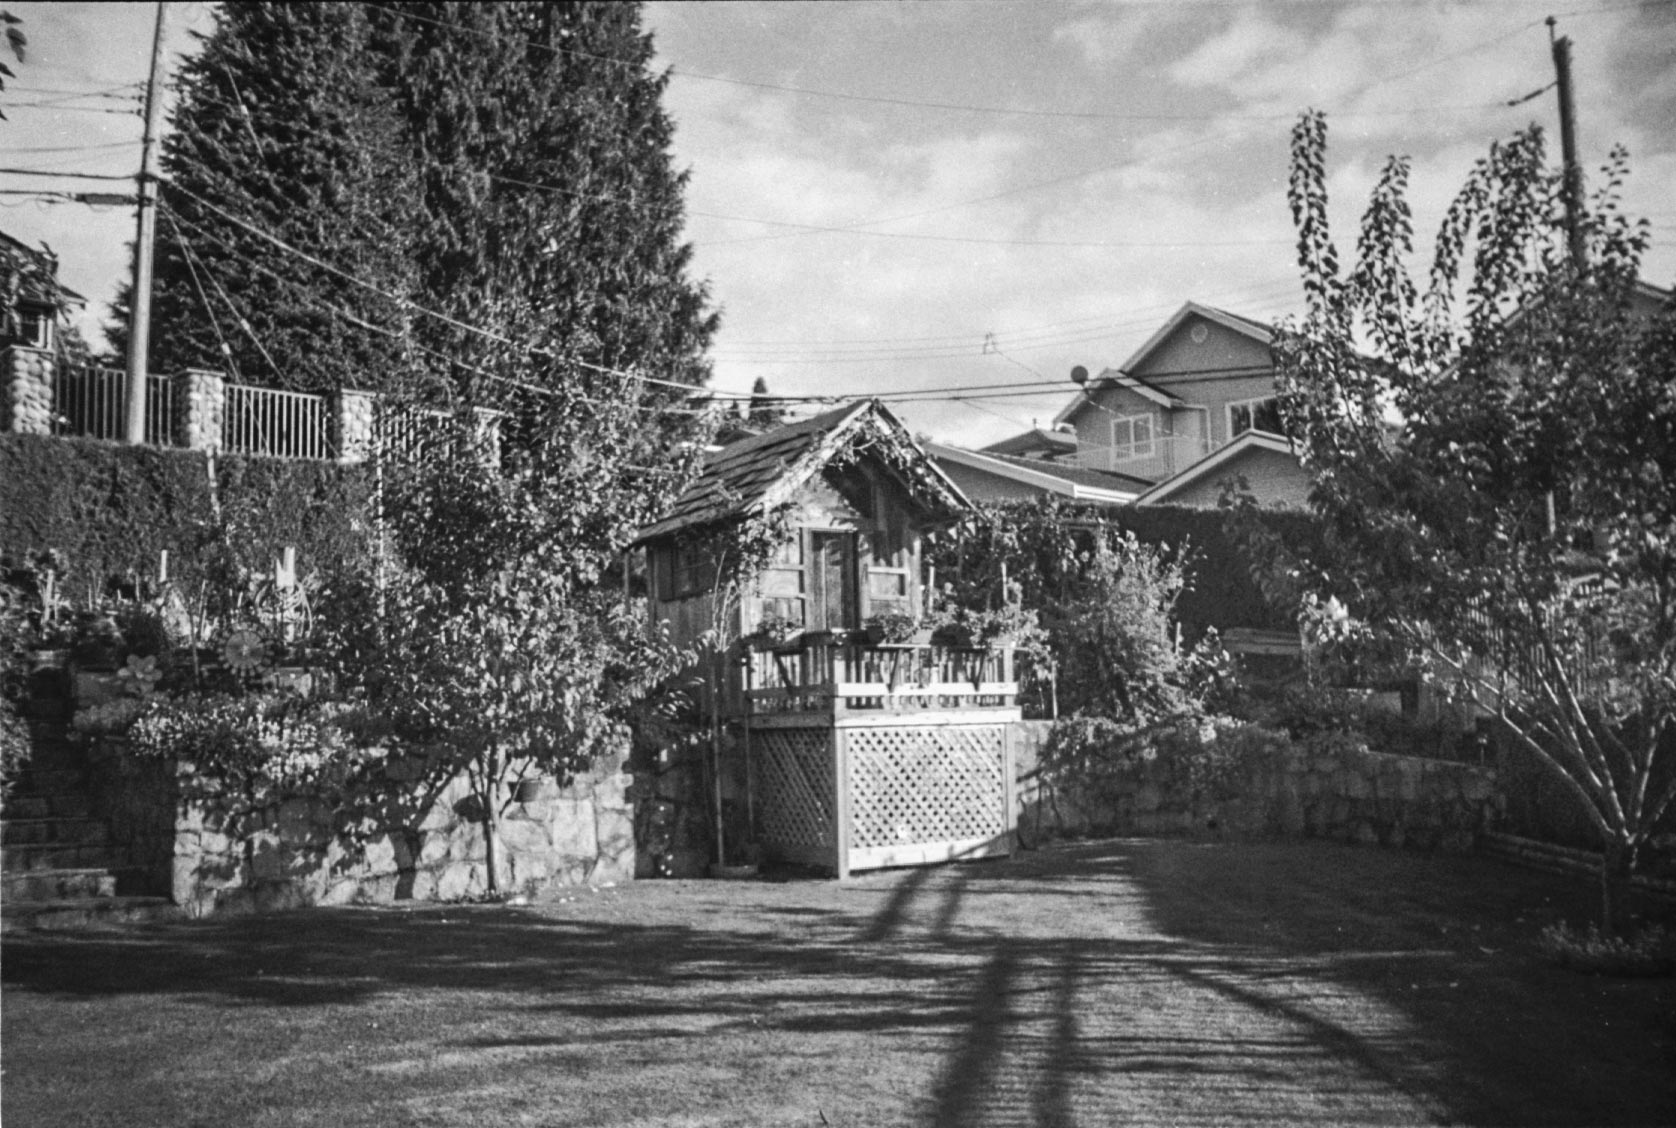
This is another image salvaged with Photoshop and Lightroom. Again I have not adjusted sharpness. Like the image above, this is a full frame picture. Notice the utility poles on the left and right appear to curve inwards. I don’t mean the apparent leaning due to perspective. They actually appear to curve inwards. This is indicative of barrel distortion in the lens. Again, the gradations from dark to light are not rich and pleasing due to the faulty exposure.
This camera has a reasonable lens but image quality is crippled by lack of focus ability. This imperfect test makes me want to try again to see if I can get better exposures. The camera was obviously shooting as wide open as it could. Better images are probably possible. I will update this post when I have repeated my test with ISO 400 film in a can with DX codes that indicate ISO 100.
This website is the work of R. Flynn Marr who is solely responsible for its contents which are subject to his claim of copyright. User Manuals, Brochures and Advertising Materials of Canon and other manufacturers available on this site are subject to the copyright claims and are the property of Canon and other manufacturers and they are offered here for personal use only.
